Tech News
New to OneDrive? The 8 Tips You Need to Know
Quick Links
OneDrive offers more features beyond just uploading and storing your files on the cloud. If you're new to OneDrive, here's a list of useful tips to get you started on the right foot.
1 Integrate Microsoft 365 Apps With OneDrive
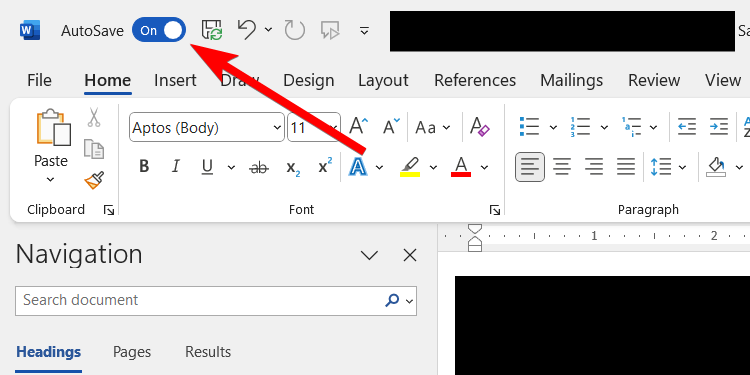
If you use the Microsoft 365 desktop apps (e.g., Word, Excel, and PowerPoint), you can use OneDrive to enable automatic saving. This will upload the files to OneDrive and sync any edits you make, removing the need to save manually.
If you have ever closed a file without saving and lost progress, you can imagine how this feature can save you a massive headache. Furthermore, it keeps a version history of the file, allowing you to revert to previous versions if you need to.
To enable automatic saving in Microsoft 365 apps, click the "AutoSave" toggle in the top-left corner of the screen.
Next, follow the prompts to sign in to your Microsoft account. You'll create one if you don't have one during this step. Afterward, select your OneDrive account—make sure you pick the correct one if there is more than one on the list.
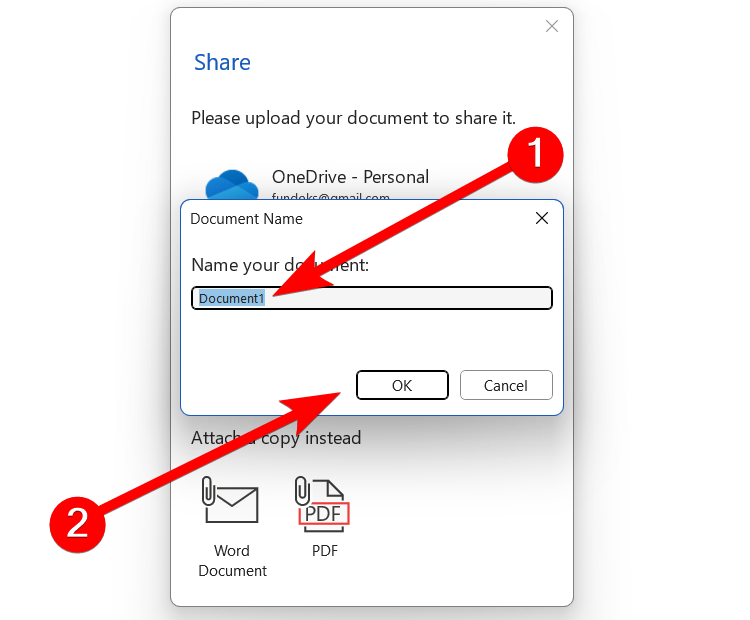
Then, give the document a name and click "Save" to upload the file to OneDrive and enable automatic saving.
2 Use the Personal Vault to Store Important Documents
OneDrive also has a feature called Personal Vault, and it provides extra protection for your important documents (e.g., IDs and financial records). You will need to complete extra identity verification (using two-factor authentication) when you need to open it. The Personal Vault will lock itself again after 20 minutes of inactivity.
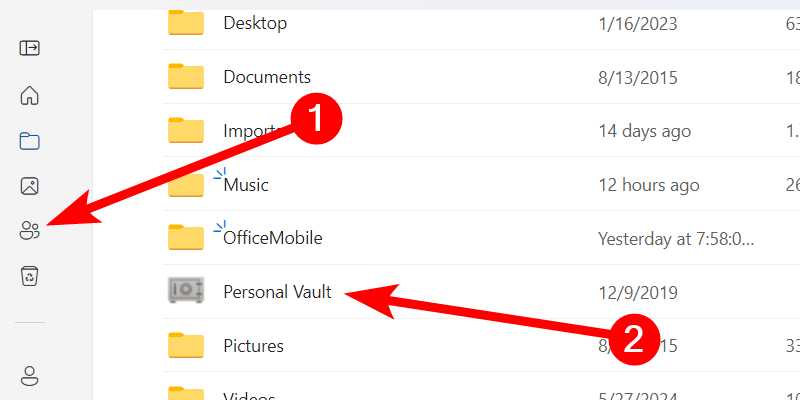
To open it, log into OneDrive in your computer’s browser and click My Files > Personal Vault.
You can also access the Personal Vault on the PC and mobile versions of OneDrive.
Once you complete the verification process and open the Personal Vault, drag and drop the files you want into it.
3 Take Advantage of File Sharing
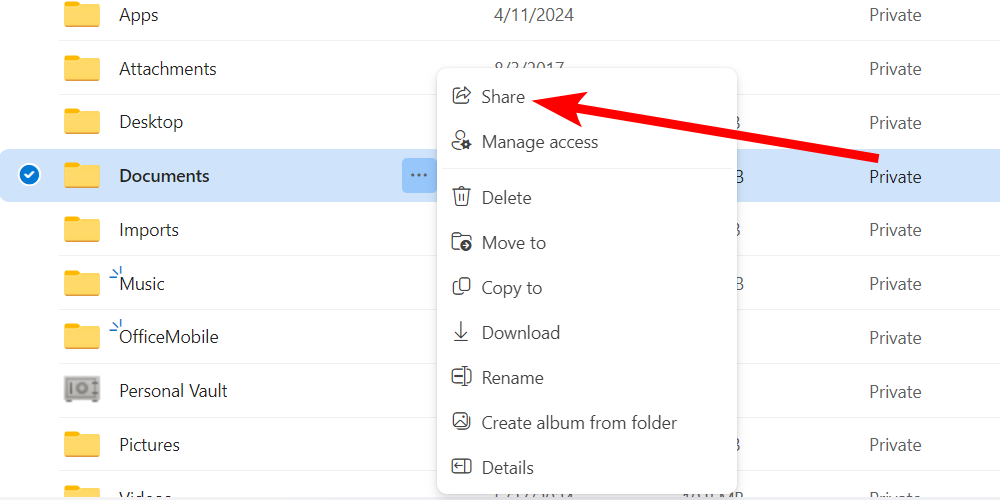
OneDrive also lets you share the files you've uploaded to it. To do that, right-click a file or folder and select "Share" in the menu.
Enter the email addresses of the people you want to access the file or folder and click the "Send" button.
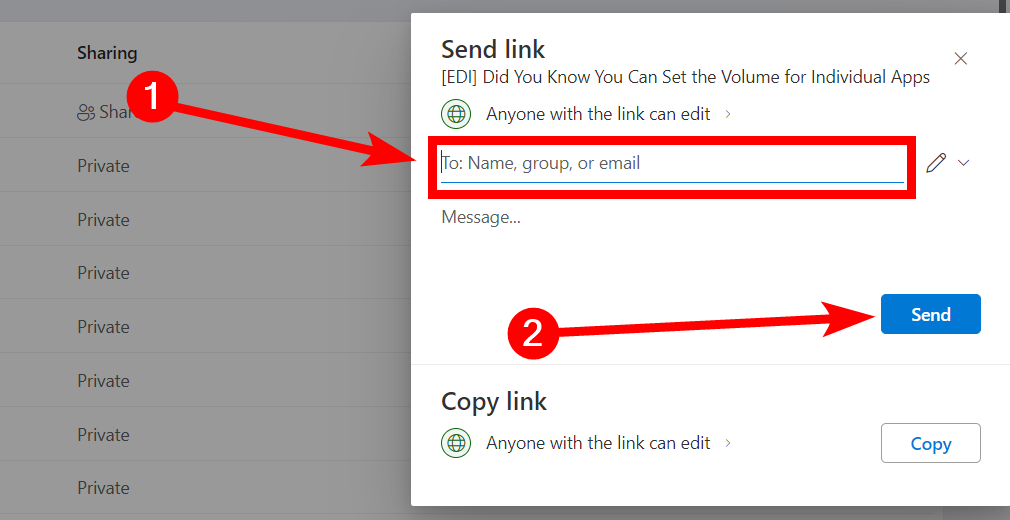
Keep in mind that the people you are sharing the files with also need a OneDrive account to access them.
4 Restore Files with Version History
Files stored on OneDrive, whether it's documents or photos, will have a version history. This will allow you to restore them to a previous version if you want to undo certain changes made to them.
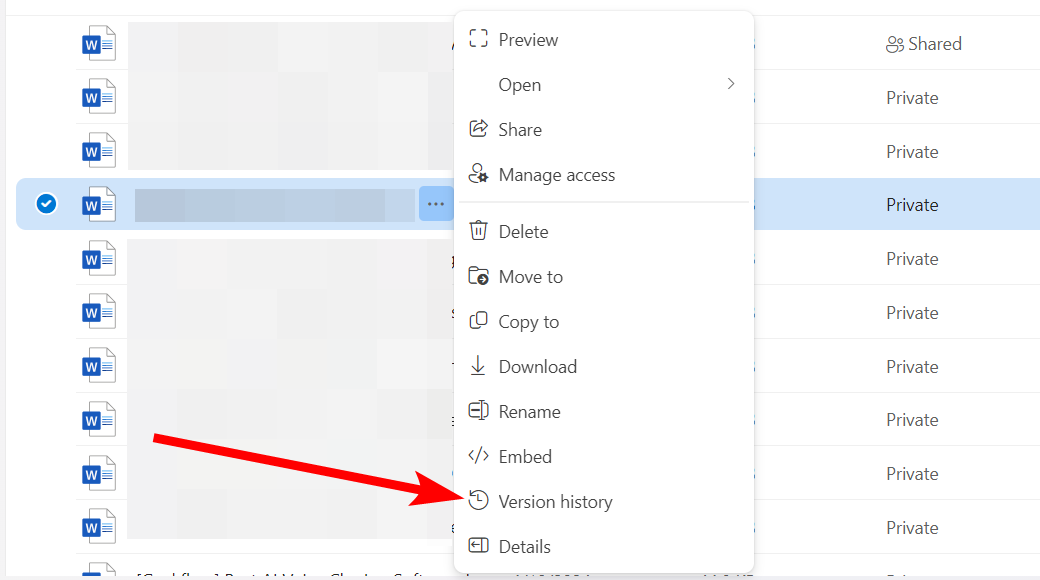
For example, to restore the previous version of a Word document, right-click it and select "Version History" in the menu.
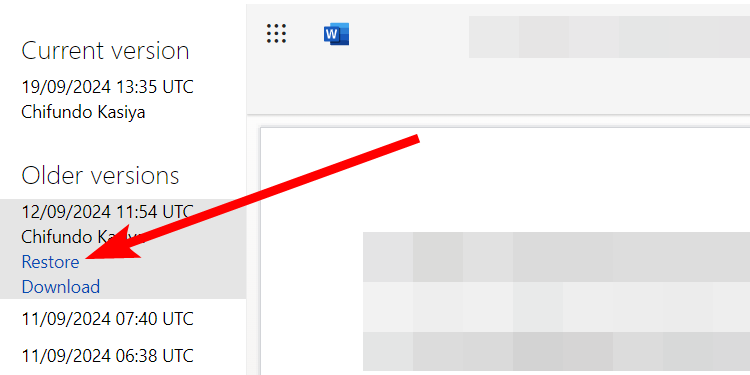
Select an older version of the file in the Older Versions section in the left sidebar. Then, click the "Restore" link that appears below.
5 Automatically Sync Files on PC
If you're a Windows user, then OneDrive is already part of your installation. There is a OneDrive folder that you can drop your files into, provided you are using Windows with a Microsoft account. Doing this uploads them to the cloud for safekeeping.
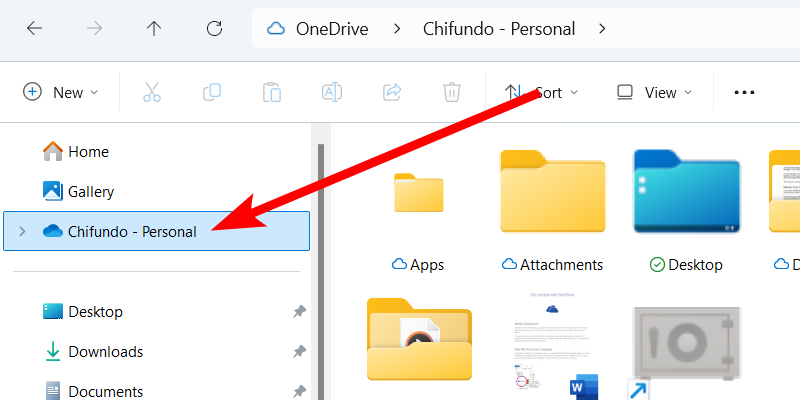
You can access this folder by pressing Win+E to open File Explorer. Then click the folder named "[Your user name] - Personal" (it will have a OneDrive icon) in the Navigation pane.
Furthermore, you can enable OneDrive's automatic file backup feature to continuously sync the Documents, Pictures, Desktop, Music, and Videos folders.
To do that, open OneDrive's settings by clicking the OneDrive icon in the system tray.
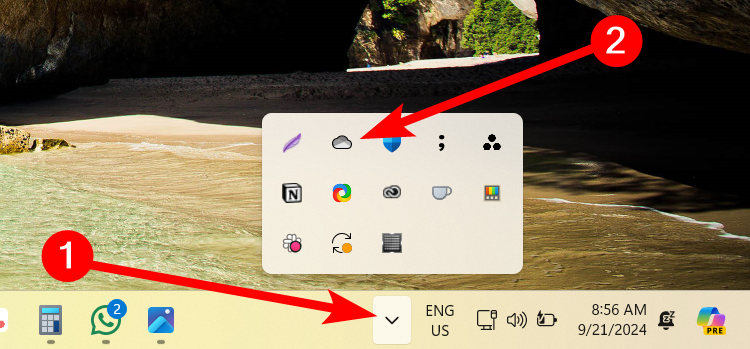
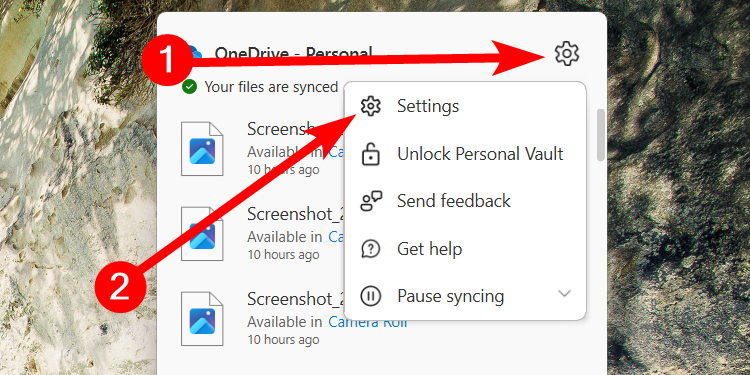
If you've been signed out or never signed in, click "Sign In" and follow the instructions to log in to OneDrive. Next, click the gear icon in the top-right corner and select "Settings" in the menu.
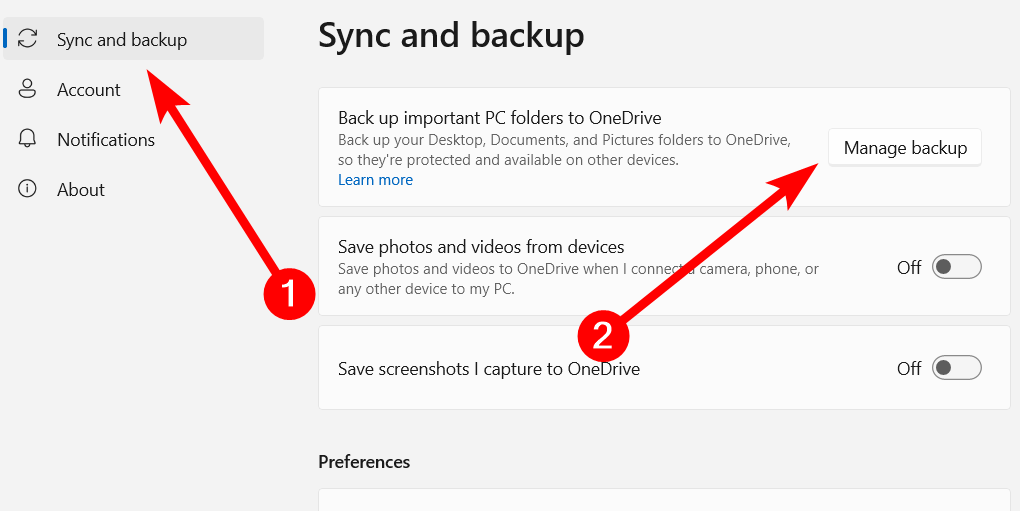
Select "Sync and Backup" in the left sidebar and click "Manage Backup" on the right.
Toggle the folders you want to automatically sync and click the "Save Changes" button.
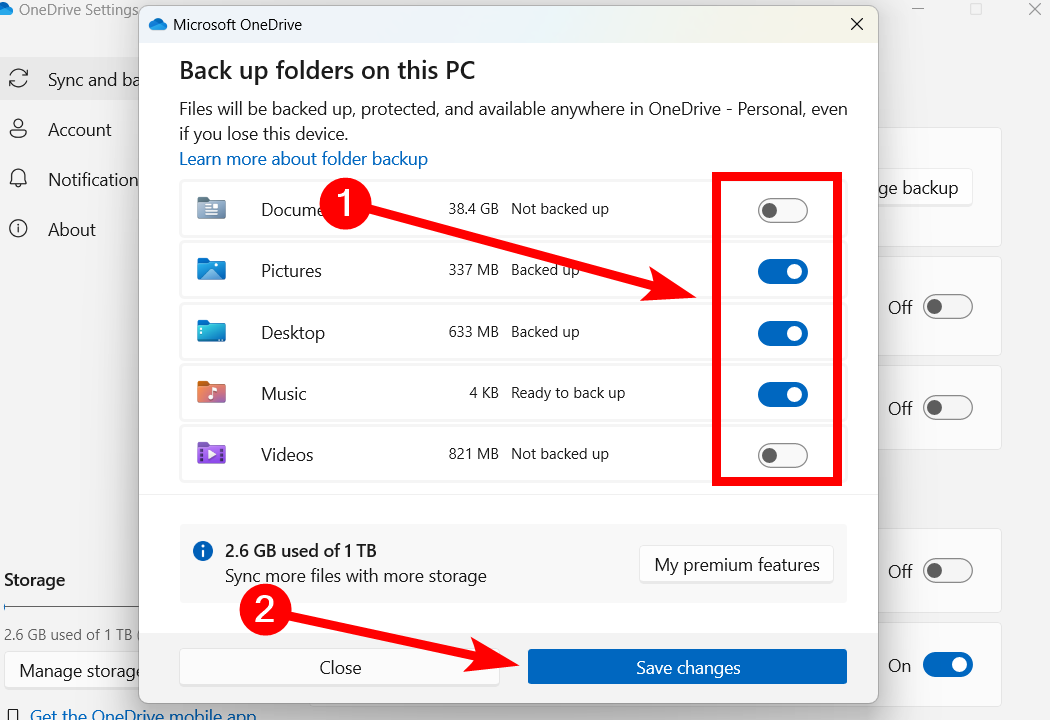
Now the files will periodically be synced to OneDrive on your Windows PC.
To use a similar feature on Mac, you will need to download the OneDrive sync app.
6 Make Files Available Offline
When using OneDrive desktop or mobile, you can make files and folders available offline. That means you don't need internet access to access them. This can be convenient if you're heading somewhere with little to no network coverage.
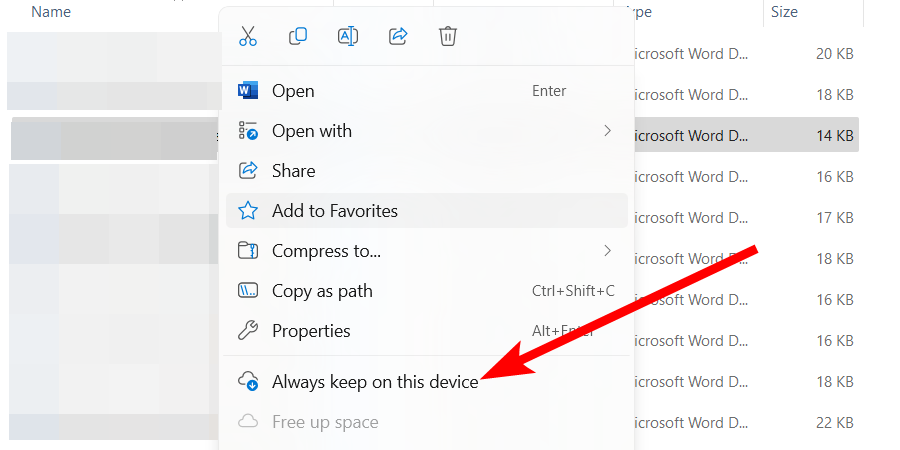
To do that on Windows, open the OneDrive folder on your PC and right-click the file or folder you want to make available offline. Then, select "Always Keep on this Device" in the menu.
The process is very similar on Mac, but you need to download the Mac version of OneDrive from the App Store.
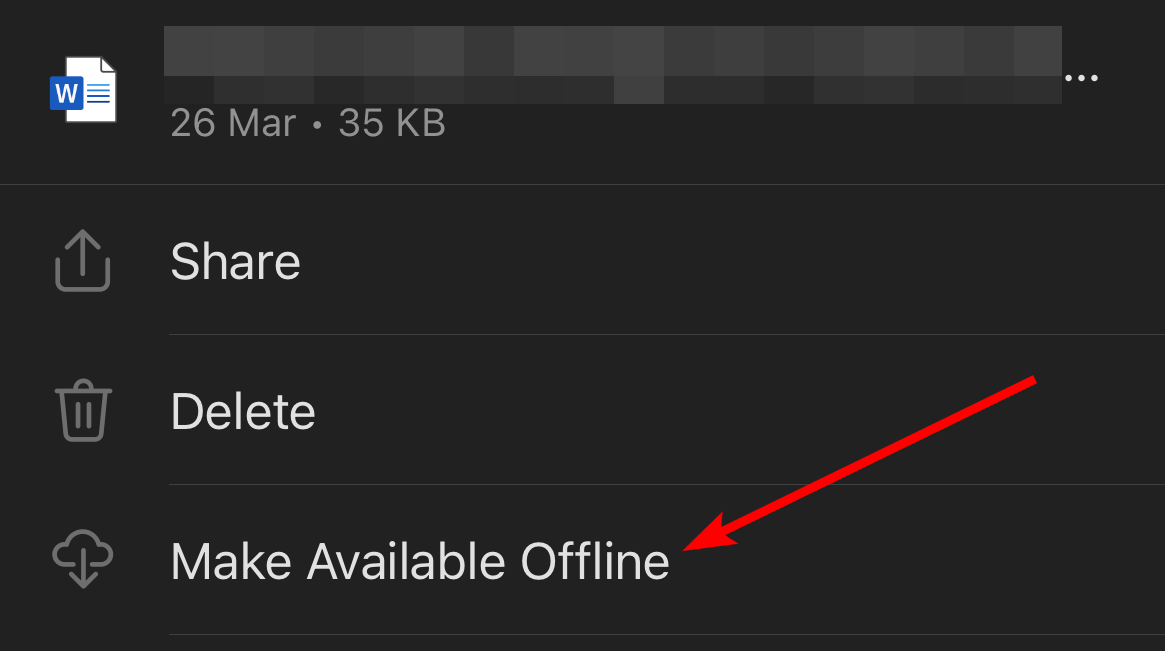
On mobile, tap the three-dot icon next to the file or folder and select "Make Available Offline" in the menu.
The file or folder will be downloaded to your computer and available for offline access. For folders, all files and subfolders it contains will also be downloaded.
7 Use the Mobile App to Scan Documents
Moving on to the mobile app of OneDrive, which you can get on Google Play or the App Store, it has a neat little feature that allows you scan your physical documents and photos and upload them directly to OneDrive.
We will use the iPhone version of the OneDrive app, but the steps are similar on Android.
To use OneDrive's mobile scanner, tap the camera icon in the bottom menu.
Point the camera at the document you want to scan and tap the white circle in the bottom center to take a photo of it.
Then, tap “Confirm” in the bottom-right corner to process the document and then click “Done” on the next screen.

Next, name the document and then click the blue checkmark in the top-right corner of the screen to save it on OneDrive.
8 Automatically Back Up Your Phone’s Camera Roll
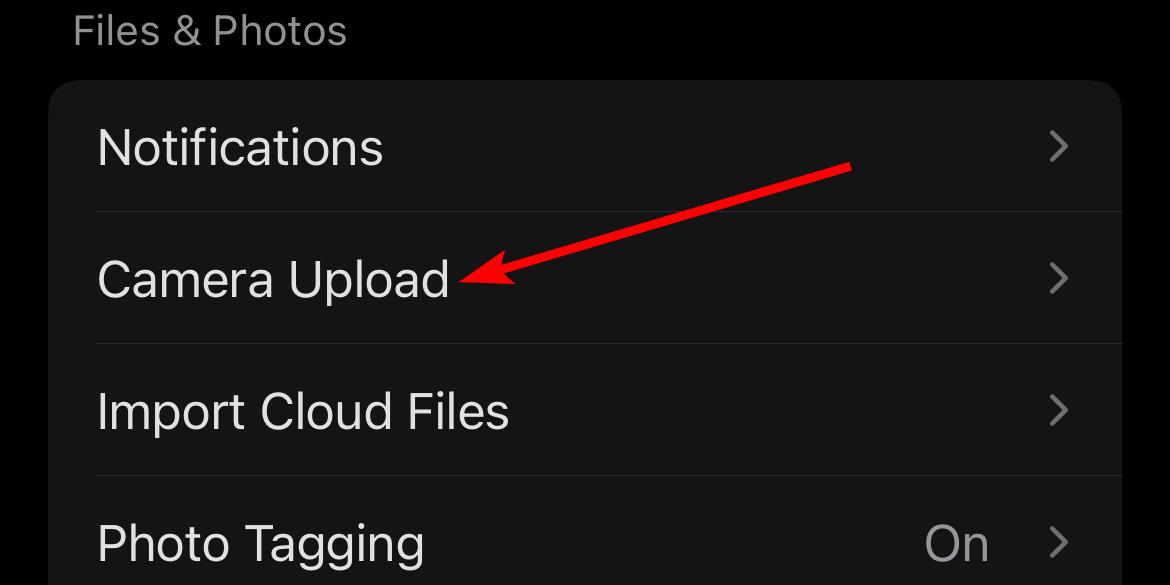
Another feature worth mentioning when using the OneDrive mobile app is its ability to back up your entire camera roll. To do that on iPhone, tap your profile picture in the top-left corner and head to tap Settings > Camera Upload.
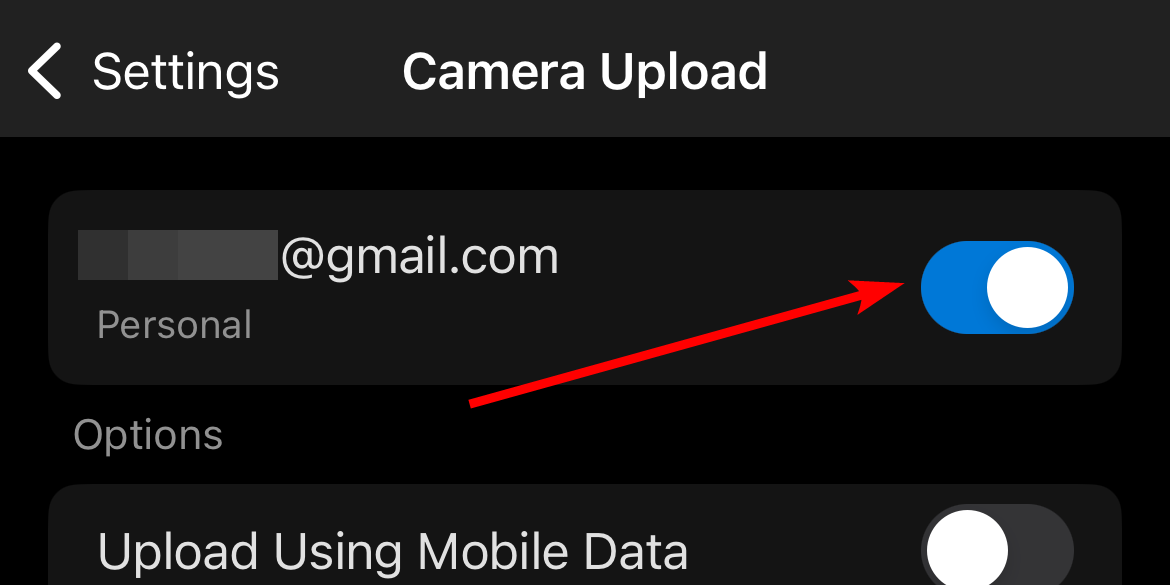
Next, tap the toggle next to the email address you want to back up the camera roll to start the process.
One thing to keep in mind is that to use the desktop versions of Microsoft 365 apps, you will need a Microsoft 365 subscription. The added benefit of this subscription is that you get 1 TB of storage on OneDrive (the free version is only 5 GB). The web and mobile versions of these apps are free to use.
When you subscribe to the blog, we will send you an e-mail when there are new updates on the site so you wouldn't miss them.
About the author
I Got A Virus and I Don't Know What To Do!
I Need Help!

Comments