Tech News
What Is a Print-in-Place 3D Printer Model?
Key Takeaways
There are many types of 3D model you can print on your home 3D printer, but most of them are not designed for 3D printers specifically. Print-in-place models, on the other hand, are the closest thing to a fire-and-forget design today. Here's what these wonderful models are and why you should use them.
Usually when you print a 3D model, you need to generate supports for it so that any overhangs or floating parts will stay in place until printing is complete. This lets you print any shape and size of object, but it does take some experience to know how to orient your print so that the supports create as few problems as possible.
Likewise, many 3D prints require assembly from multiple parts, sometimes with adhesives, and in most cases there's quite a lot of finishing work to do in order to hide imperfections caused by supports or joints.
A print-in-place 3D model is designed from the ground up to be printed with no supports at all. The designer has ensured that there are no overhangs or curves that require supports in order to print correctly. So all you have to do is print the model as-is and then remove it from the build plate. There will still be some finishing work to do, but in most cases this is minimal and takes just a minute or two.
Many print-in-place models are articulated, and have moving parts. There is little or no assembly required, and once you free the model from the build plate, it should already work as intended.
Print-in-place models are great for many reasons, mainly because they are easy to print repeatedly and reliably. However, there are limitations because of the constraints modelers have to deal with to avoid the need for support. The most obvious one is that print-in-place models have a flat side which is the part that's in contact with the build plate. One way to get around this is to have the model printed in halves that snap together, but in most cases the models are designes to be displayed flat side down, so it's a non-issue.
There are no particular special requirements for printers when it comes to print-in-place models. Of course, these models are made for FDM (Fused Deposition Modeling) printers, rather than resin printers. So there's that. Also, your printer needs to be capable of printing the maximum angles and overhangs of the print-in-place model. Usually, the model's description will include what those numbers need to be, but it's really only older printers that might struggle with some of the steeper angles.
Print-in-place models are the easiest type of model to print, assuming that they've been designed properly, but there are still a few things that can help make it more likely your prints will come out correctly.
Because of the large contact surface these prints have with the print bed, it's important to get bed adhesion right. Most printers have a heated print bed these days, but that's sometimes not enough, depending on the type of material you're using, and whether the model has any thin parts that might curl away from the bed in the first few layers. I've had great success with 3D printing glue sticks and most recently I've been a big fan of hair spray.
Apart from adhesion considerations, unless you need the print to be its intended size, I've found that printing things 10-15% larger also makes it more likely to come out well. In particular if it's an articulated model with lots of spindly bits.
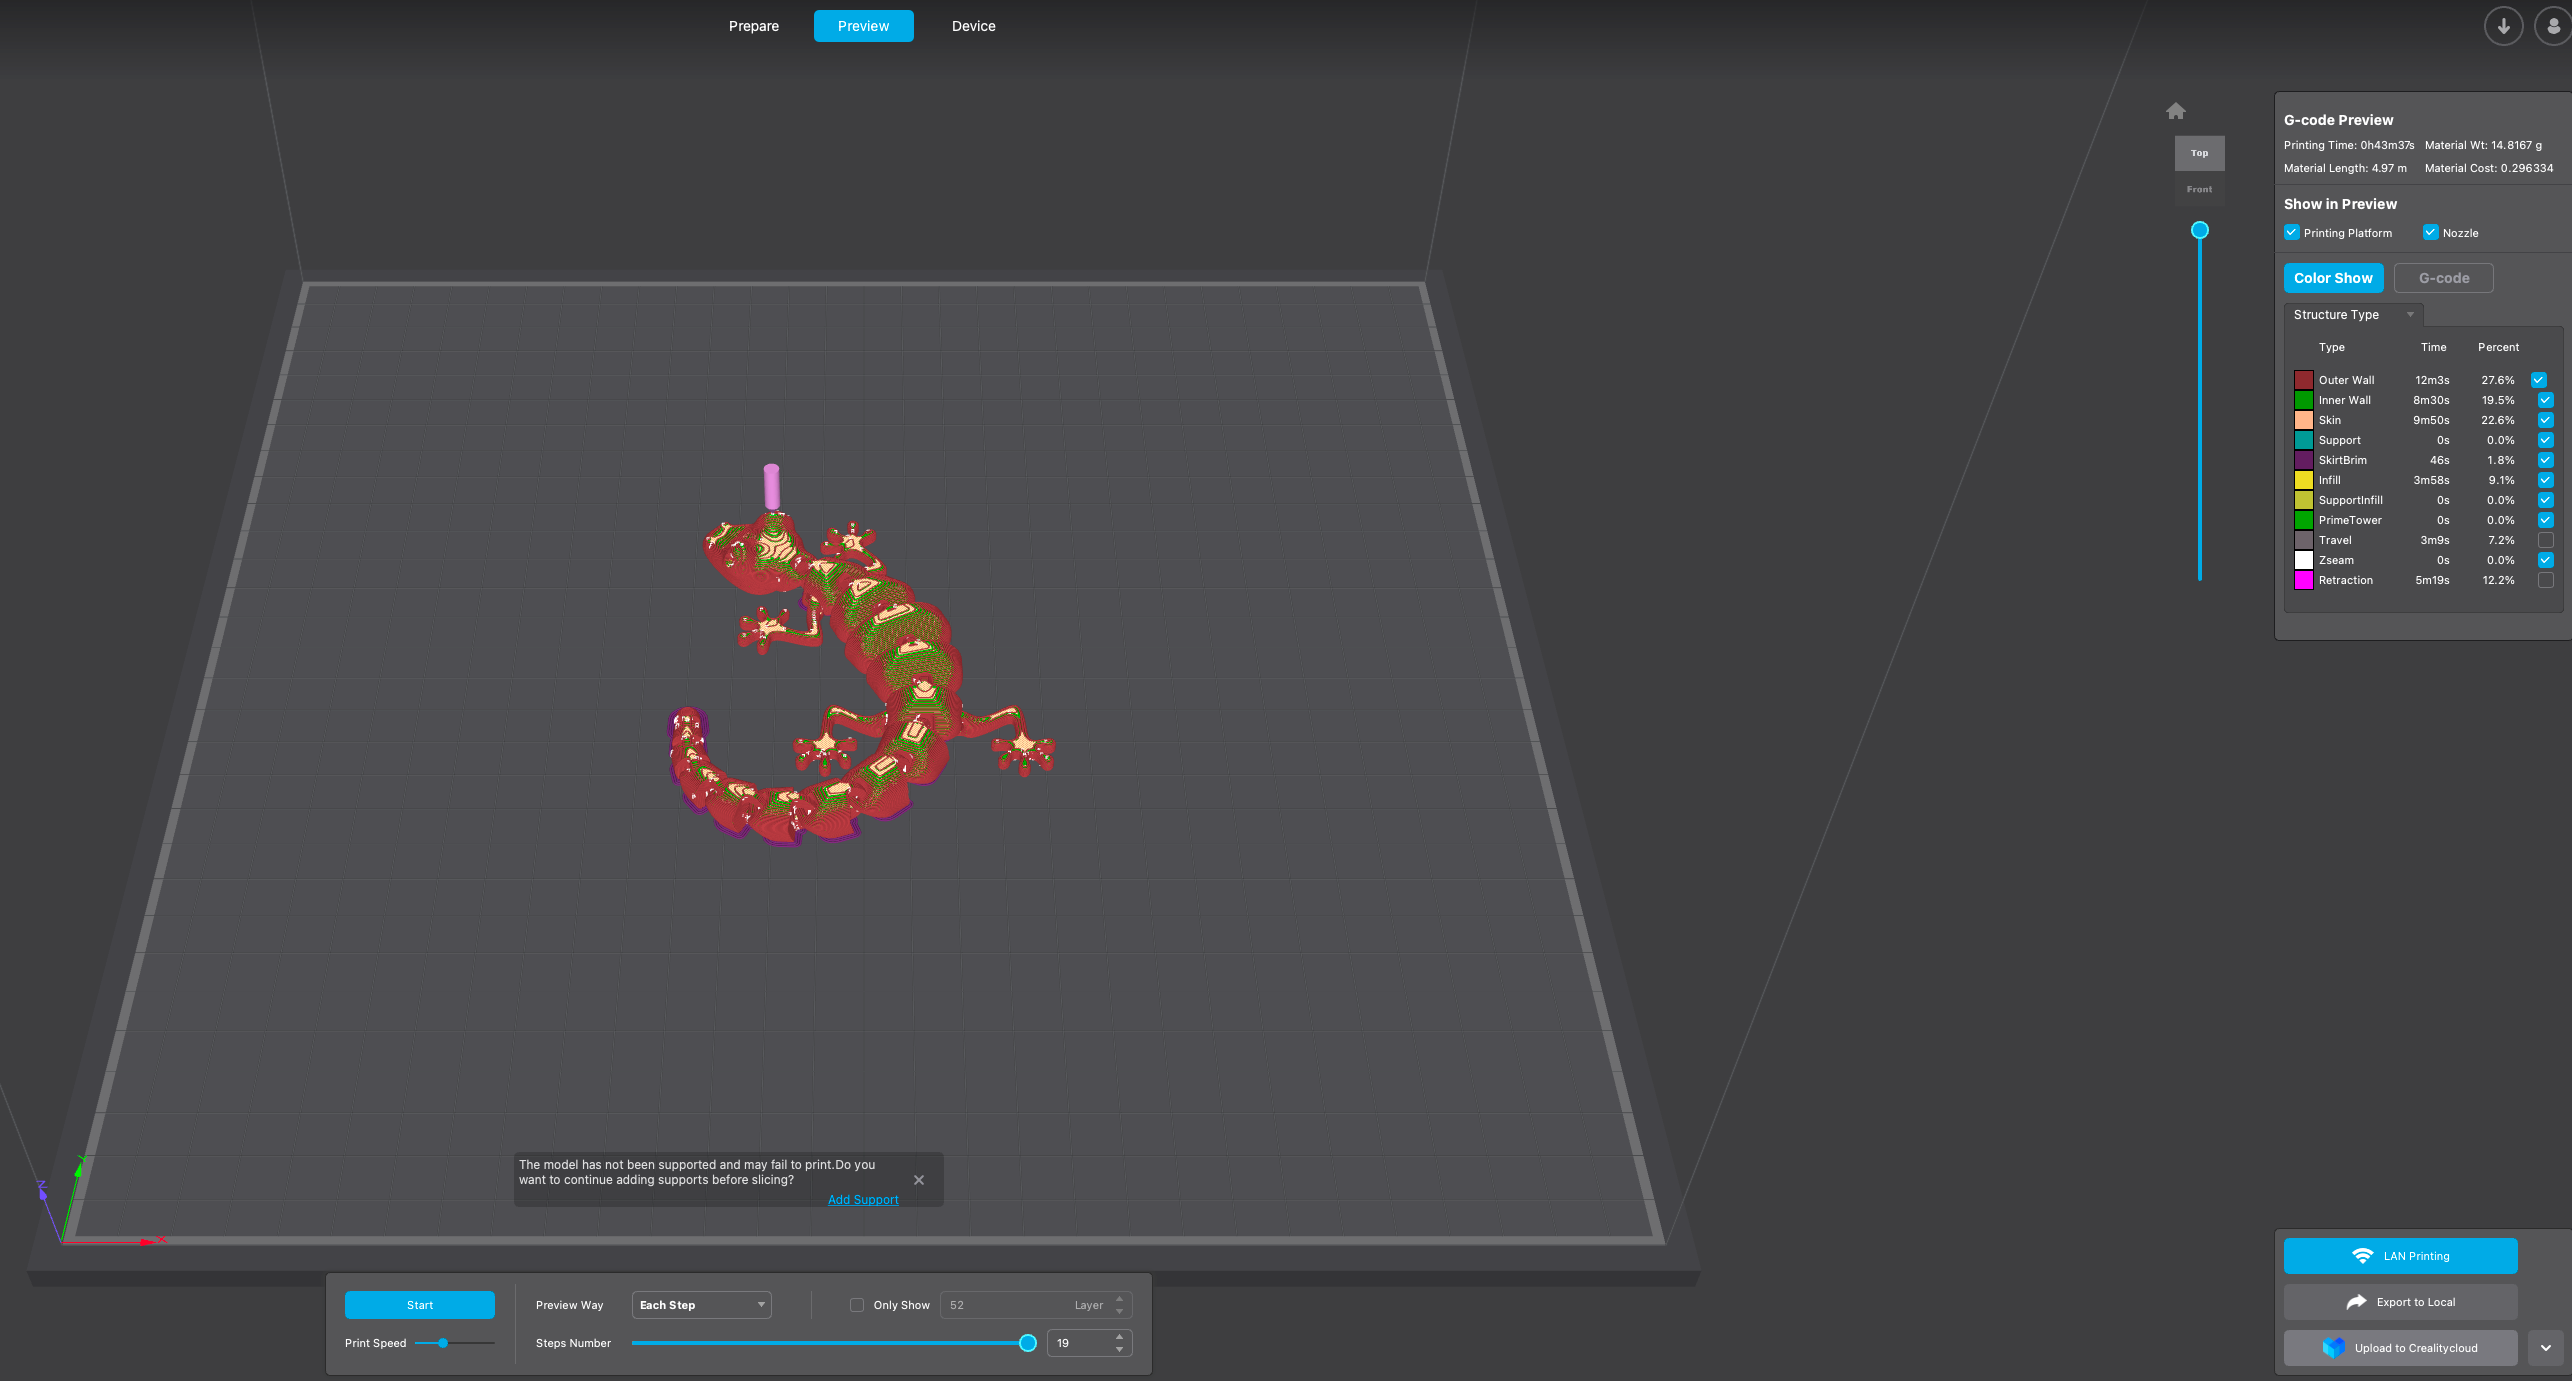
If you use the keyword "print in place" on any 3D model site, you'll find a wealth of neat models to try, but there are a few I like that you might want to try to get started. By far, McGybeer's articulated lizard is one of my favorites. Print-in-place tablet stands are always useful, and personally I adore Cavedog's Flexi Raptors. That's just the tip of the iceberg, and there are many of these zero-effort models out there to try!
When you subscribe to the blog, we will send you an e-mail when there are new updates on the site so you wouldn't miss them.


 Sydney
Louw
Butler
/
How-To
Geek
Comments