Tech News
New to Microsoft Word? The 9 Best Tips You Need to Know
Quick Links
Microsoft Word is a fully-featured word processor that can feel overwhelming for new users. While you can easily dive in and explore by yourself, a few pointers can make it smoother. Here are some tips to get you started.
1 Learn the Basics of Formatting Text
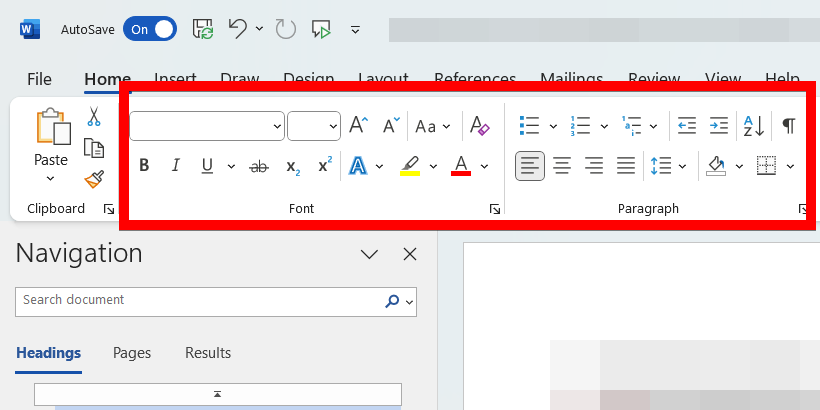
If you want to create professional and visually appealing documents, you need to learn the basics of formatting. Let's look at what you can use on the "Home" tab to do this.
In the Font section, you can change the style and size of the font and emphasize text by bolding, italicizing, and underlining it. You can also change the font color and highlight the text for more emphasis.
In the Paragraph section, you can adjust the alignment ("Left," "Center," "Right," or "Justify"), line spacing, and indentation of the text. You can also use this section to insert bulleted or numbered lists. You can also insert borders around your paragraphs here.
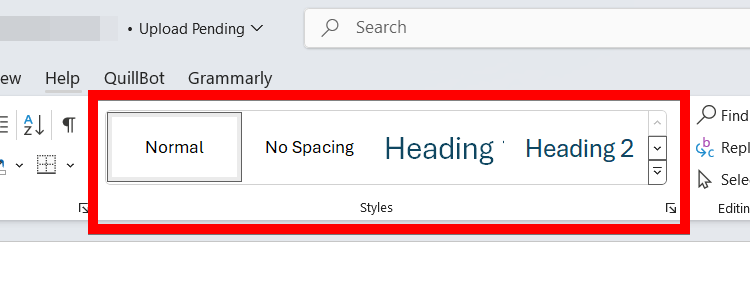
In the Styles section, you can make sure your document is consistent and well-structured by inserting headings, titles, quotes, and other text elements.
2 Use Templates for a Professional Look
If you want to save time in Microsoft Word, you can use templates to quickly create professional-looking documents. That way, you don't have to do it from scratch. You just load the template and start tweaking it to suit your needs.
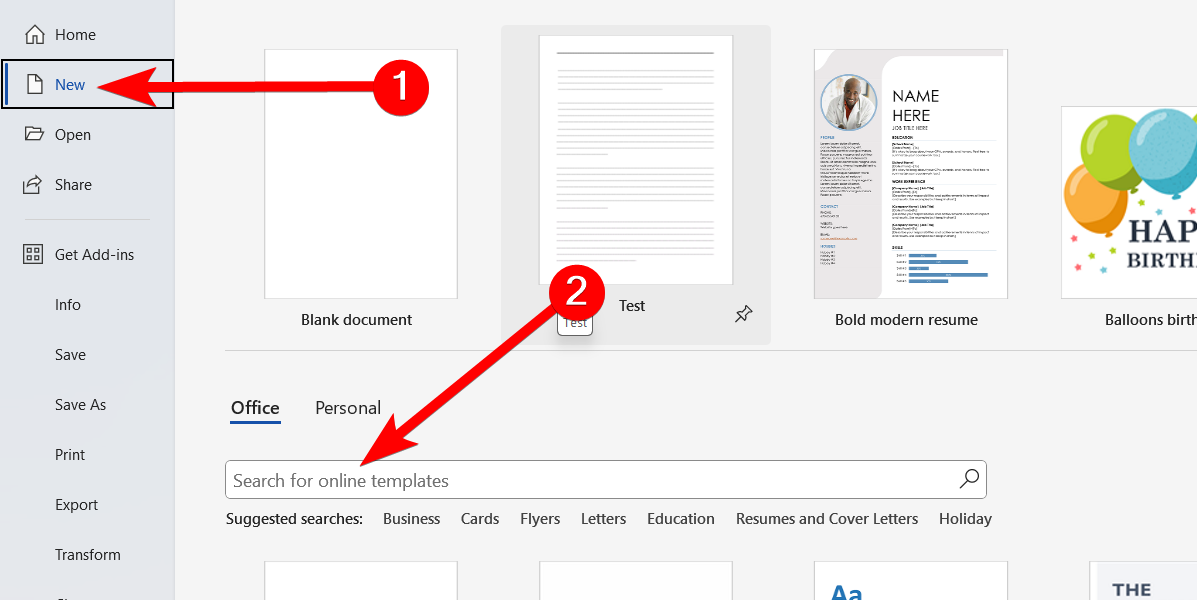
You can select a template when creating a new document. To do that, select "New" in the left sidebar and look for the template you want using the search bar on the right.
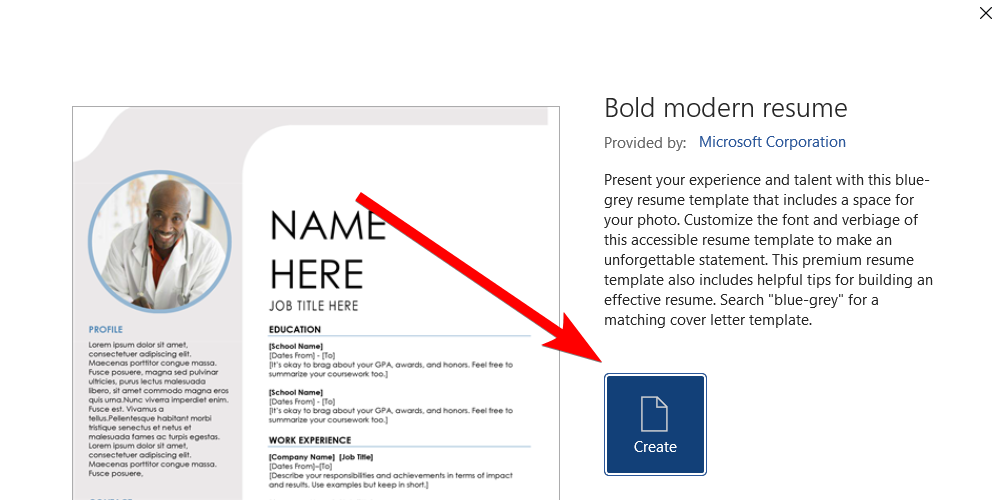
When you find it, select it and then click "Create" to create a new document based on that template.
3 Turn On AutoSave
If you don't want to face a scenario where you close the document or your computer dies on you without saving, you should enable the AutoSave feature. This automatically saves the document with every edit and then uploads it to OneDrive (if your computer is connected to the internet).
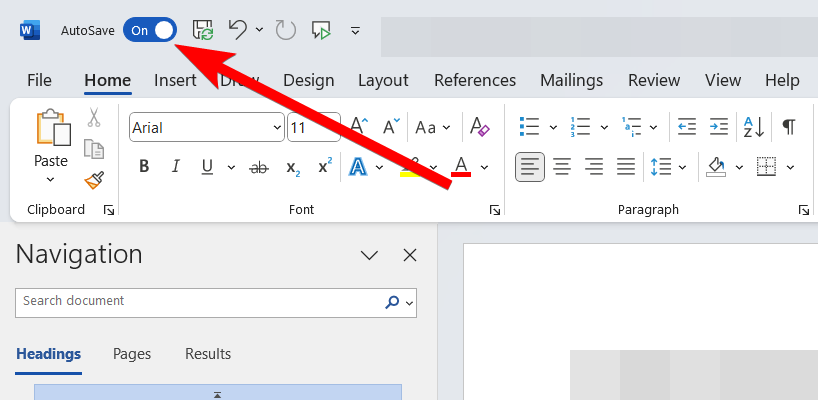
You will need to create a Microsoft account for this so you can use OneDrive. Once you do, you can turn this feature on by toggling "AutoSave" in the top-left corner of the screen.
You will be asked to sign in to your Microsoft account. Once you do, pick your OneDrive account. Then, name the document and click "OK" to save it to OneDrive.
When you finish typing, the changes will automatically be saved to the cloud. The beauty is that the document will be synced across devices, including Mac, Android, and iOS, meaning you can access it anywhere.
4 Type With Your Voice
Word has a dictation feature that can easily convert your speech to text. You can use it to easily capture your ideas and reduce the strain of typing.
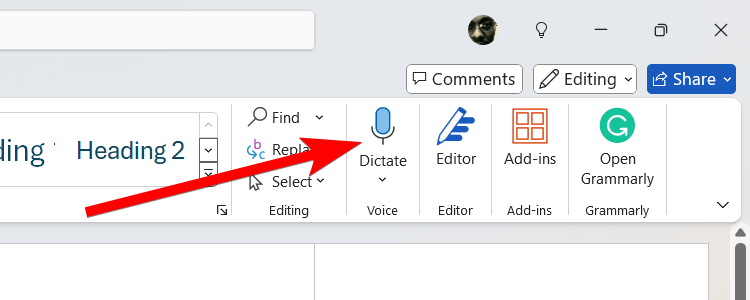
To do that, select the "Home" tab and click "Dictate" in the voice section of the ribbon. Start speaking, and your speech will be converted to text.
When you're done, click "Stop Dictation" in the widget that appears when you start dictating.
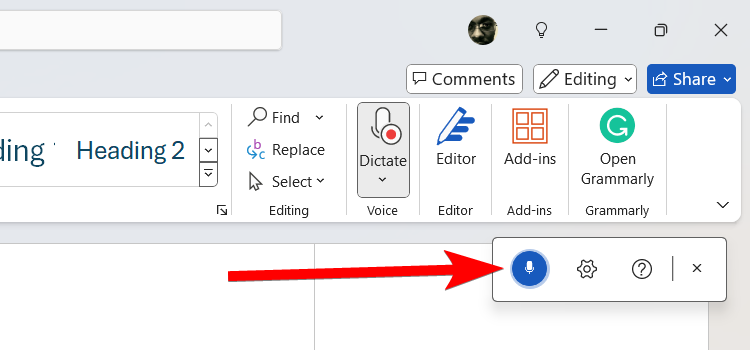
You can click "Dictation Settings"—the gear icon—to tweak things like the spoken language and which microphone to use.
5 Tweak Your Document’s Layout
Word's Layout tab lets you easily customize the setup of your page. You can use this to create well-structured and professional-looking documents.
In the Page Setup group, you can set the margins, the space around the document, and the orientation ("Landscape" or "Portrait") of the page.
You can also set the size of the document to fit your target screen or paper. Just click "Size" and pick one of the options.
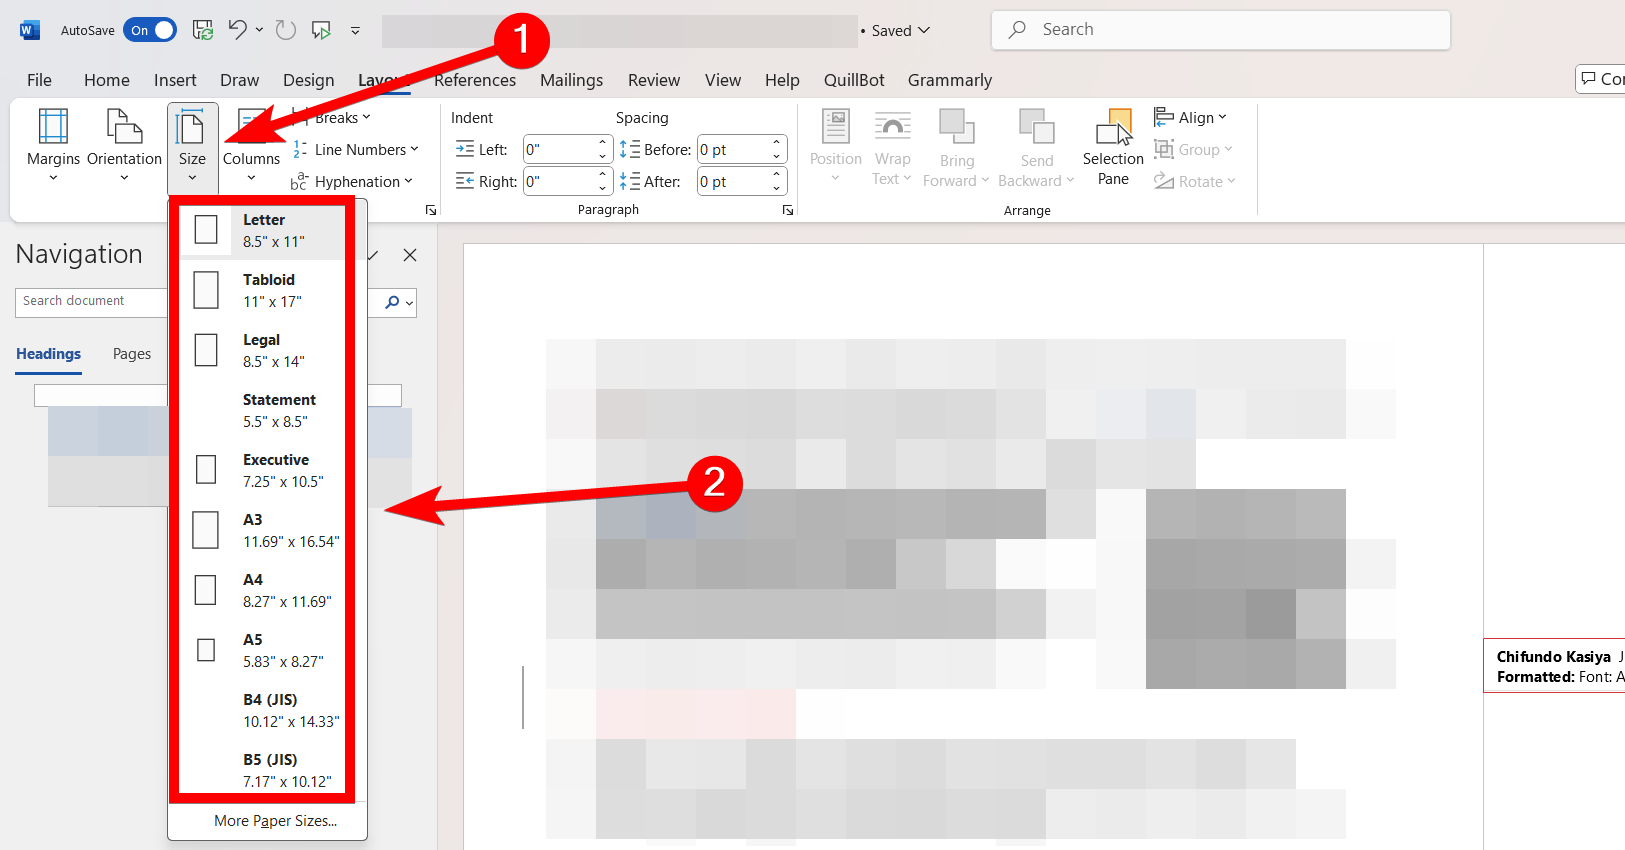
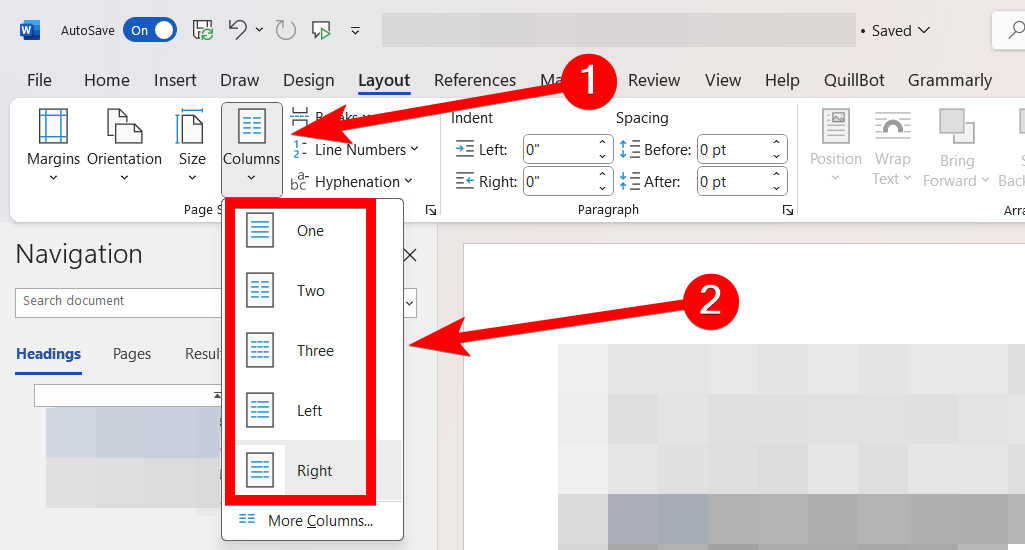
You can also split your text into columns by clicking "Columns" and picking whether you want "One," "Two," or "Three" in the menu. The "Left" and "Right" options align the first column in the chosen direction and then narrows it.
In the Arrange tab, you can set the position of elements you insert (e.g., images, shapes, and charts), wrap them within the text, or make them background or foreground elements. You can also change their alignment or rotate them.
6 Use the Review Features During Collaboration
In the Review tab, you will see features that make collaboration much easier in Word. The ones you need to know about the most are adding comments and tracking changes.
To add a comment, highlight the text you want to comment on and click "New Comment" in the Comments section of the ribbon. In the Comments pane on the right, write your comment and then click the blue "Send" button.
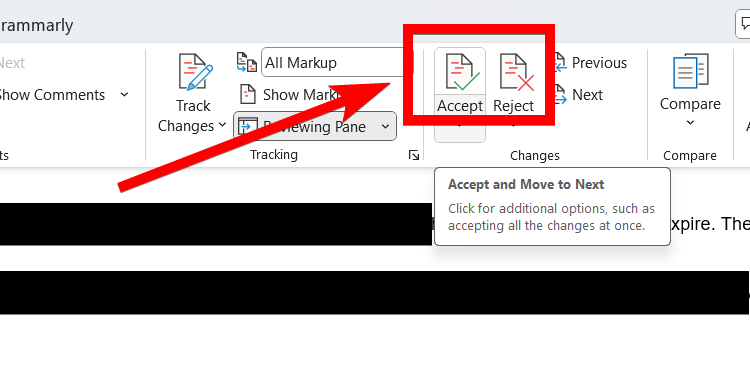
The tracking changes feature lets you suggest changes to the document instead of directly editing it. You and your collaborators can review the changes later and accept or reject them.
To start tracking changes, select the "Review" tab and click "Track Changes" in the Tracking section of the ribbon. Now when you type suggestions, they will appear in a different color. You can then select the suggestion and click "Accept" or "Reject" in the Changes section of the ribbon to add or remove it from the final draft.
7 Use the Editor to Improve Your Writing
Speaking of the review features, you should also take advantage of the Editor feature. This AI-powered tool can improve your writing based on spelling, grammar, clarity, conciseness, and style.
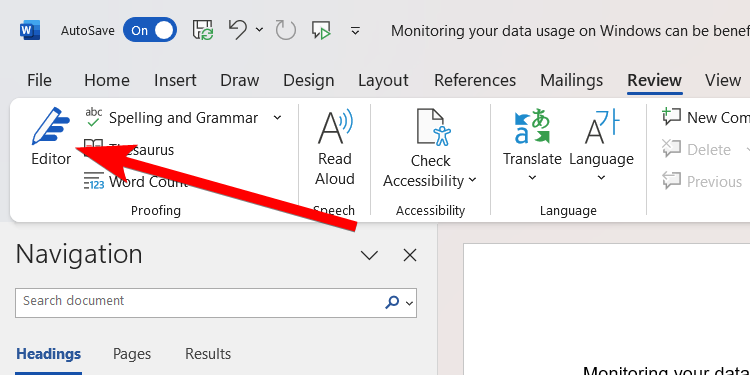
To use it, go to the "Review" tab and click "Editor" in the Proofing section of the ribbon.
A panel will appear on the left, with an Editor Score. This will contain corrections and suggestions you can make to help the document fit the style and tone you're going for—try to get a score of 100%.
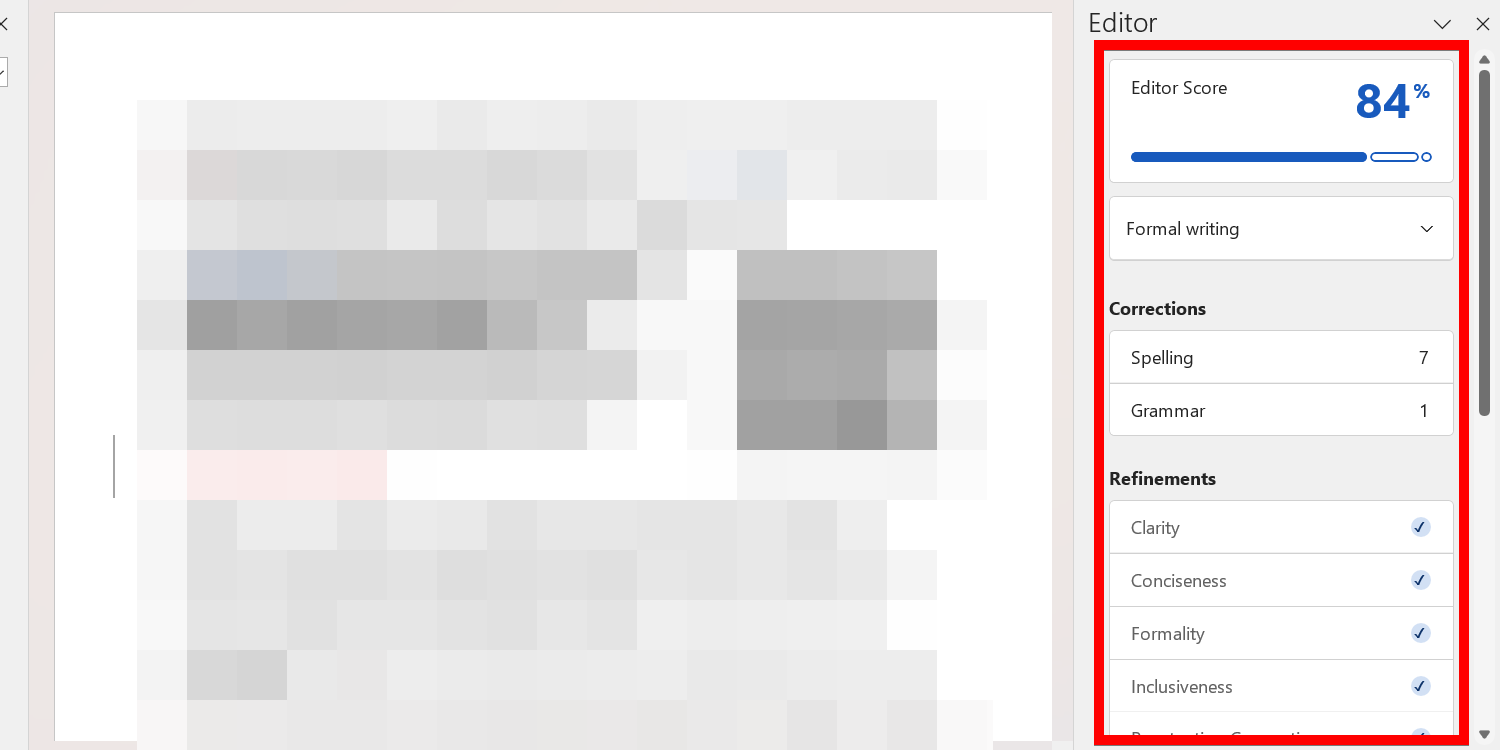
You can change the style and tone by, for example, expanding the "Formal Writing" section and picking between "Formal," "Professional," and "Casual" in the menu.
8 Install Productivity Add-Ins
You can increase your productivity in Word by installing add-ins, which are small apps that add custom features. These can help you streamline tasks in Microsoft Word.
To install an add-in in Microsoft Word, select the "Home" tab and click "Add-Ins" in the Add-Ins section of the ribbon. Click the "More Add-Ins" button at the bottom of the pop-up to open the store.
Search for the add-in in the "Search" box and click "Add" next to the one you want to install.

In the prompt, click "Continue" to install the add-in. For some add-ins, you might need to agree to the terms and conditions before installation. And to launch a plugin, click the "Add-Ins" button again and select it in the pop-up.
9 Enable Document Protection
Word can protect your documents from unauthorized access and edits, which is extremely useful if they contain sensitive information.
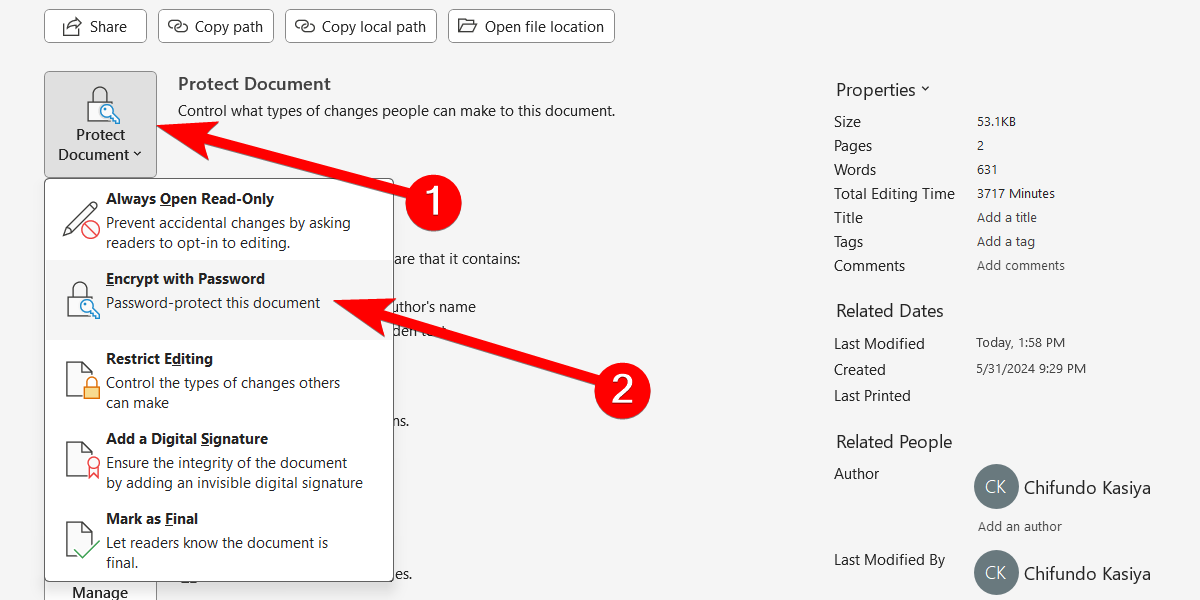
To enable document protection, head to File > Info and click the "Protect Document" button. Then, click "Encrypt With Password" in the menu that appears.
You will then be required to enter a password and confirm it. Keep in mind that if you lose this password, you won't be able to access the document again. So, be sure to pick one you'll easily remember or keep it somewhere safe.
These are just some basic tips to get you started. There are more Microsoft Word tips you can look into to increase your efficiency. If you give this app the time and effort, you will soon become a master of streamlining your workflow in Microsoft Word.
When you subscribe to the blog, we will send you an e-mail when there are new updates on the site so you wouldn't miss them.
About the author
I Got A Virus and I Don't Know What To Do!
I Need Help!

Comments