Tech News
Learn These 6 Linux Commands to Go From Beginner to Badass

Getting started with the Linux terminal doesn't have to be daunting, and it can even be fun. Here are six Linux terminal tools that are not only useful but can quickly make you feel like a badass having these in your toolbox.
1 mc: File Manager
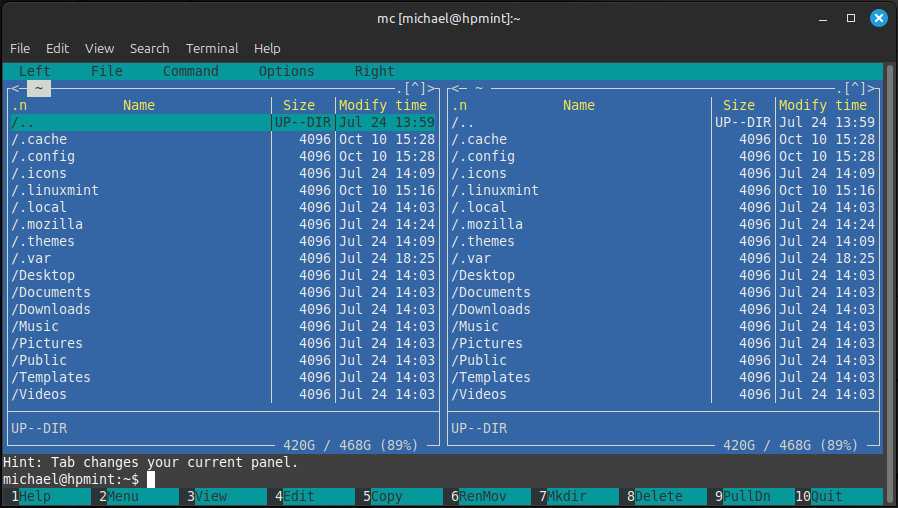
Let's start things off with a terminal-based visual file manager. The command mc will launch the tool Midnight Commander which is a very powerful file manager for your terminal. You'll feel like a power-user quickly when using this because the interface is reminiscent of classic days of computing where functionality was the norm and form was yet to enter the equation.
Midnight Commander gives you the ability to easily copy, move and delete files and whole directory trees, search for files and run commands in the subshell, and more. While mc won't be winning any awards for aesthetics, it will give you that feeling of being a terminal ninja, especially if you use it in front of friends and family because it is a file manager with that old classic tech style feel.
On a Debian or Ubuntu-based system, you can install it with this command:
sudo apt install mcThen run the command:
mc2 ncdu: Check Your Disk Usage
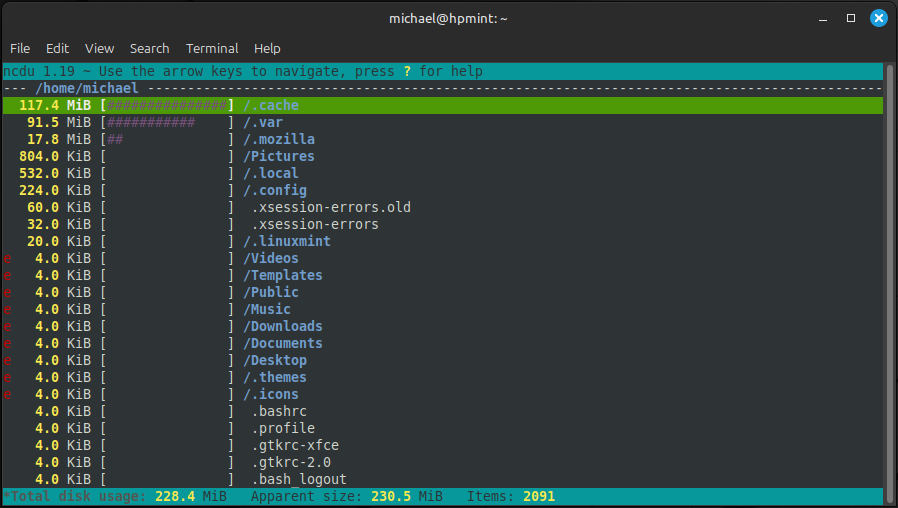
The next tool is a perfect companion of Midnight Commander because it helps you find files on your system based on how much space they take up on your disk. Maybe you're running out of storage space on your drive and you aren't sure why. Perhaps you downloaded a video or recorded a screencast that is taking up a lot of space but don't remember where those files are. This is where ncdu can help.
NCDU stands for "NCurses Disk Usage" and is a disk usage analyzer with a text-mode user interface. Ncdu allows you to easily find storage hogs on your system by scanning your drives and organizing the results based on the largest files at the top of the list. It breaks it down by directory and then by file so you can easily find which files are taking up the most space. Then you can quickly delete them directly if you want to. Otherwise, you could switch to Midnight Commander to do other things with the files.
I use ncdu often, and my favorite thing about it is the speed. Ncdu is by far the fastest way to analyze your disk usage.
On a Debian or Ubuntu-based system, you can install it with this command:
sudo apt install ncduThen run the command:
ncdu3 htop: System Monitor & Process Viewer
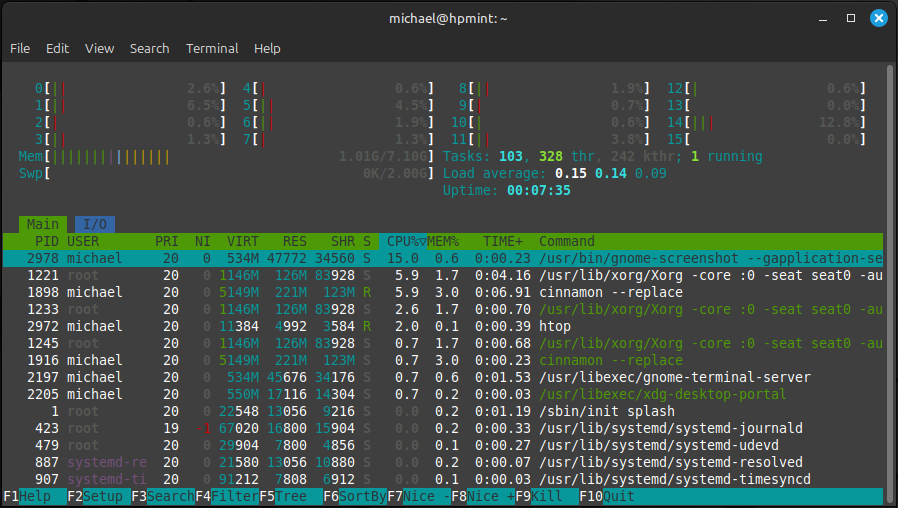
Now that you know how to use the terminal to find files and how to manage them when you need to, let's move to managing your processes. htop is a tool that lets you monitor and manage your system's running processes. It shows a list of all the processes running on your computer and updates this list in real-time.
With this system monitor, you can see which processes are using the most amount of CPU usage. That's the default listing, but you can also adjust the sorting method. htop displays the data in a colorful way which offers that cool terminal ninja feeling. In addition to being a process viewer, it also provides information about your system's processor (CPU), swap status, and memory usage.
On a Debian or Ubuntu-based system, you can install it with this command:
sudo apt install htopThen run the command:
htop
Now it's time to show off your system info to someone in the cool terminal way. There are many of these types of info fetch tools and depending on your Linux distro and version of your distro, you may have different options available to you. To use one of the system-fetch tools, all you need to do is install one and run the default command of the name of the app.
The first tool is called fastfetch and this is the current new hotness when it comes to fetch tools but it is also kind of too new so not all distros will have it in their repositories. If you use Ubuntu or something based on Ubuntu then you will need Ubuntu 24.10 or newer in order to install it, otherwise you can use the tool neofetch instead.
On a Debian or Ubuntu-based system, you can install it with this command:
sudo apt install fastfetchThen run the command:
fastfetchIf you are using Ubuntu 24.04, or older, or something based on that version of Ubuntu such as Linux Mint 22 then you'll replace fastfetch in the above instructions with neofetch.
5 nano: Text Editor
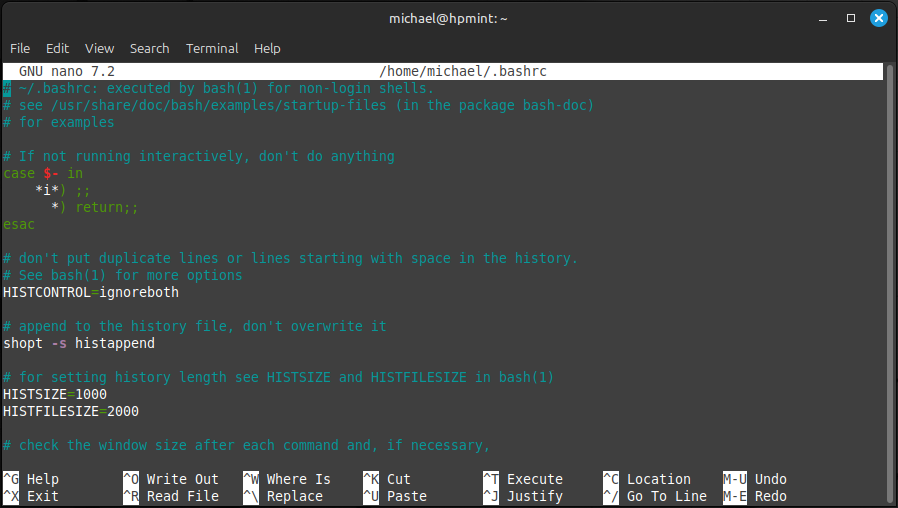
At some point, you will want to edit a file on your system and what better way than in the terminal? Nano is the default terminal text editor that you will find in most Linux distros. You won't need to install anything here because nano is typically installed by default. You'll just need to launch it and tell it what file you want to run.
A nice thing about nano for people getting started with the terminal is that it explains how to do certain tasks at the bottom of the interface with a small glossary of shortcut functions. You'll be surprised how quickly nano will come in handy as you explore the Linux terminal experience.
Simply run the command:
nano filename6 alias: Create Your Own Terminal Commands
Using the Linux terminal is a very powerful way to interact with your computer because sometimes it can be much faster to do something in the terminal than in a graphic app. Other times, the command you need to run can be very long. Repetitively typing it can become frustrating, and this is where alias comes in.
Alias is a tool that lets you create custom commands effectively acting as shortcuts for longer much more complex commands or anything you want. For example, the process of updating your system with apt can be slightly annoying because you have to run two commands back to back each time. After a while, it just gets tedious. You may think to yourself, "Why isn't this just a single command?" You'd be joining the rest of the Linux community because we all think that at some point. Thanks to the alias command we can make it one command ourselves by creating an alias for the other two.
You can tell the system to first run apt update which refreshes the data about the package repositories so your computer is synced with the servers as to what packages are available. Then you have it run apt upgrade which will perform the updating process for the packages you have installed compared to what is in the repos at that time. You can do this by running the following command:
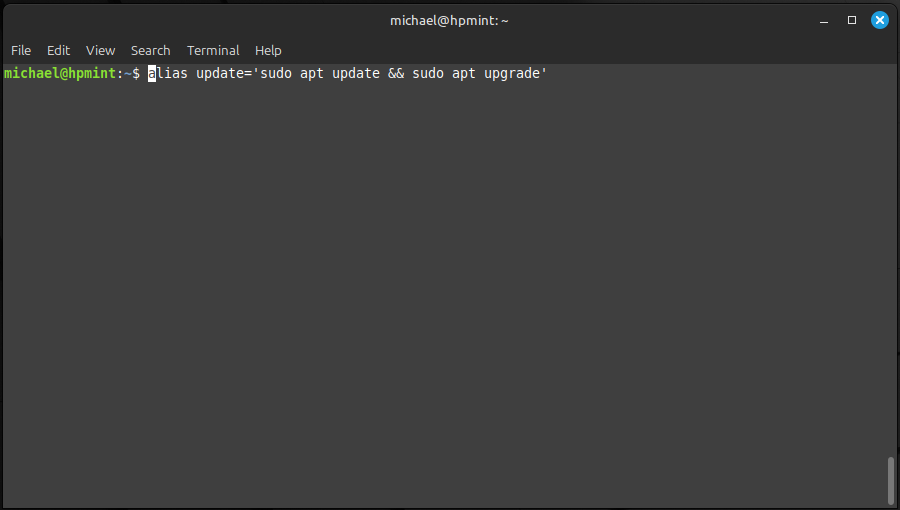
alias update='sudo apt update && sudo apt upgrade'After you've done this you can run the command of simply "update" to perform this whole process. This will not only save you time but it also makes you feel like a badass because you're basically creating your own commands now.

Creating an alias using the above method works but only on a temporary basis. To create an alias permanently, we'll need to edit the .bashrc file in our home folder. We'll edit the file with nano. See? I told you it was going to surprise you how quickly you'd do this.
Open your .bashrc file with nano, scroll to the bottom of the file, and then place the alias commands you want at the end of this file with each alias being on a separate line.
nano ~/.bashrcThen place the alias command:
alias update='sudo apt update && sudo apt upgradeThose are the 6 commands that will turn you from a beginner to a badass in the Linux terminal. From here you can interact with your system in a different way that only a true Linux ninja can appreciate.
As a quick bonus tip, when you are using a terminal in Linux you will notice that Ctrl+C for copy and Ctrl+V for paste don't work, which is pretty annoying. That's because this form of computer interaction was created prior to the invention of copy-and-paste desktop shortcuts and terminal emulators like to keep it that way. Thankfully, this is easily addressed in most terminal windows simply by adding a Shift to the shortcut, so you'll use Ctrl+Shift+C and Ctrl+Shift+V.
When you subscribe to the blog, we will send you an e-mail when there are new updates on the site so you wouldn't miss them.
About the author
I Got A Virus and I Don't Know What To Do!
I Need Help!

Comments