Tech News
How to Schedule Text Messages on iPhone
Quick Links
Key Takeaways
Message scheduling is finally available on the iPhone and iPad, with a few notable caveats. Here's how to use the long-awaited feature and a workaround you might want to explore instead.
Schedule Texts in the Messages App
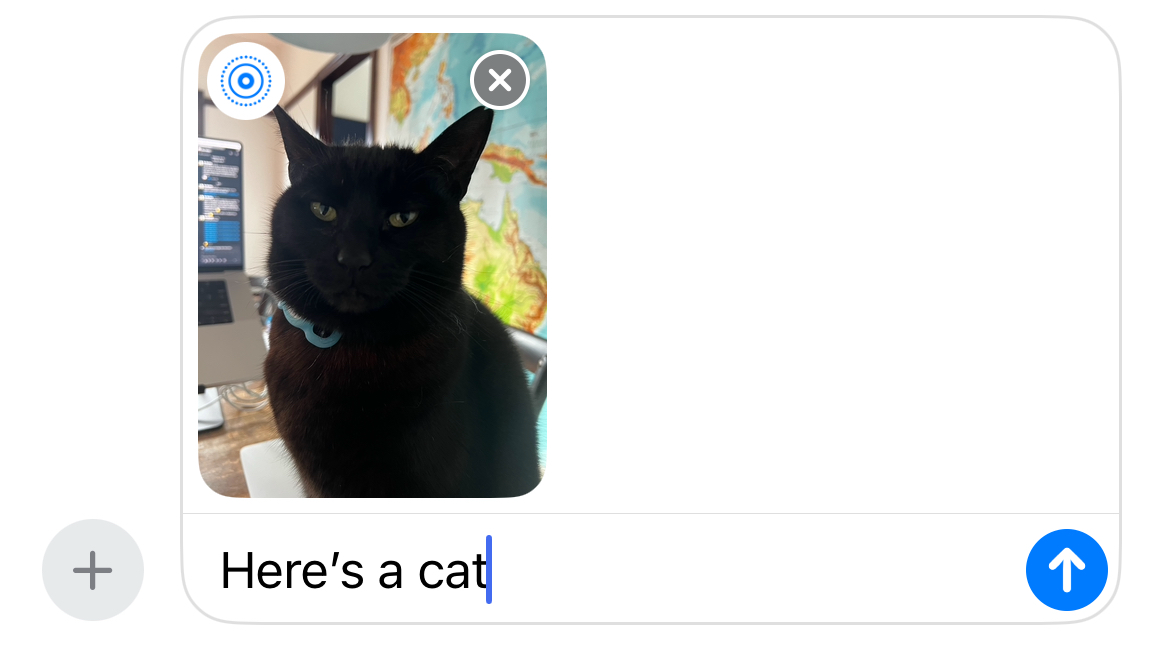
To start scheduling, open the Messages app and find the iMessage contact or conversation you want to message. You can now type your message into the message box.
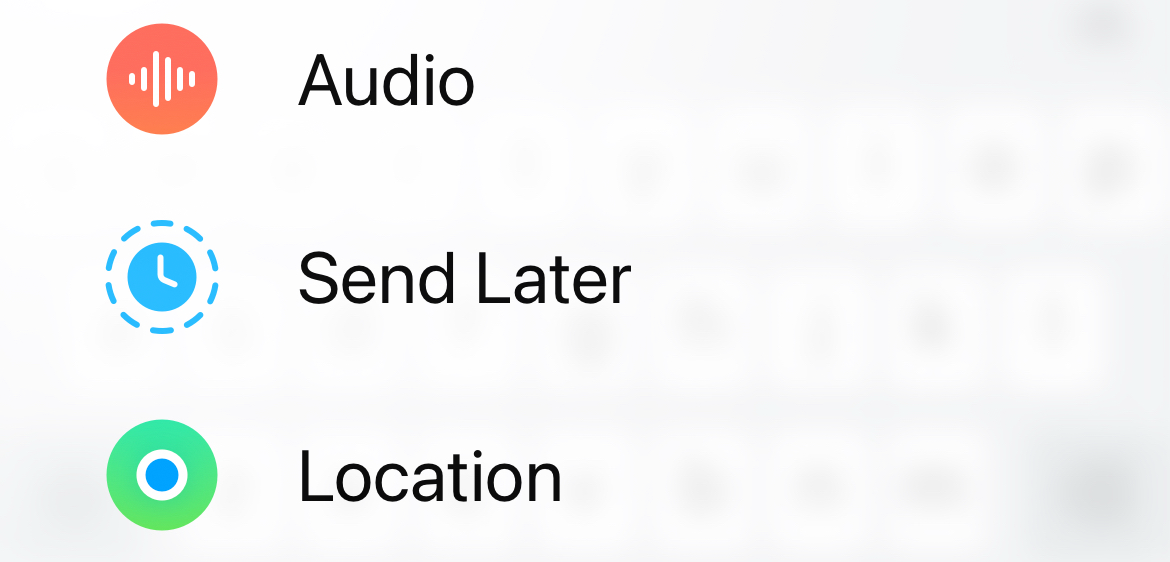
Now hit the plus “+” button and choose the “Send Later” option from the list.
If you don’t see “Send Later” make sure your iPhone or iPad is updated to iOS or iPadOS 18 under Settings > General > Software Update.
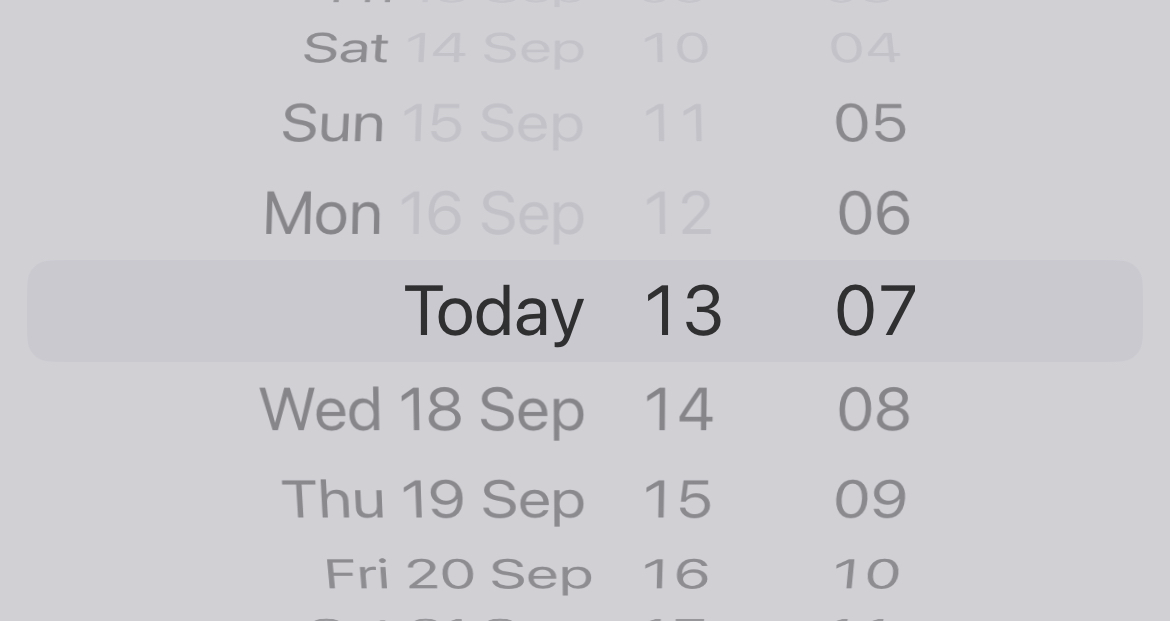
A time and date picker will appear. Choose when you want your message to be sent. You can schedule a message from one minute up to two weeks in advance.
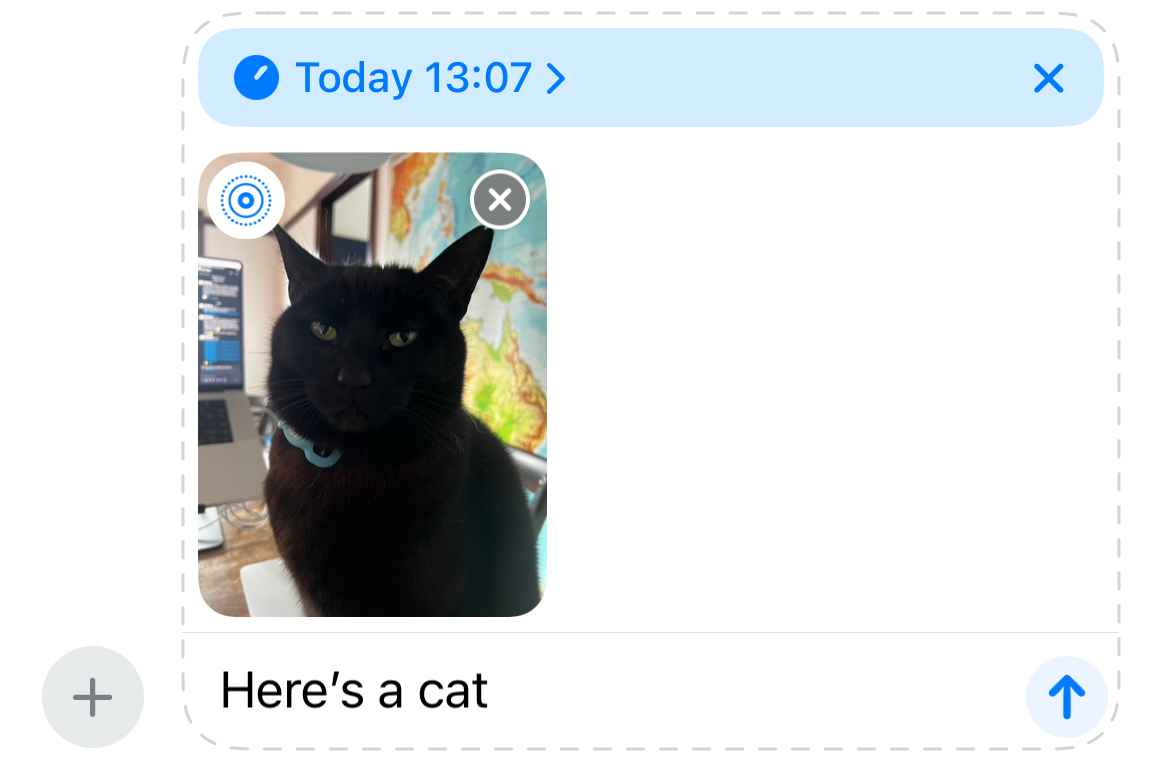
When you’re ready to schedule, check the message contents and notice that a new overlay has appeared above the message with the time at which it will be sent. Hit the “Send” button to schedule the message.
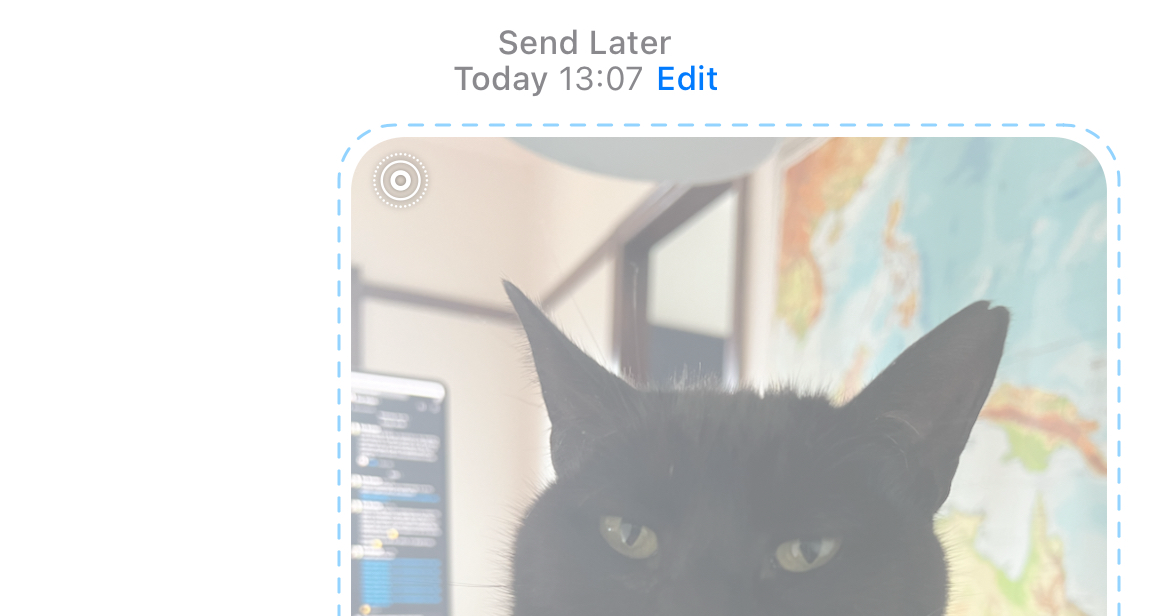
Once your message has been scheduled, it will appear in the message window as a semi-transparent message. The date and time that the message is due to be sent will appear above it. Tap the “Edit” button to make changes to your message.
Once you’ve sent a message, further messages will also be scheduled in the future as indicated by the time overlay that appears in the message compose box. To send a message right now instead, hit the “X” next to the overlay to dismiss it.
How “Send Later” in Messages Works
Message scheduling is currently exclusive to iMessage users, which means it only works with other Apple users who have iMessage enabled. You won’t see the “Send Later” option appear if you’re trying to schedule a message over SMS or RCS.
On the plus side, message scheduling between iMessage users mostly works the same as regular iMessaging. You can attach media, use the #images feature to add animated GIFs, and add songs from Apple Music to your messages.
Conversely, you can’t attach your location, schedule safety feature Check In, or send audio messages in advance.
It’s a bit frustrating to only be able to send messages up to two weeks in advance. The feature also doesn’t let you schedule recurring messages, but you can overcome that by creating an automation in the Shortcuts app.
Alternatively: Schedule Messages with Shortcuts
Before Apple added scheduling to iMessage, the only way to schedule a message was to use the Shortcuts app. This is a bit of a dirty hack, but it has a few upsides.
If you schedule a message with Shortcuts, it should send to any contact regardless of whether they have an iPhone or not. You can also pick a monthly schedule, which means you can technically schedule the message up to a month in advance.
The main drawback here is that the message will send every month (or day, or week) until you delete the automation. It is also limited to just text, so you can’t send media. Your device will need to be on and within signal range for this to work, unlike Apple’s solution which uses iCloud to guarantee delivery.
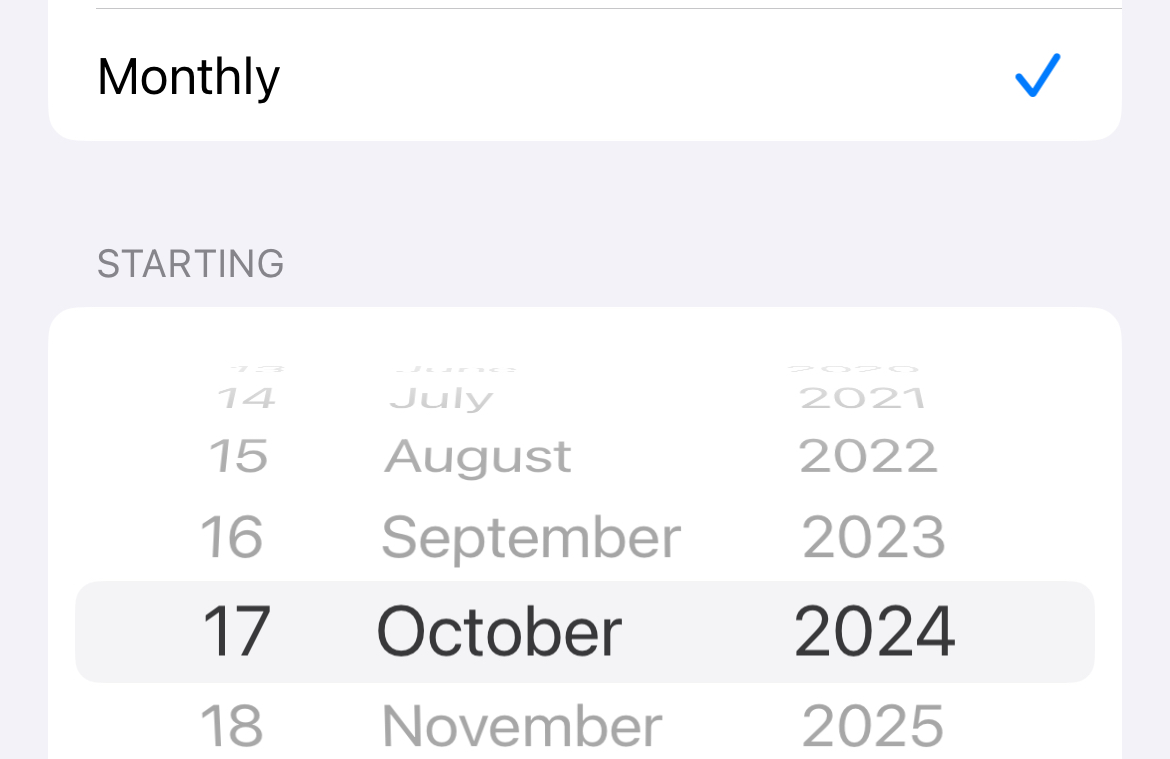
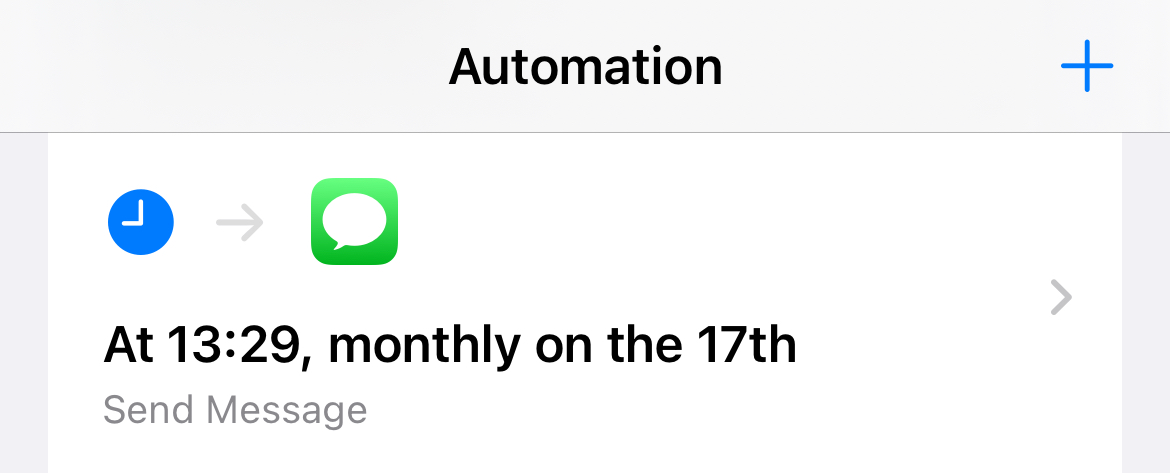
If you still want to go ahead, open Shortcuts and tap the “Automation” tab. Tap the “+” plus button to create a new automation, then choose “Time of Day” and pick between Daily, Weekly, and Monthly. If you pick weekly or monthly you’ll need to set a start date.
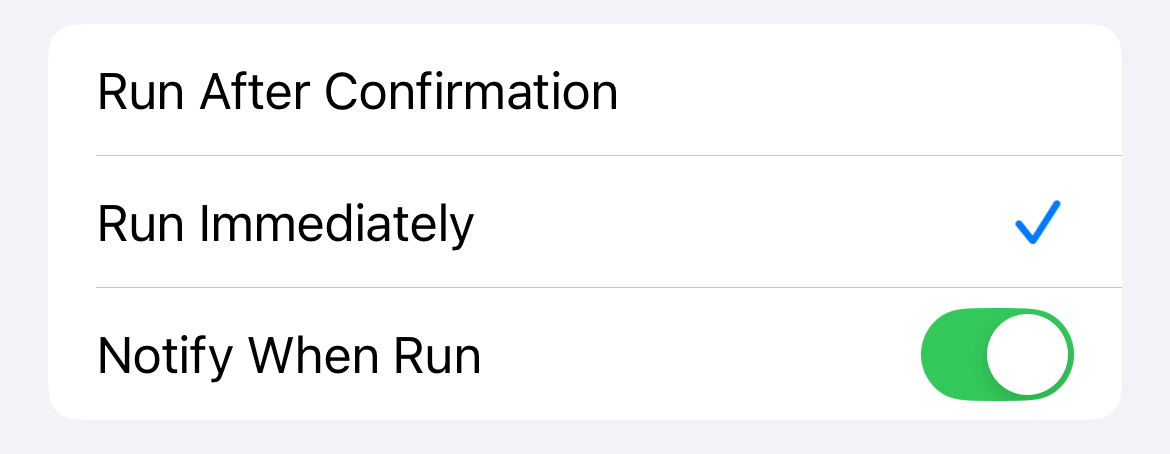
At the bottom of the page, pick “Run Immediately” and we’d also recommend enabling “Notify When Run” so you know when to delete the automation. Hit “Next” to proceed.
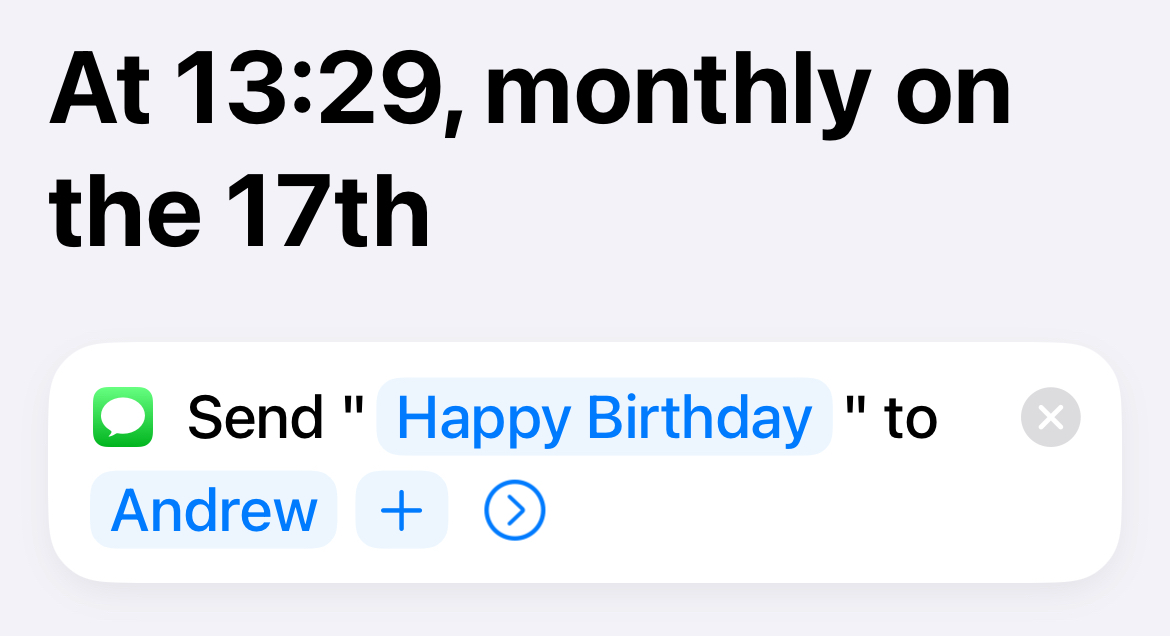
Now add the “Send Message” action to your automation. Tap “Message” and add the text you would like to send. Tap “Recipients” to pick your intended audience.
Now hit “Done” and your automation will be saved. You can’t rename it to something more useful, but it will appear in the list of automations. Swipe left on it then tap “Delete” to remove it.
Apple’s “Send Later” function may be frustrating in that it’s limited and slightly flawed, but it’s a step in the right direction. It’s just one of the many iMessage features you should be using.
When you subscribe to the blog, we will send you an e-mail when there are new updates on the site so you wouldn't miss them.




Comments