Tech News
How to Make Ubuntu Look Like Windows 11

Key Takeaways
Ubuntu offers a unique user interface that's night and day compared to Windows. So, if you are new to Ubuntu and feeling a bit homesick for Windows, I've got you covered. Here's a step-by-step guide covering the essential tools and settings to customize Ubuntu and make it look like Windows 11.
Installing Necessary Tools and Extensions
By default, Ubuntu looks like this:
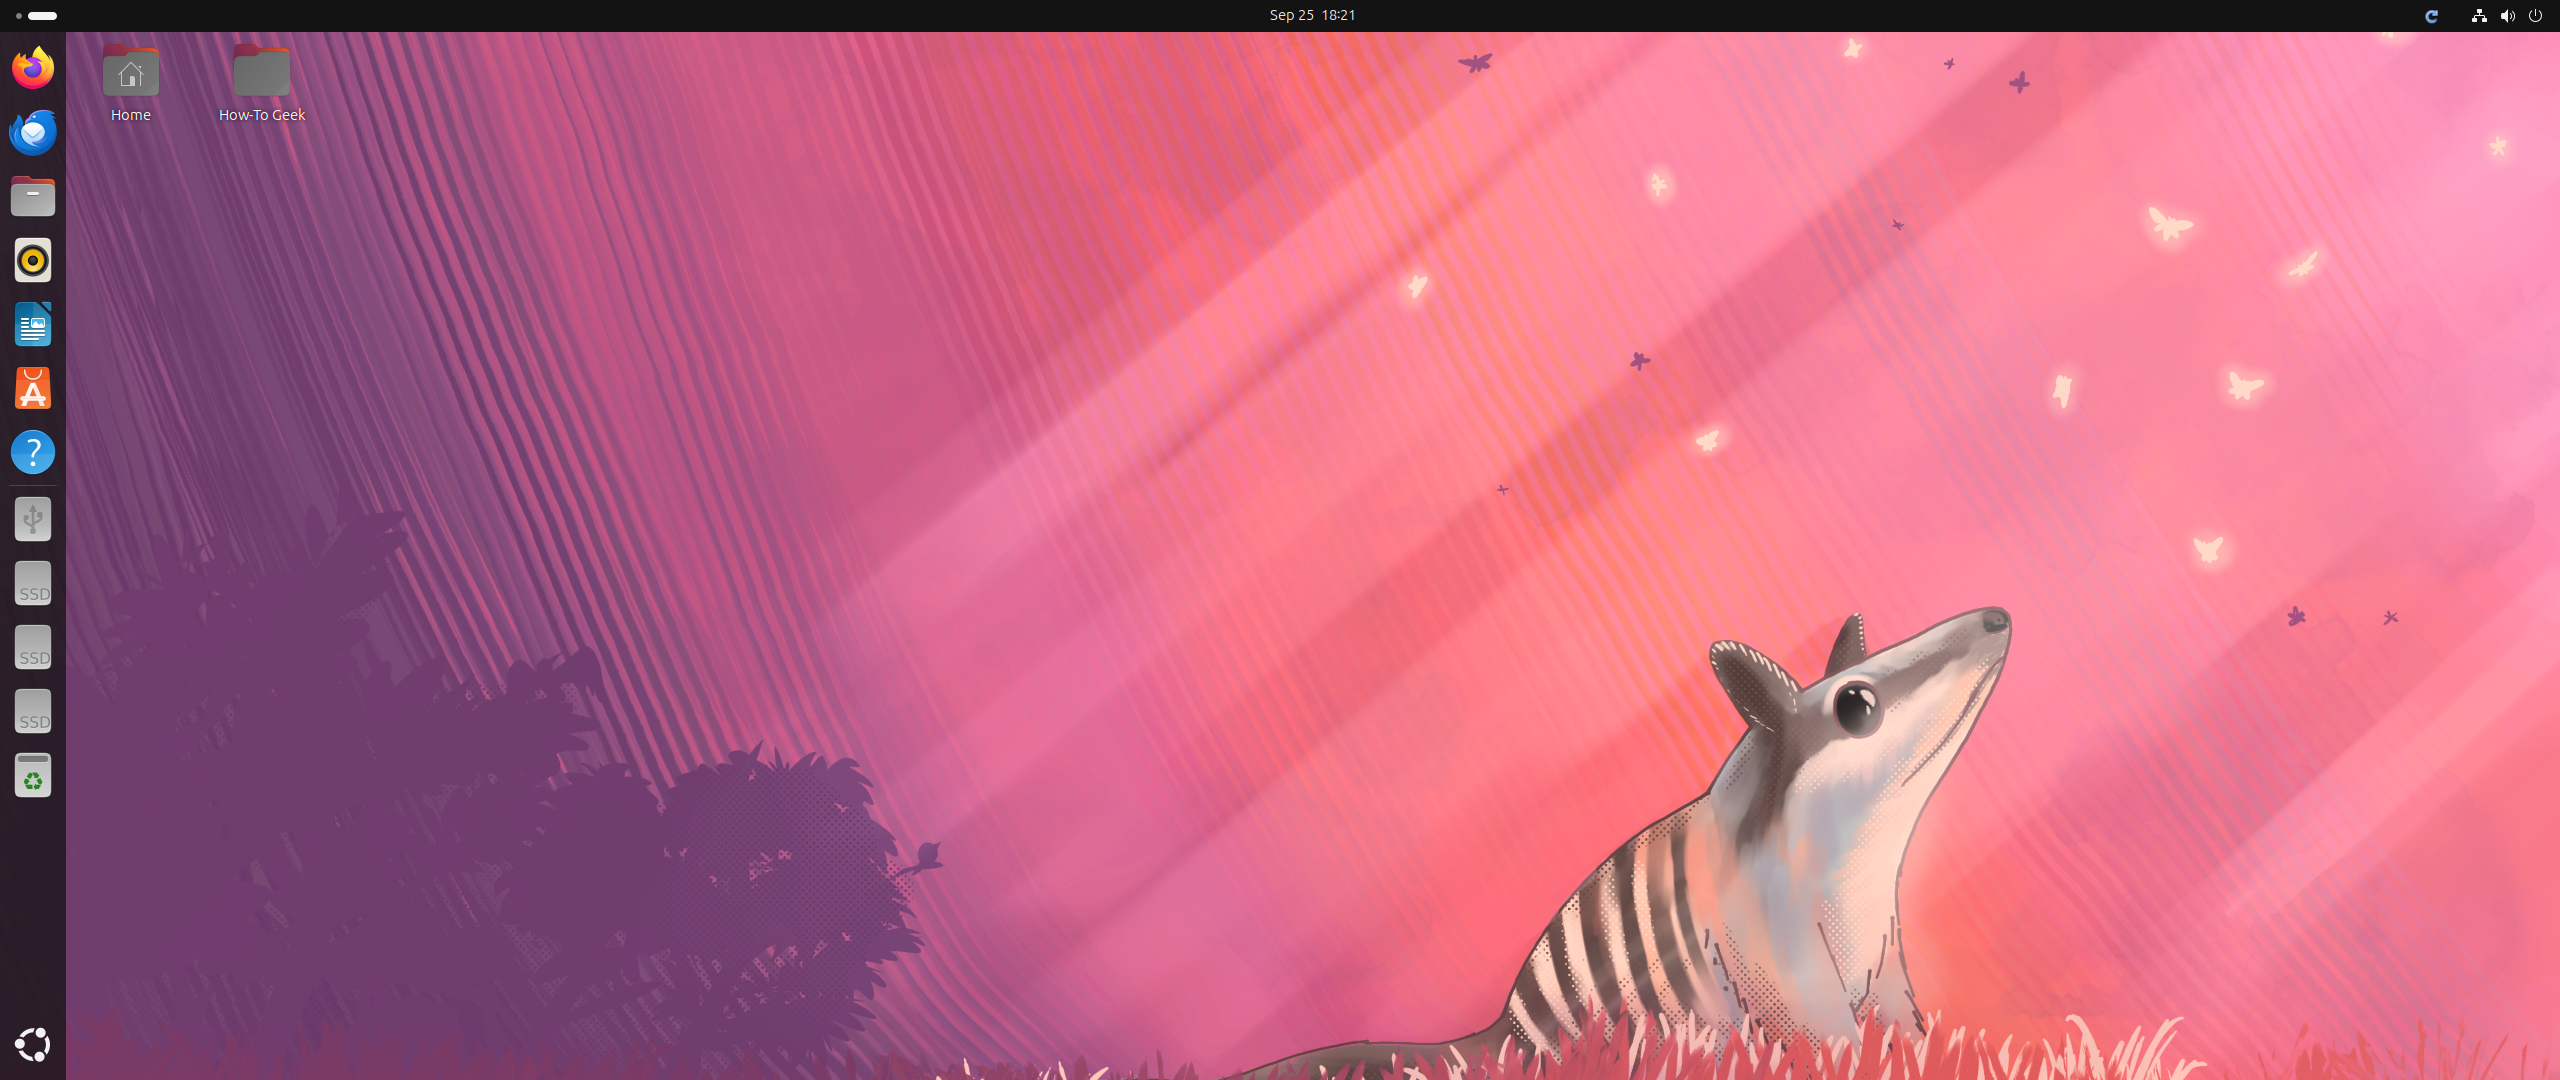
We want to remove the left-side dock along with the top bar and add a taskbar with the app icons, quick settings, and the date and time on the bottom edge of the screen—similar to Windows 11.
To do this, we need to start making changes to the desktop environment (DE) powering Ubuntu: GNOME! By default, Ubuntu doesn't give you access to the necessary tools to tweak and customize its DE, namely GNOME Extensions and GNOME Tweaks. So we'll first install them. Next, we install specific themes and icon packs to nail the visual appearance of Windows 11.
As you can see, we have our work cut out for us. So let's not waste any more time and kick things off by opening the terminal (press Ctrl+Alt+T) and updating our packages:
sudo apt updateNext, enter this command to install Git, GNOME Extensions, and GNOME Tweaks all at once:
sudo apt install git gnome-shell-extensions gnome-tweaks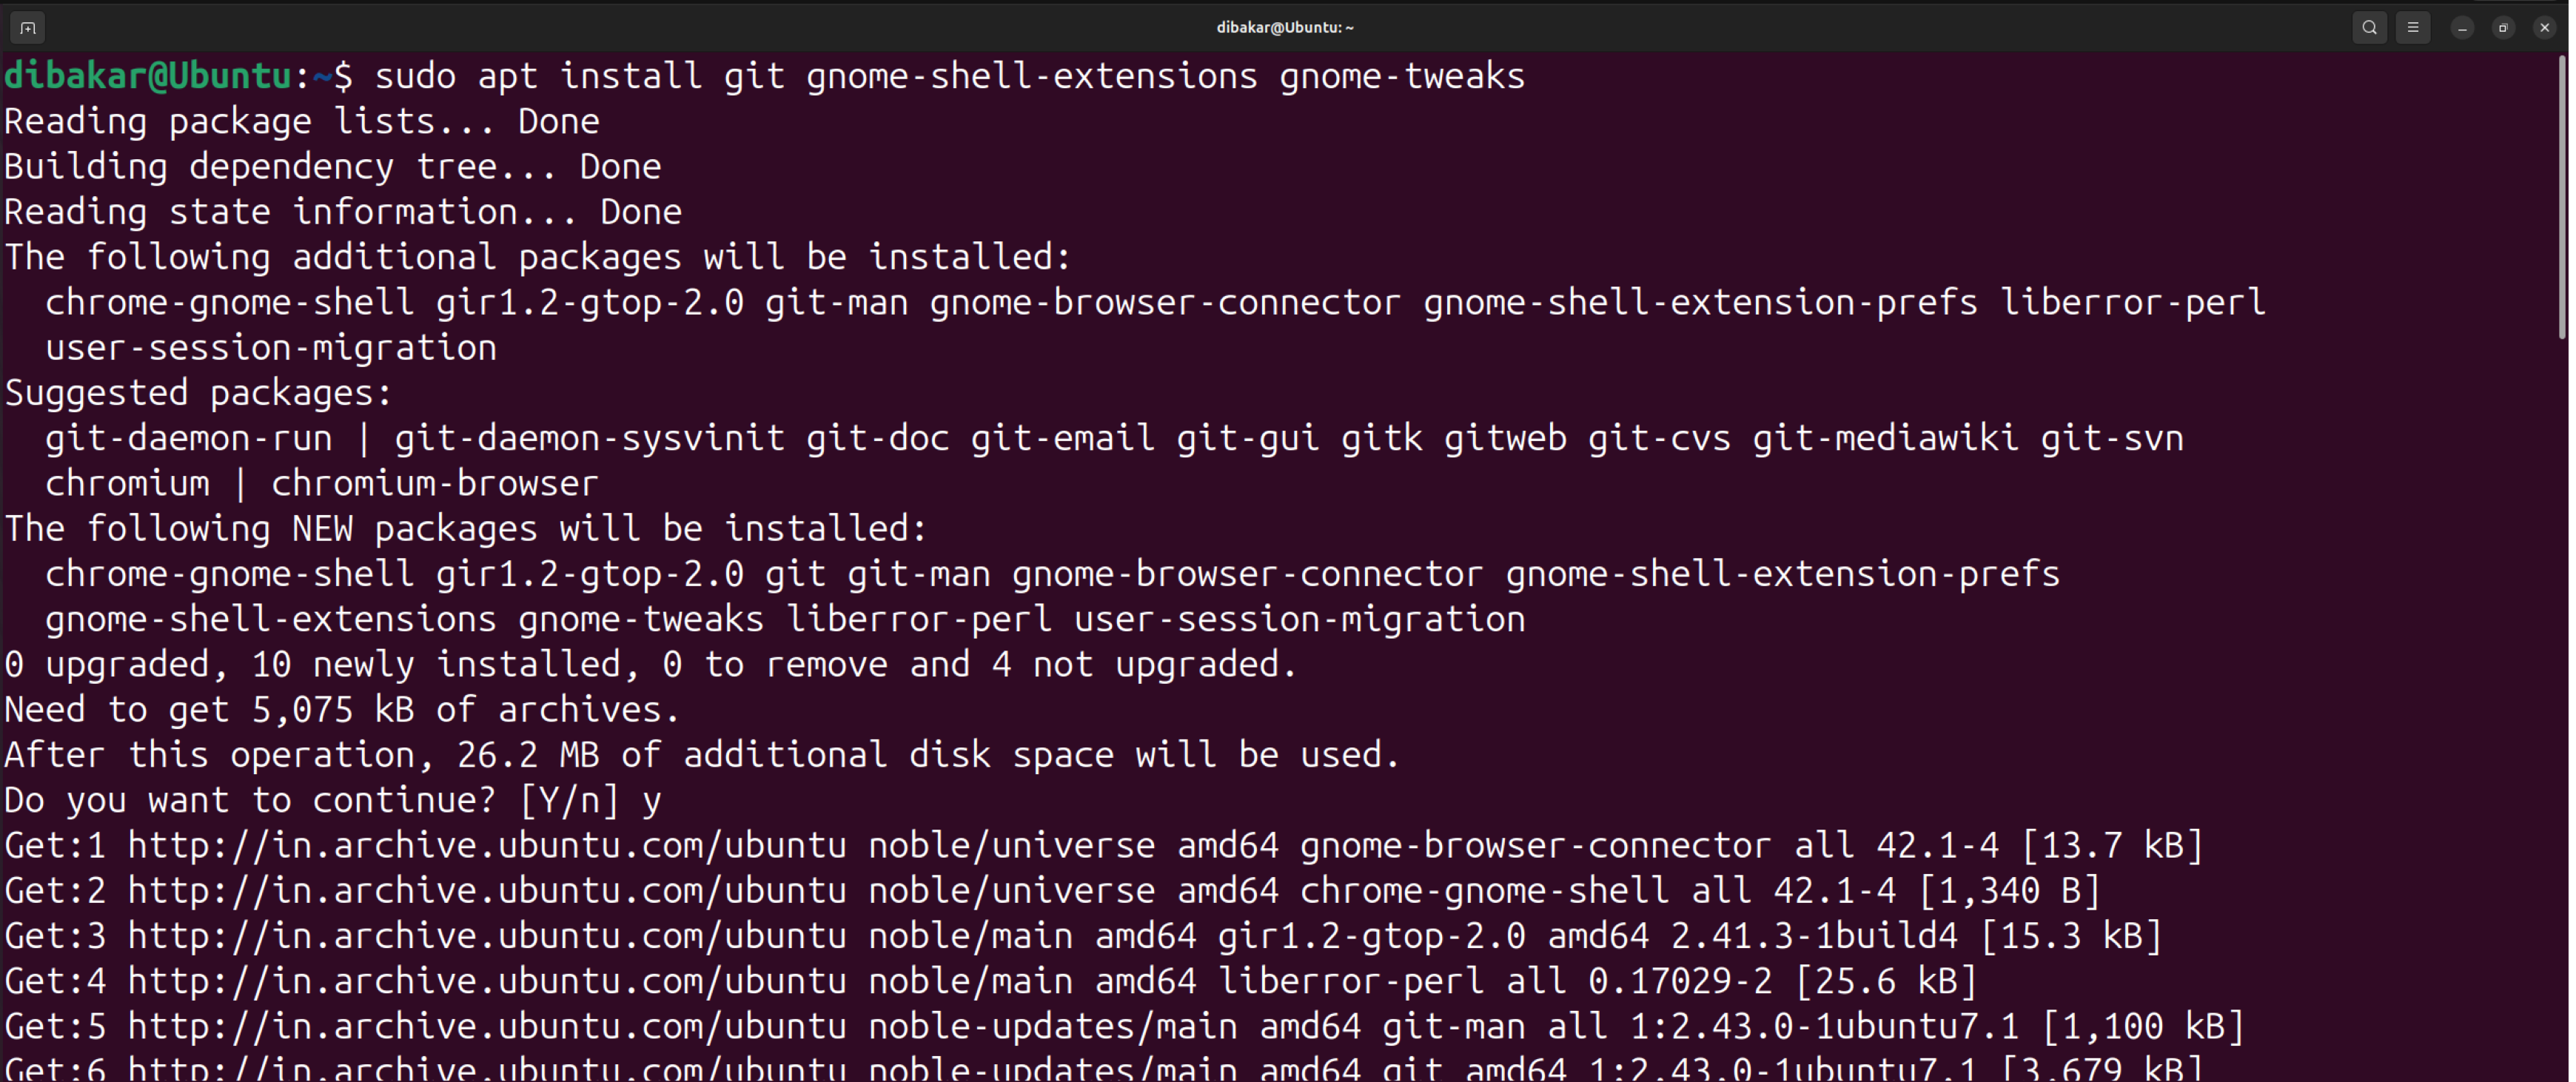
Now, we can start installing the stuff we need.
Installing The Necessary Extensions
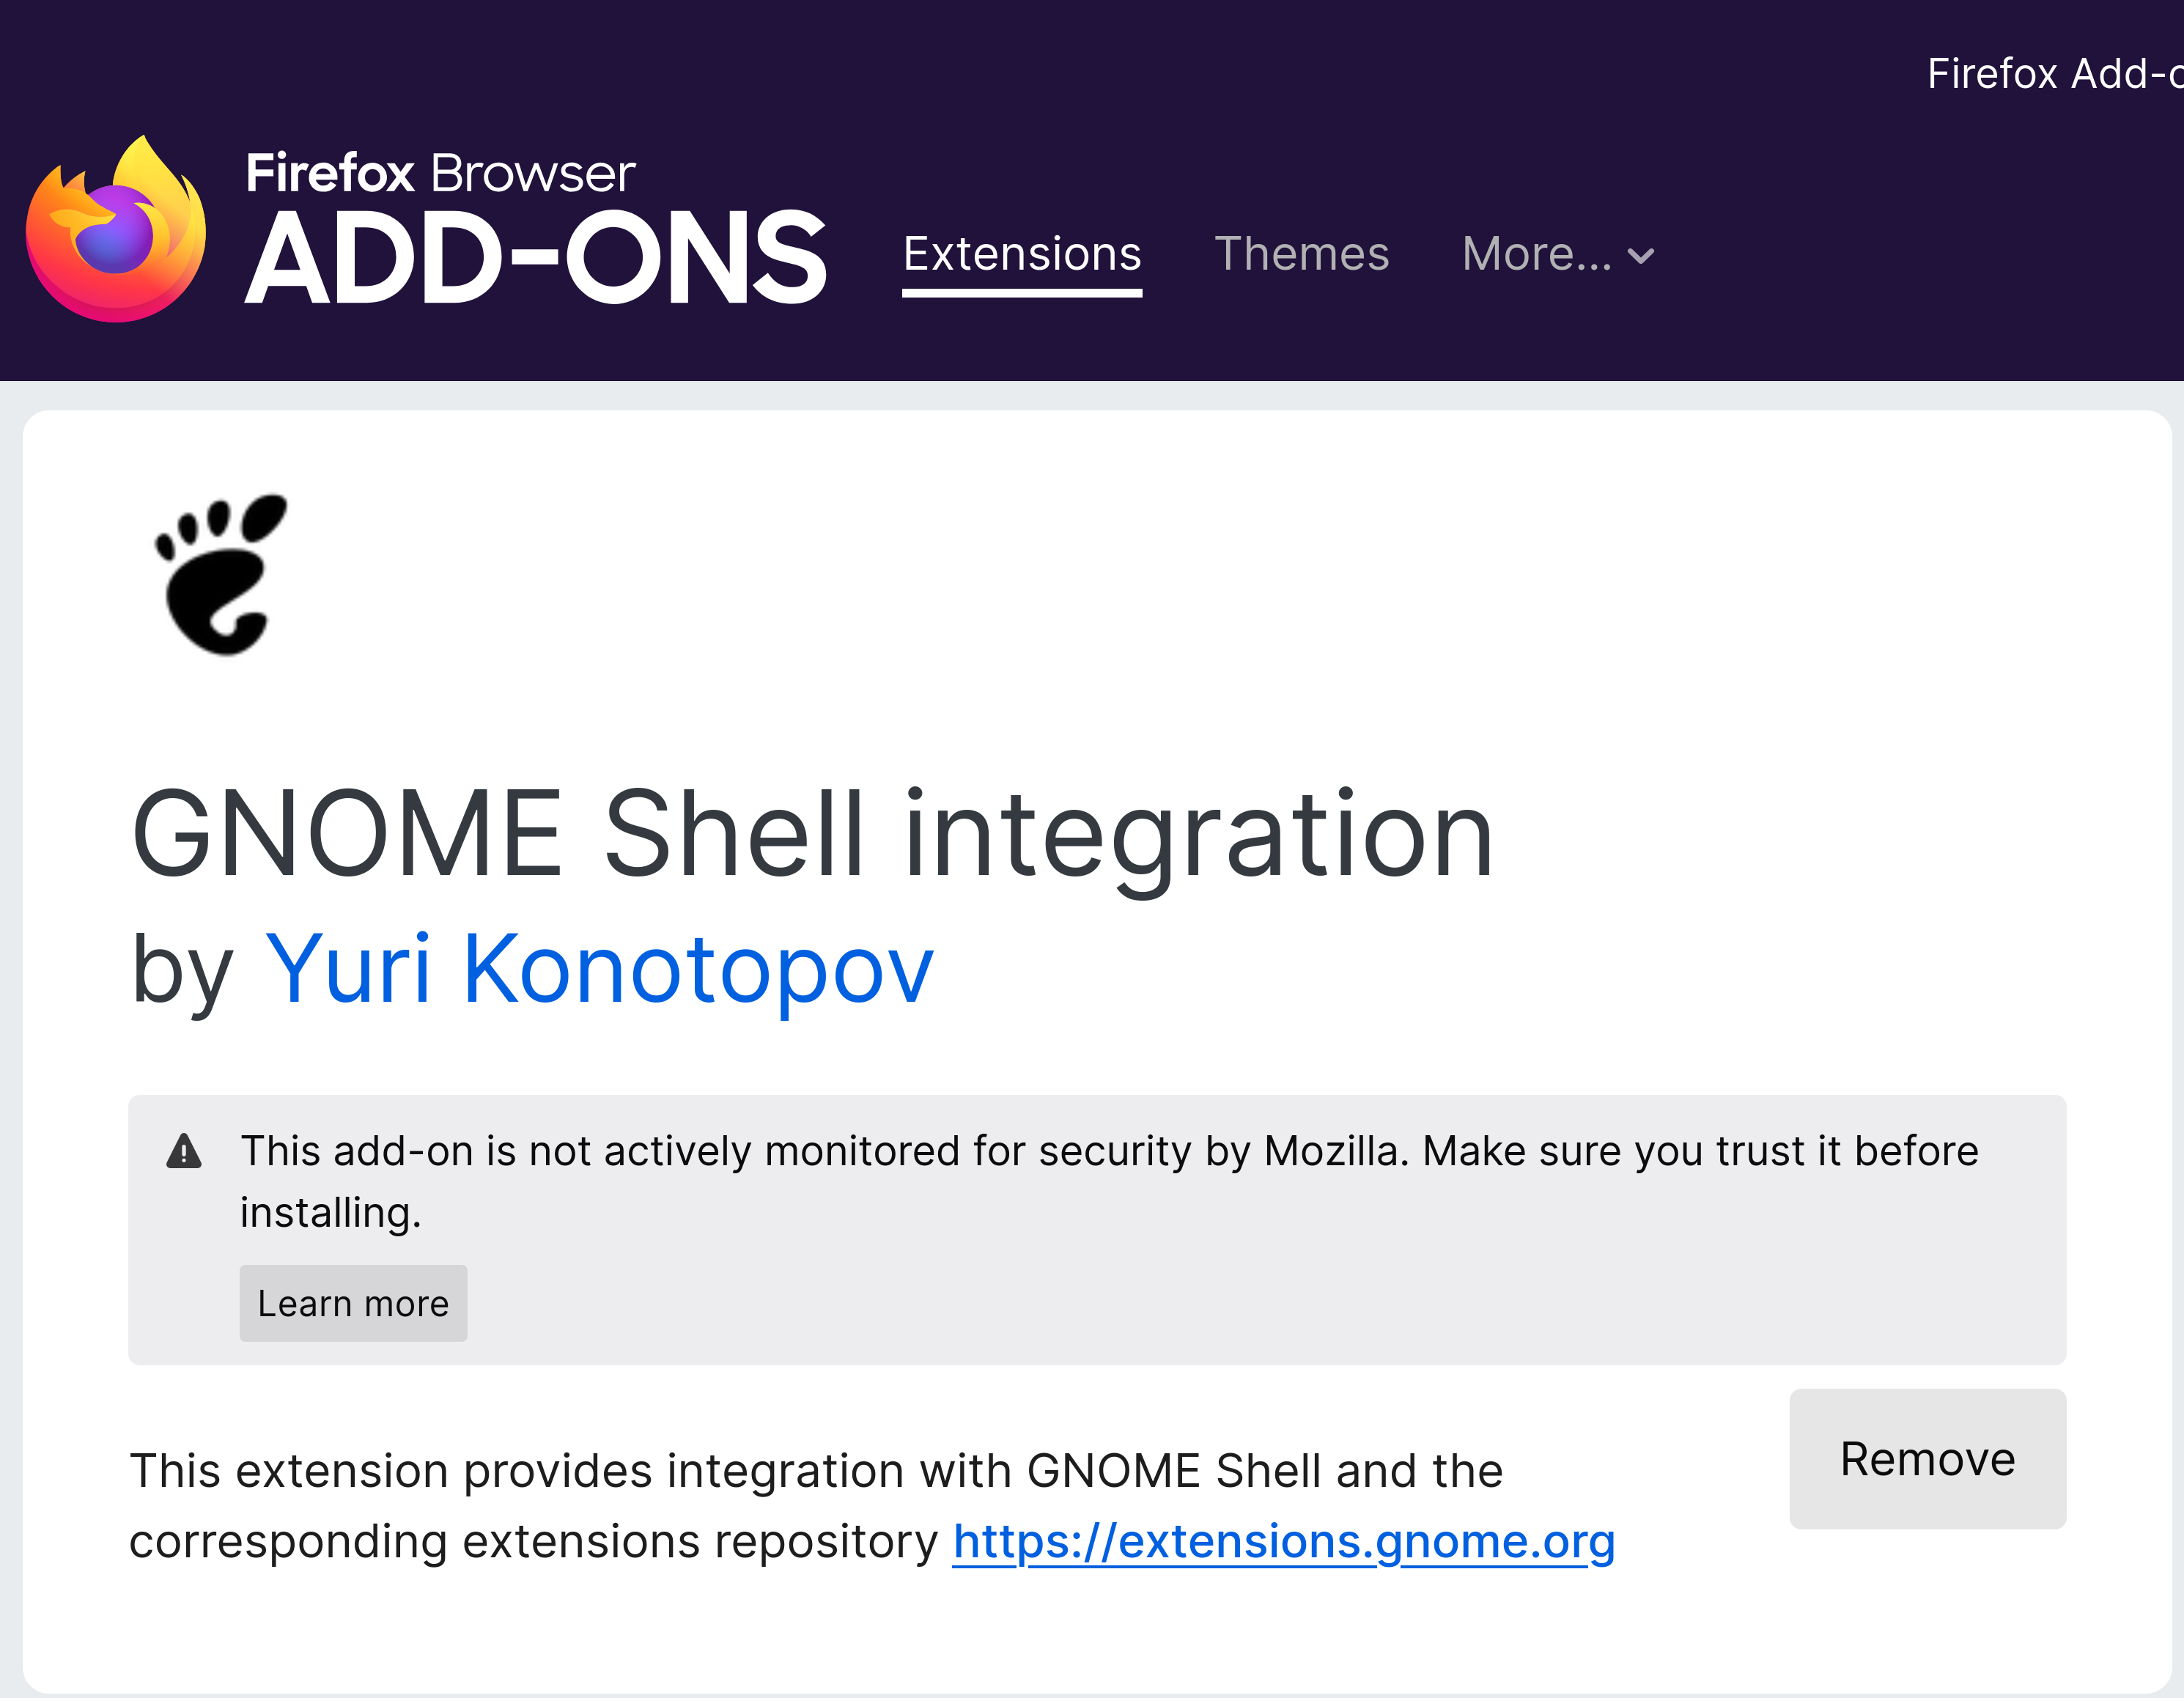
Open your browser of choice—for me, it's Firefox—and search for the browser extension: GNOME Shell Integration. You need this extension installed on your browser if you wish to install any GNOME extensions on your Ubuntu PC.
Users on Chrome or Chromium-based browsers can install this Chrome extension.
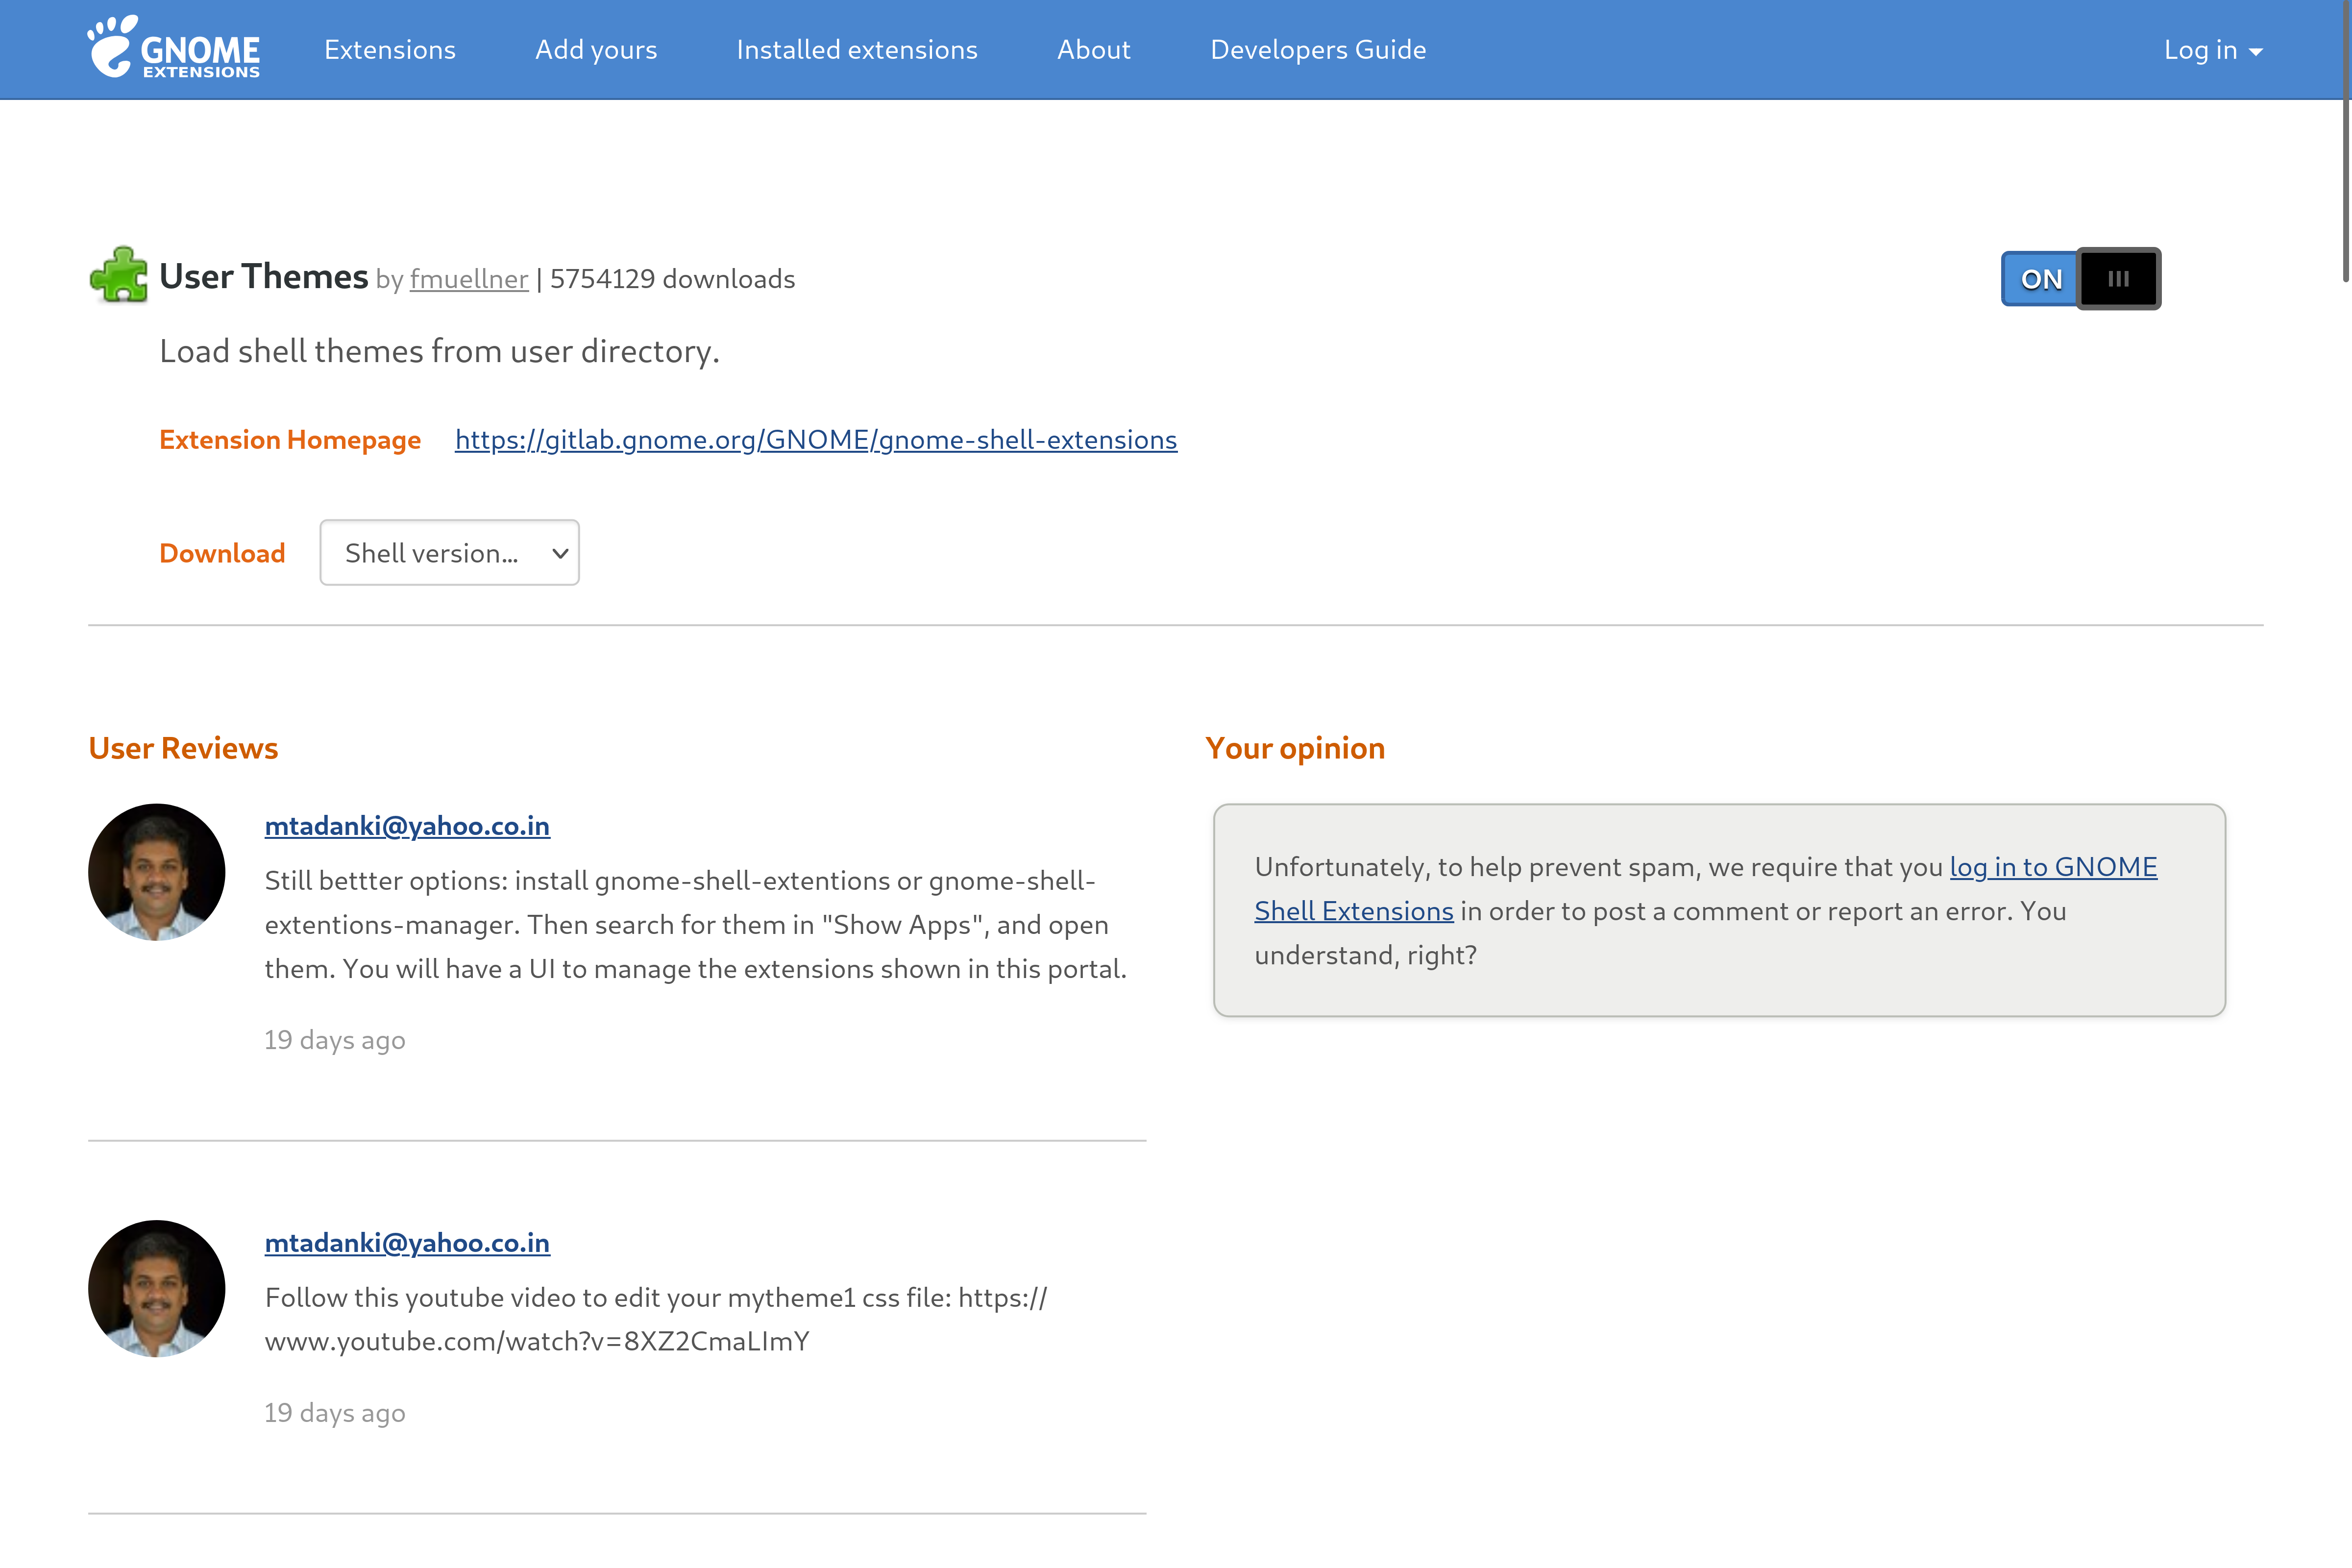
With the extension installed, head on over to this website: extensions.gnome.org. From here, you can start downloading extensions on your Ubuntu PC, which you can then manage from the GNOME Extensions app we previously installed. The first extension you should download is User Themes. It will let you switch between different themes to change the graphical look and aesthetics. You install an extension by clicking the on/off toggle in the top-right area.
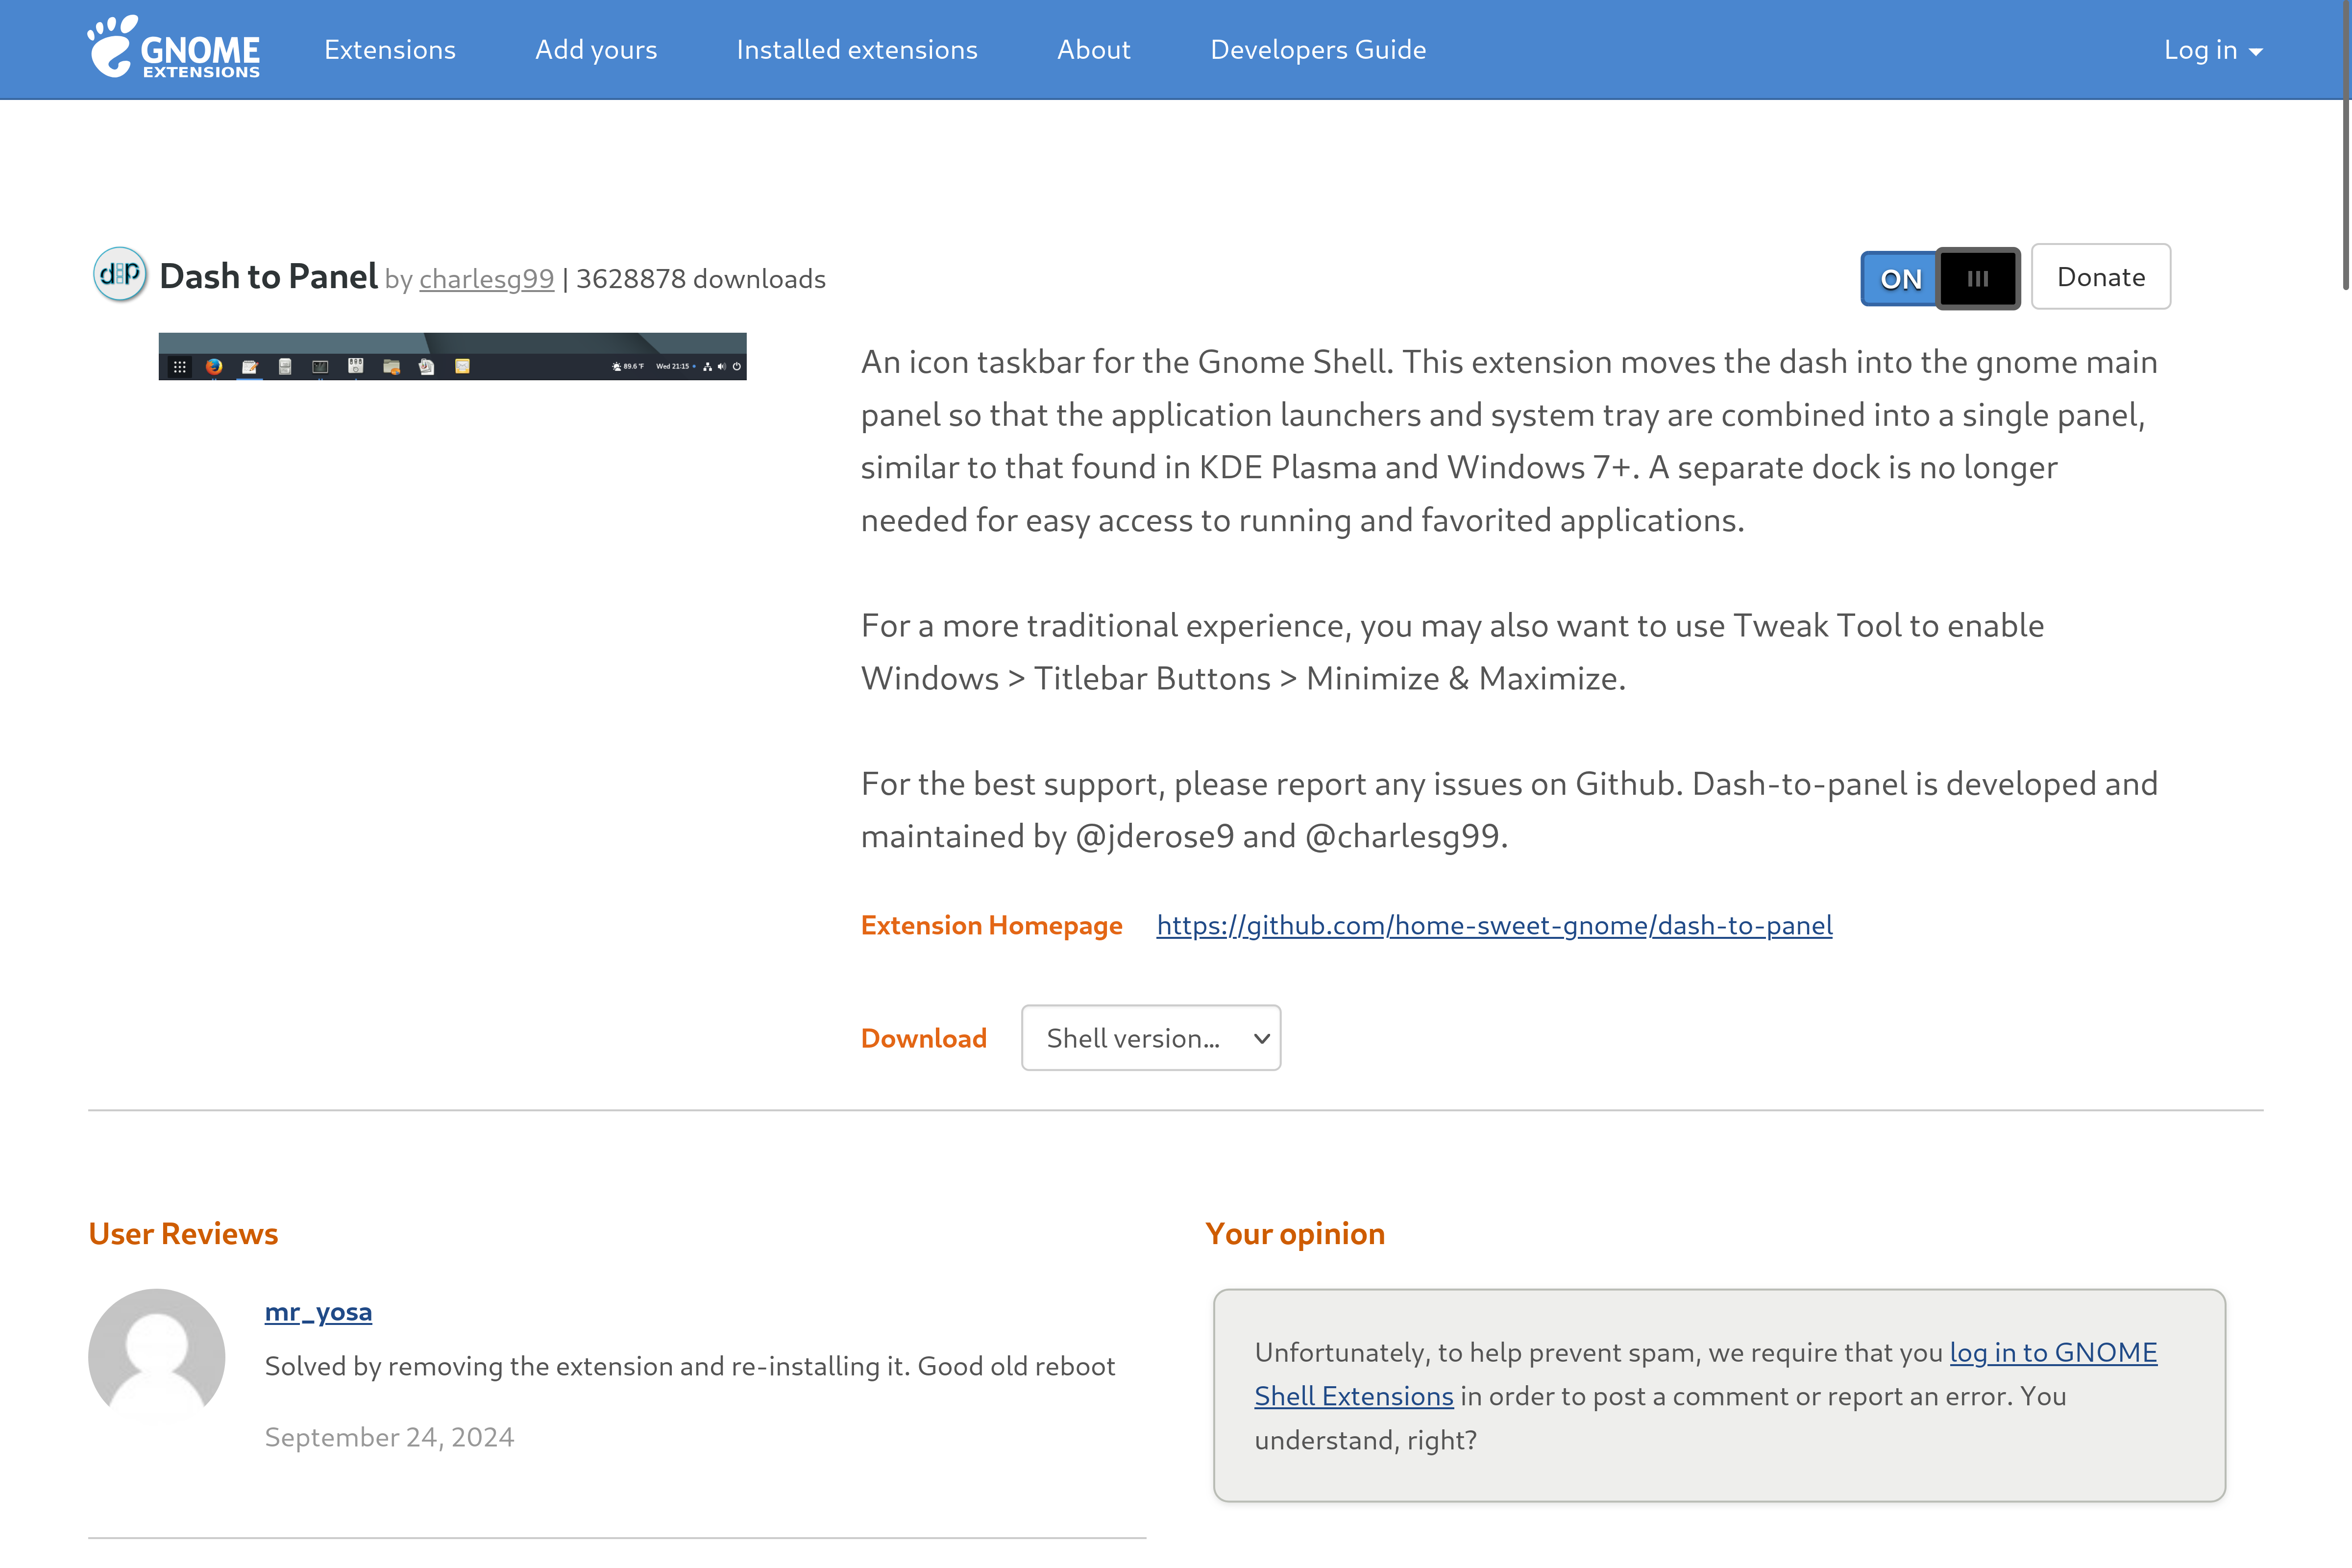
Next, install Dash to Panel. This will transform the left-hand dash into a proper Windows-style taskbar.
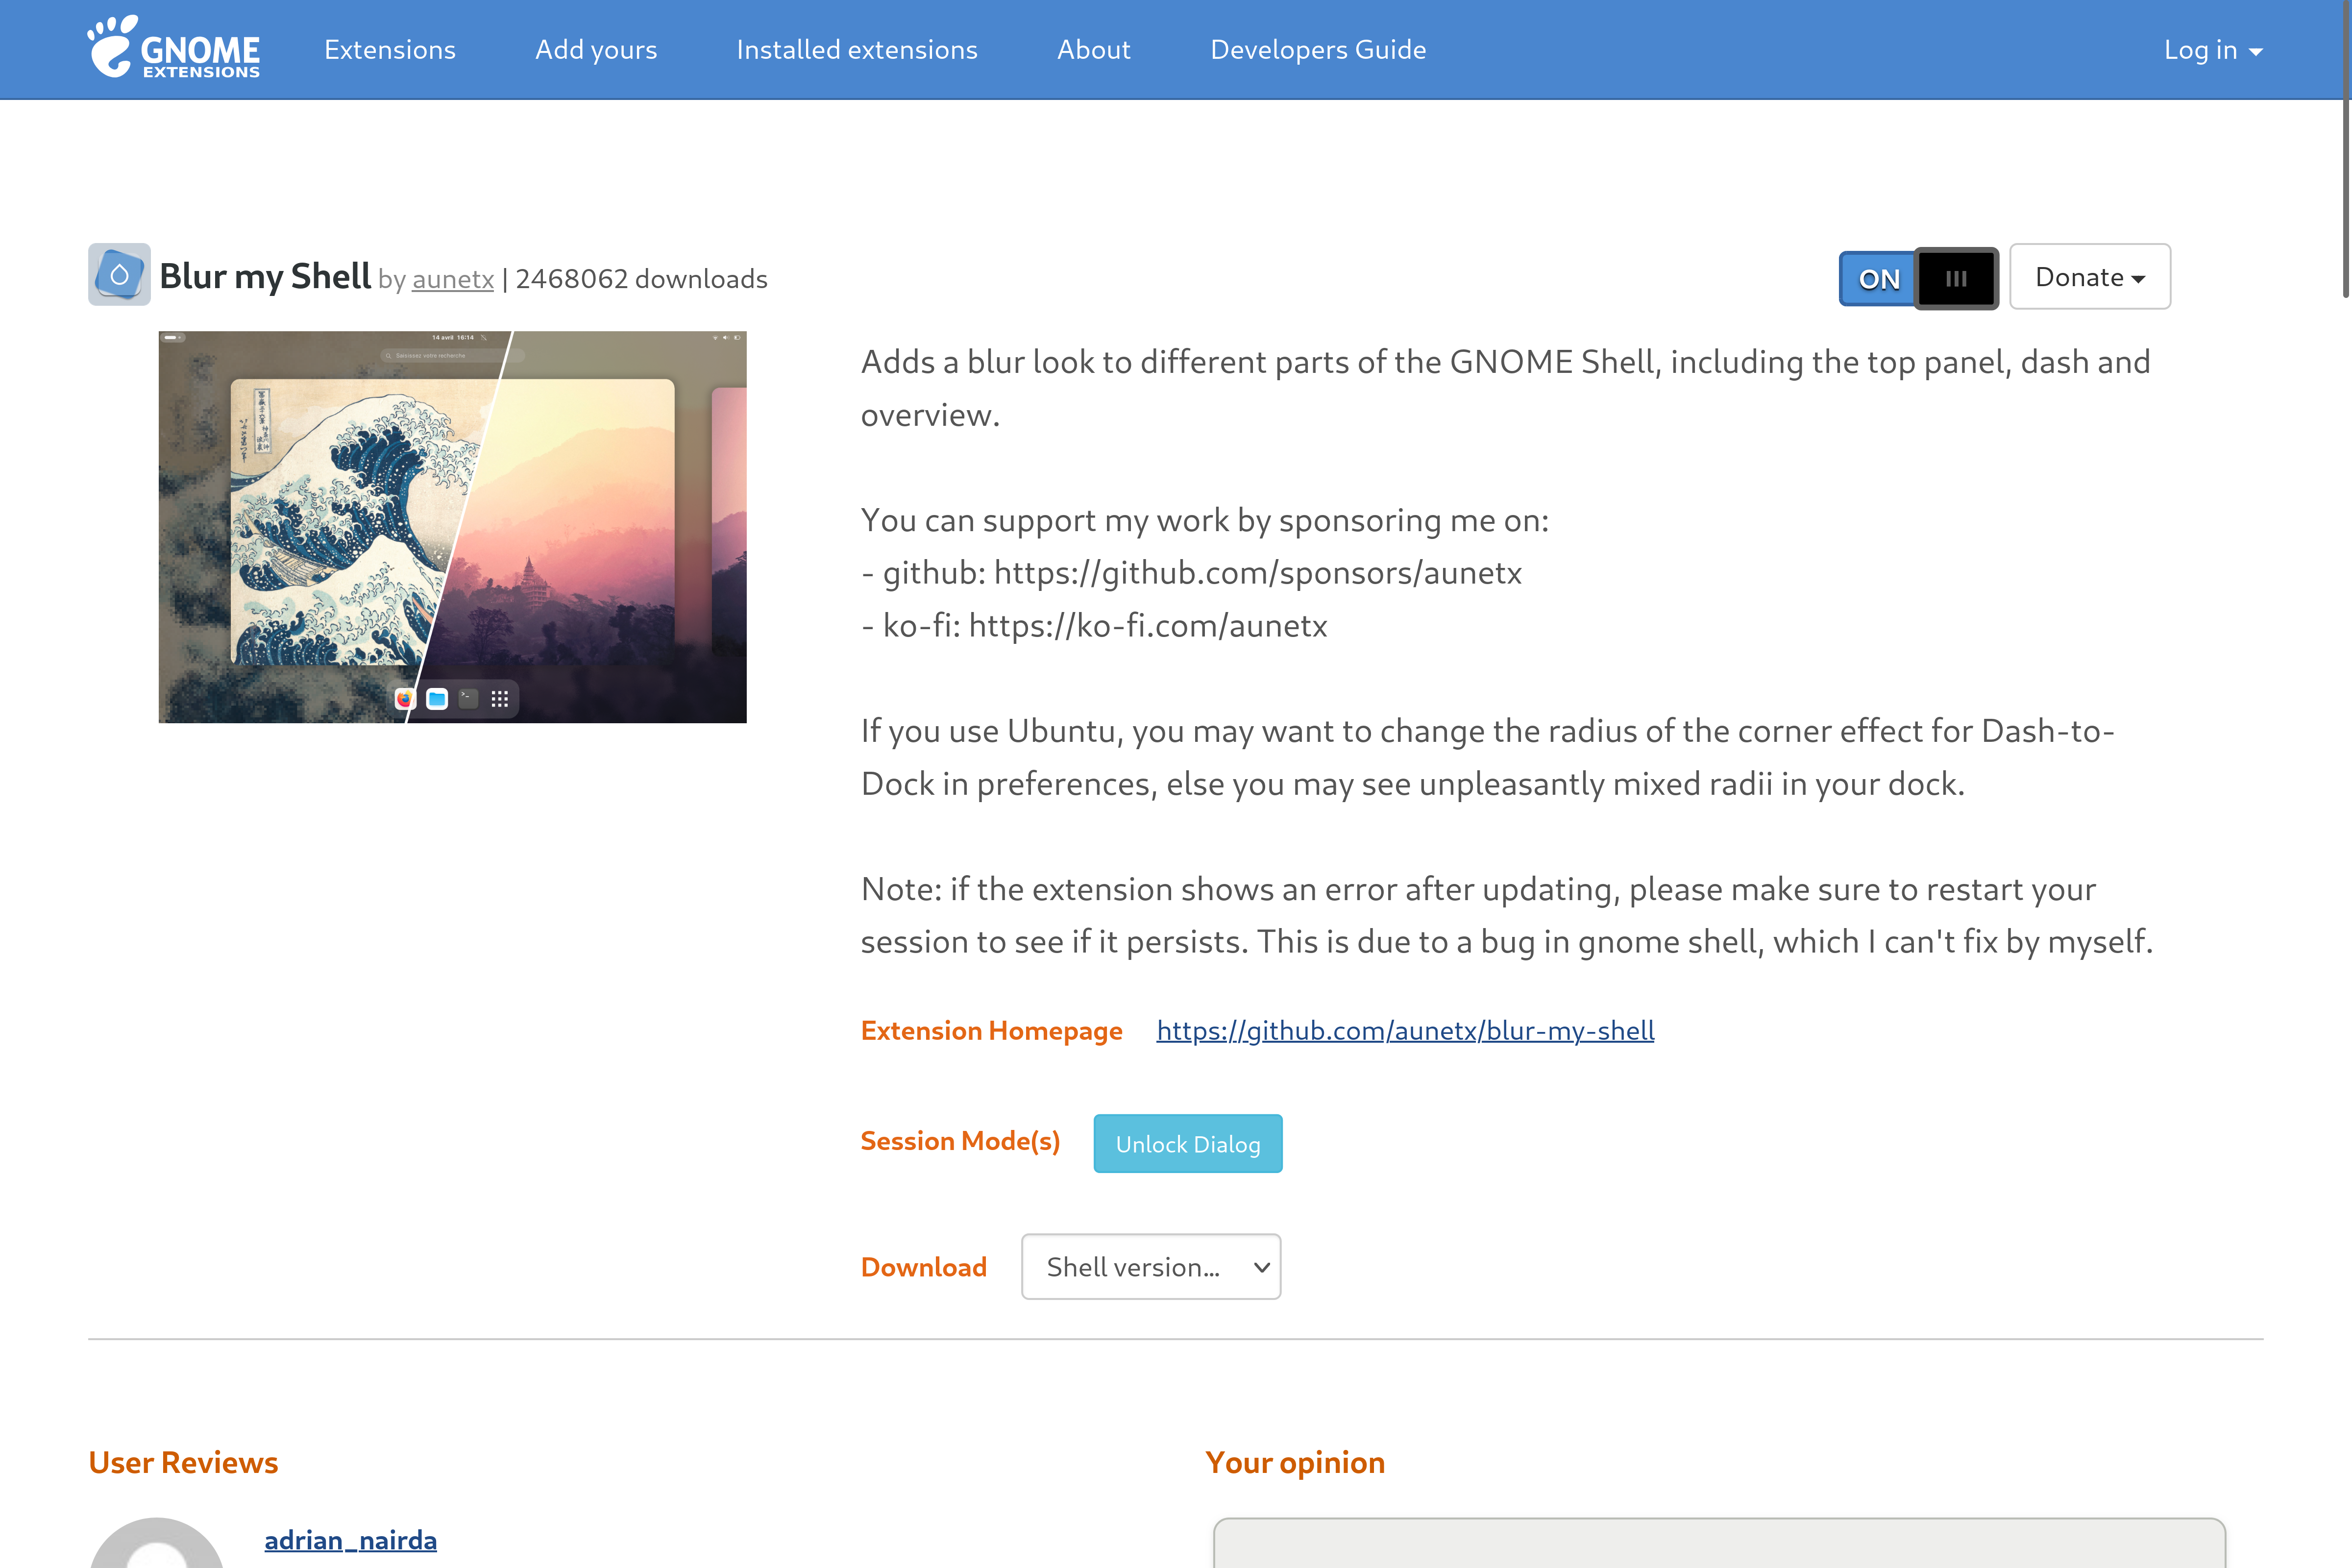
To fine-tune the taskbar and give it the translucent look and feel of Windows 11, we need to install Blur my Shell.
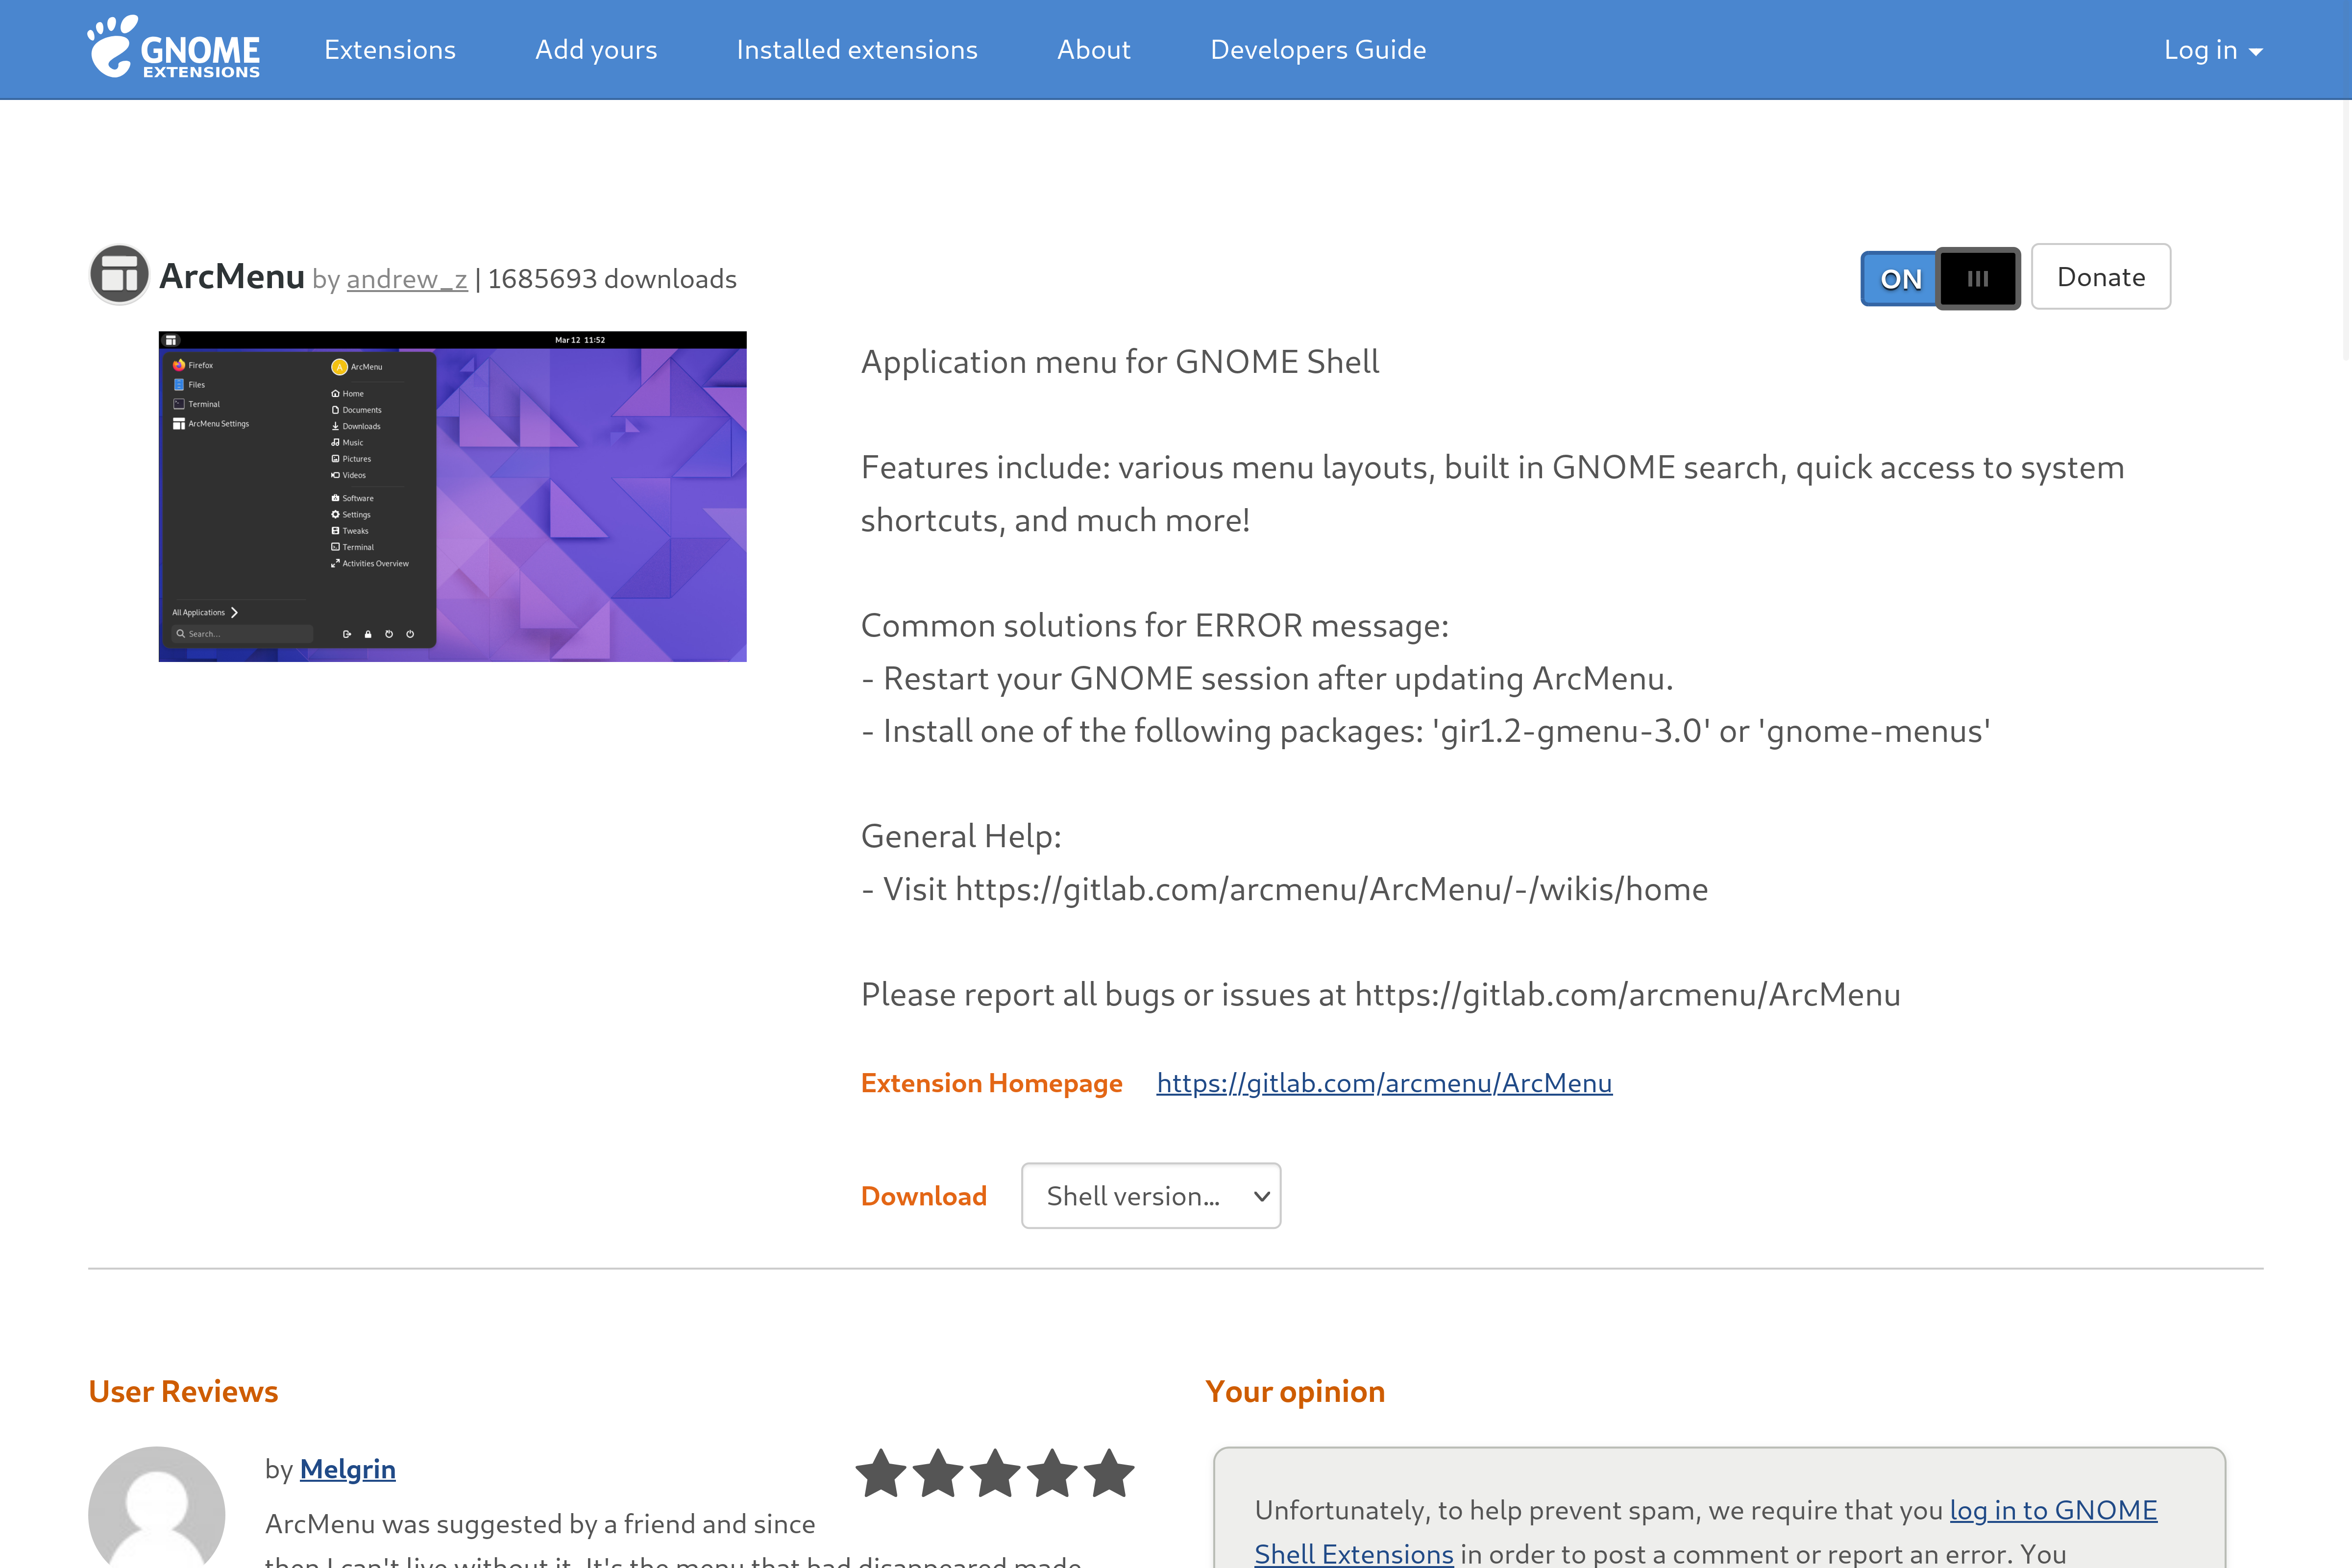
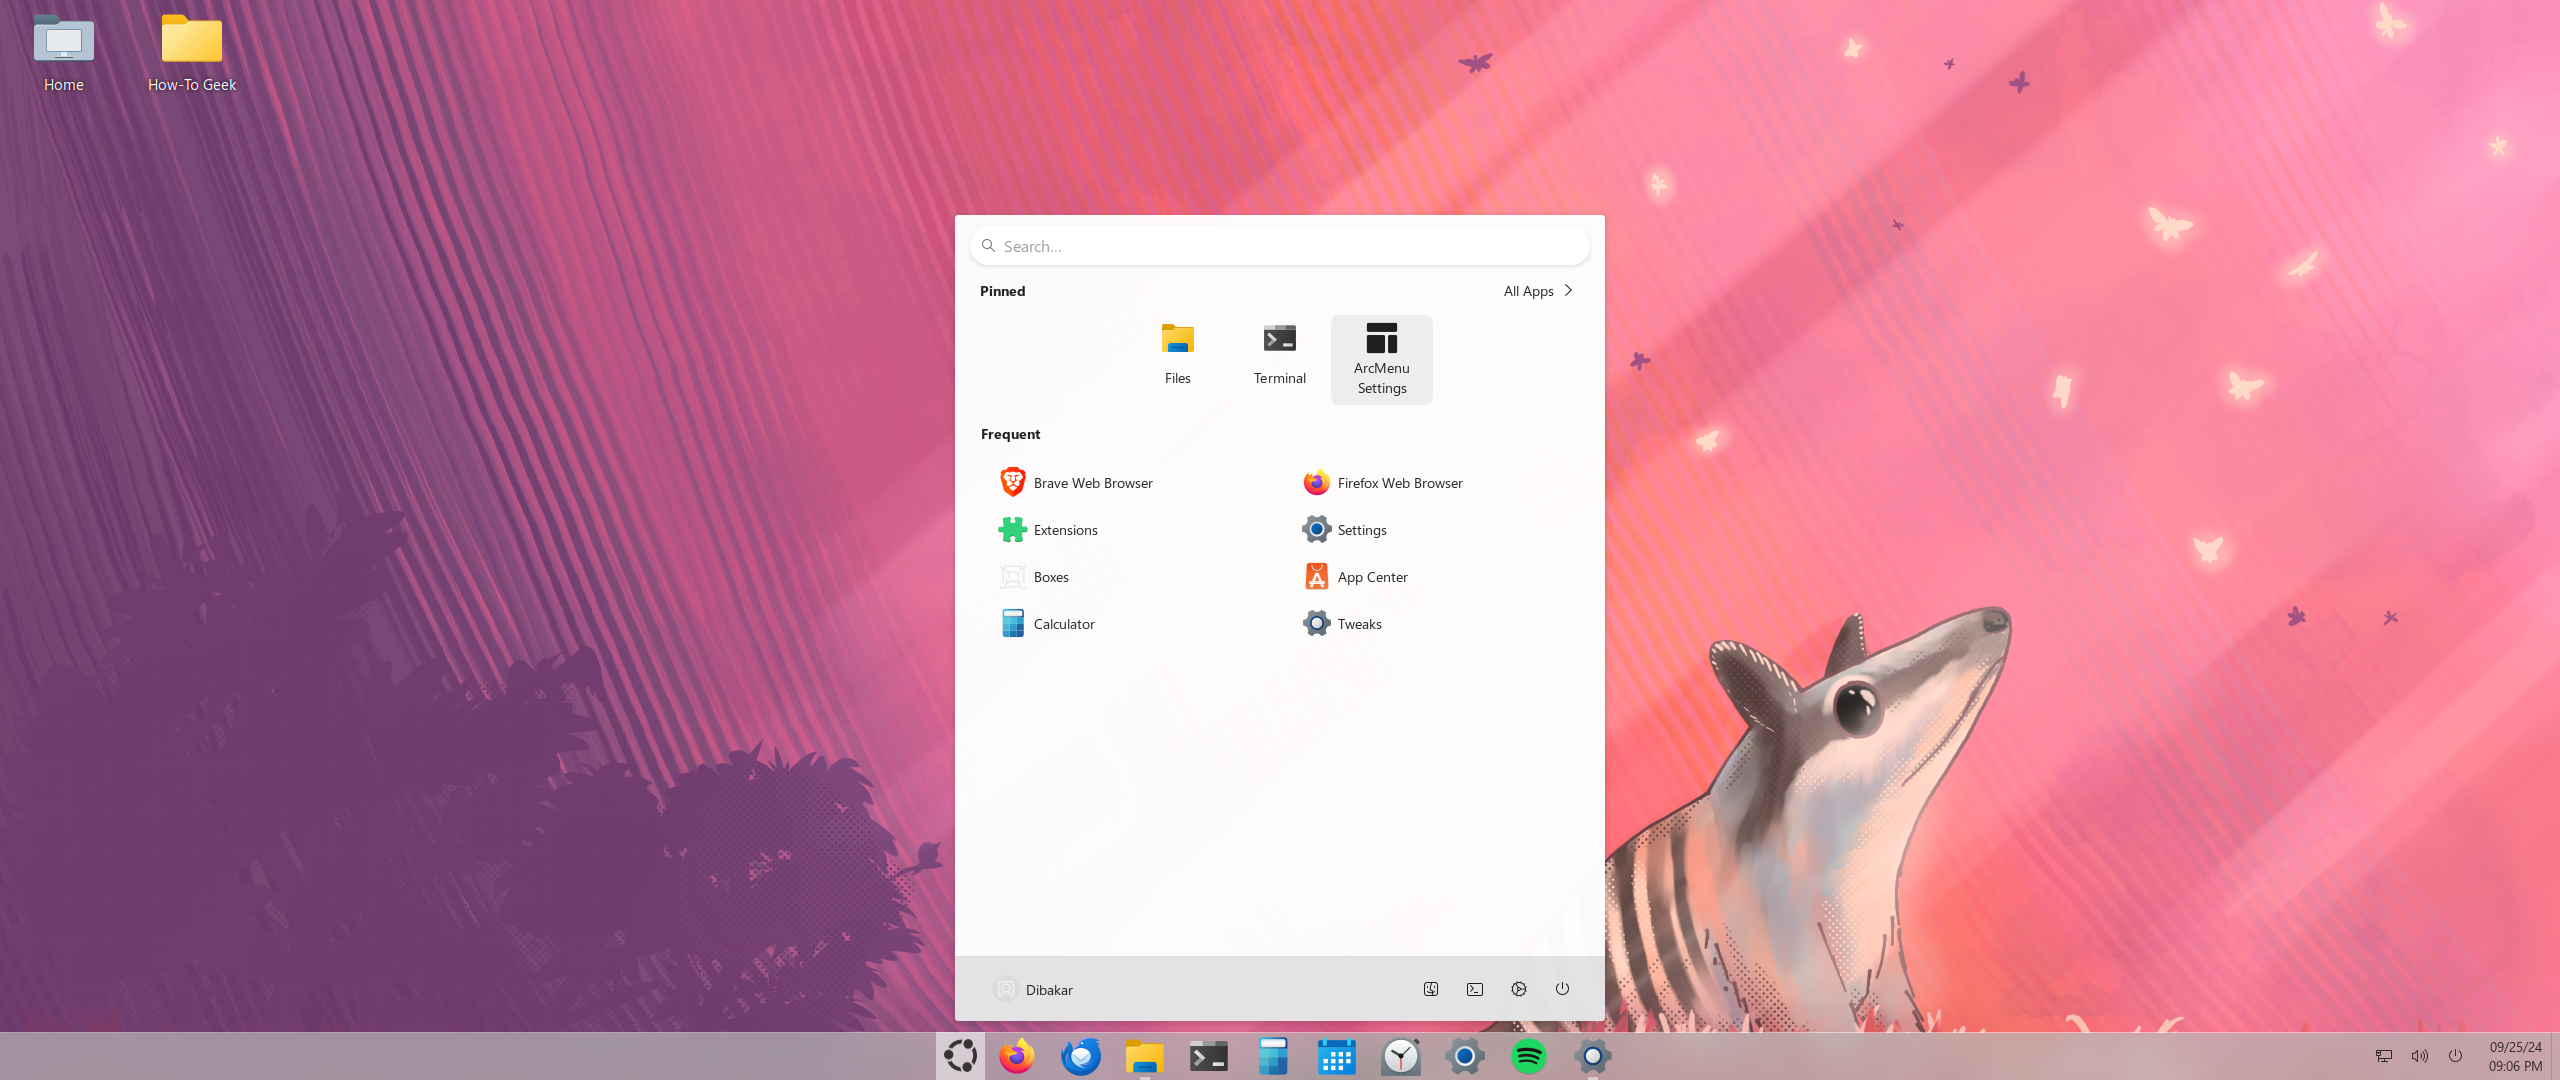
ArcMenu is another important piece of the puzzle. It'll help us add the Windows 11 start menu.
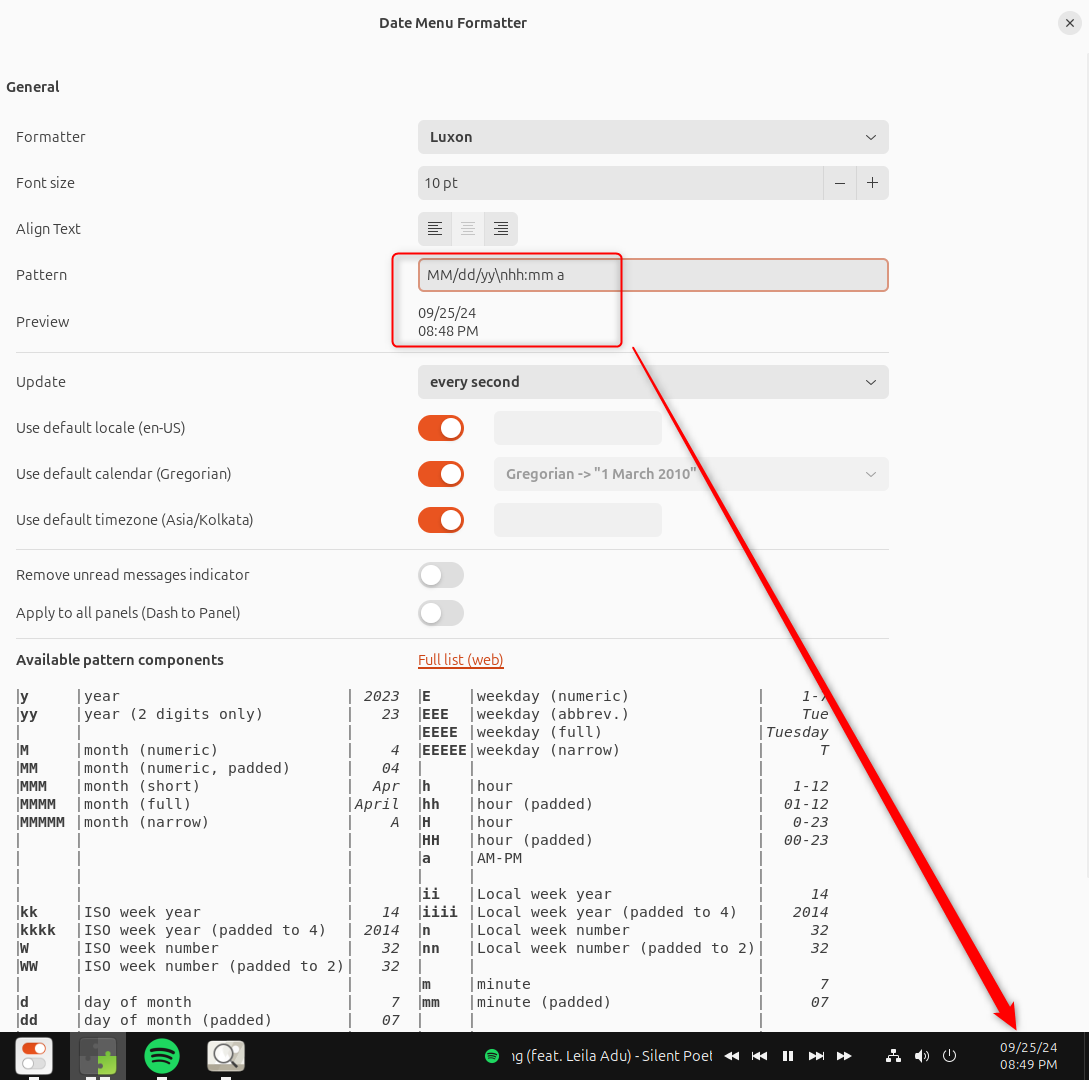
Date Menu Formatter will help us get the Windows 11 time and date format, where the date is stacked on top of the time.

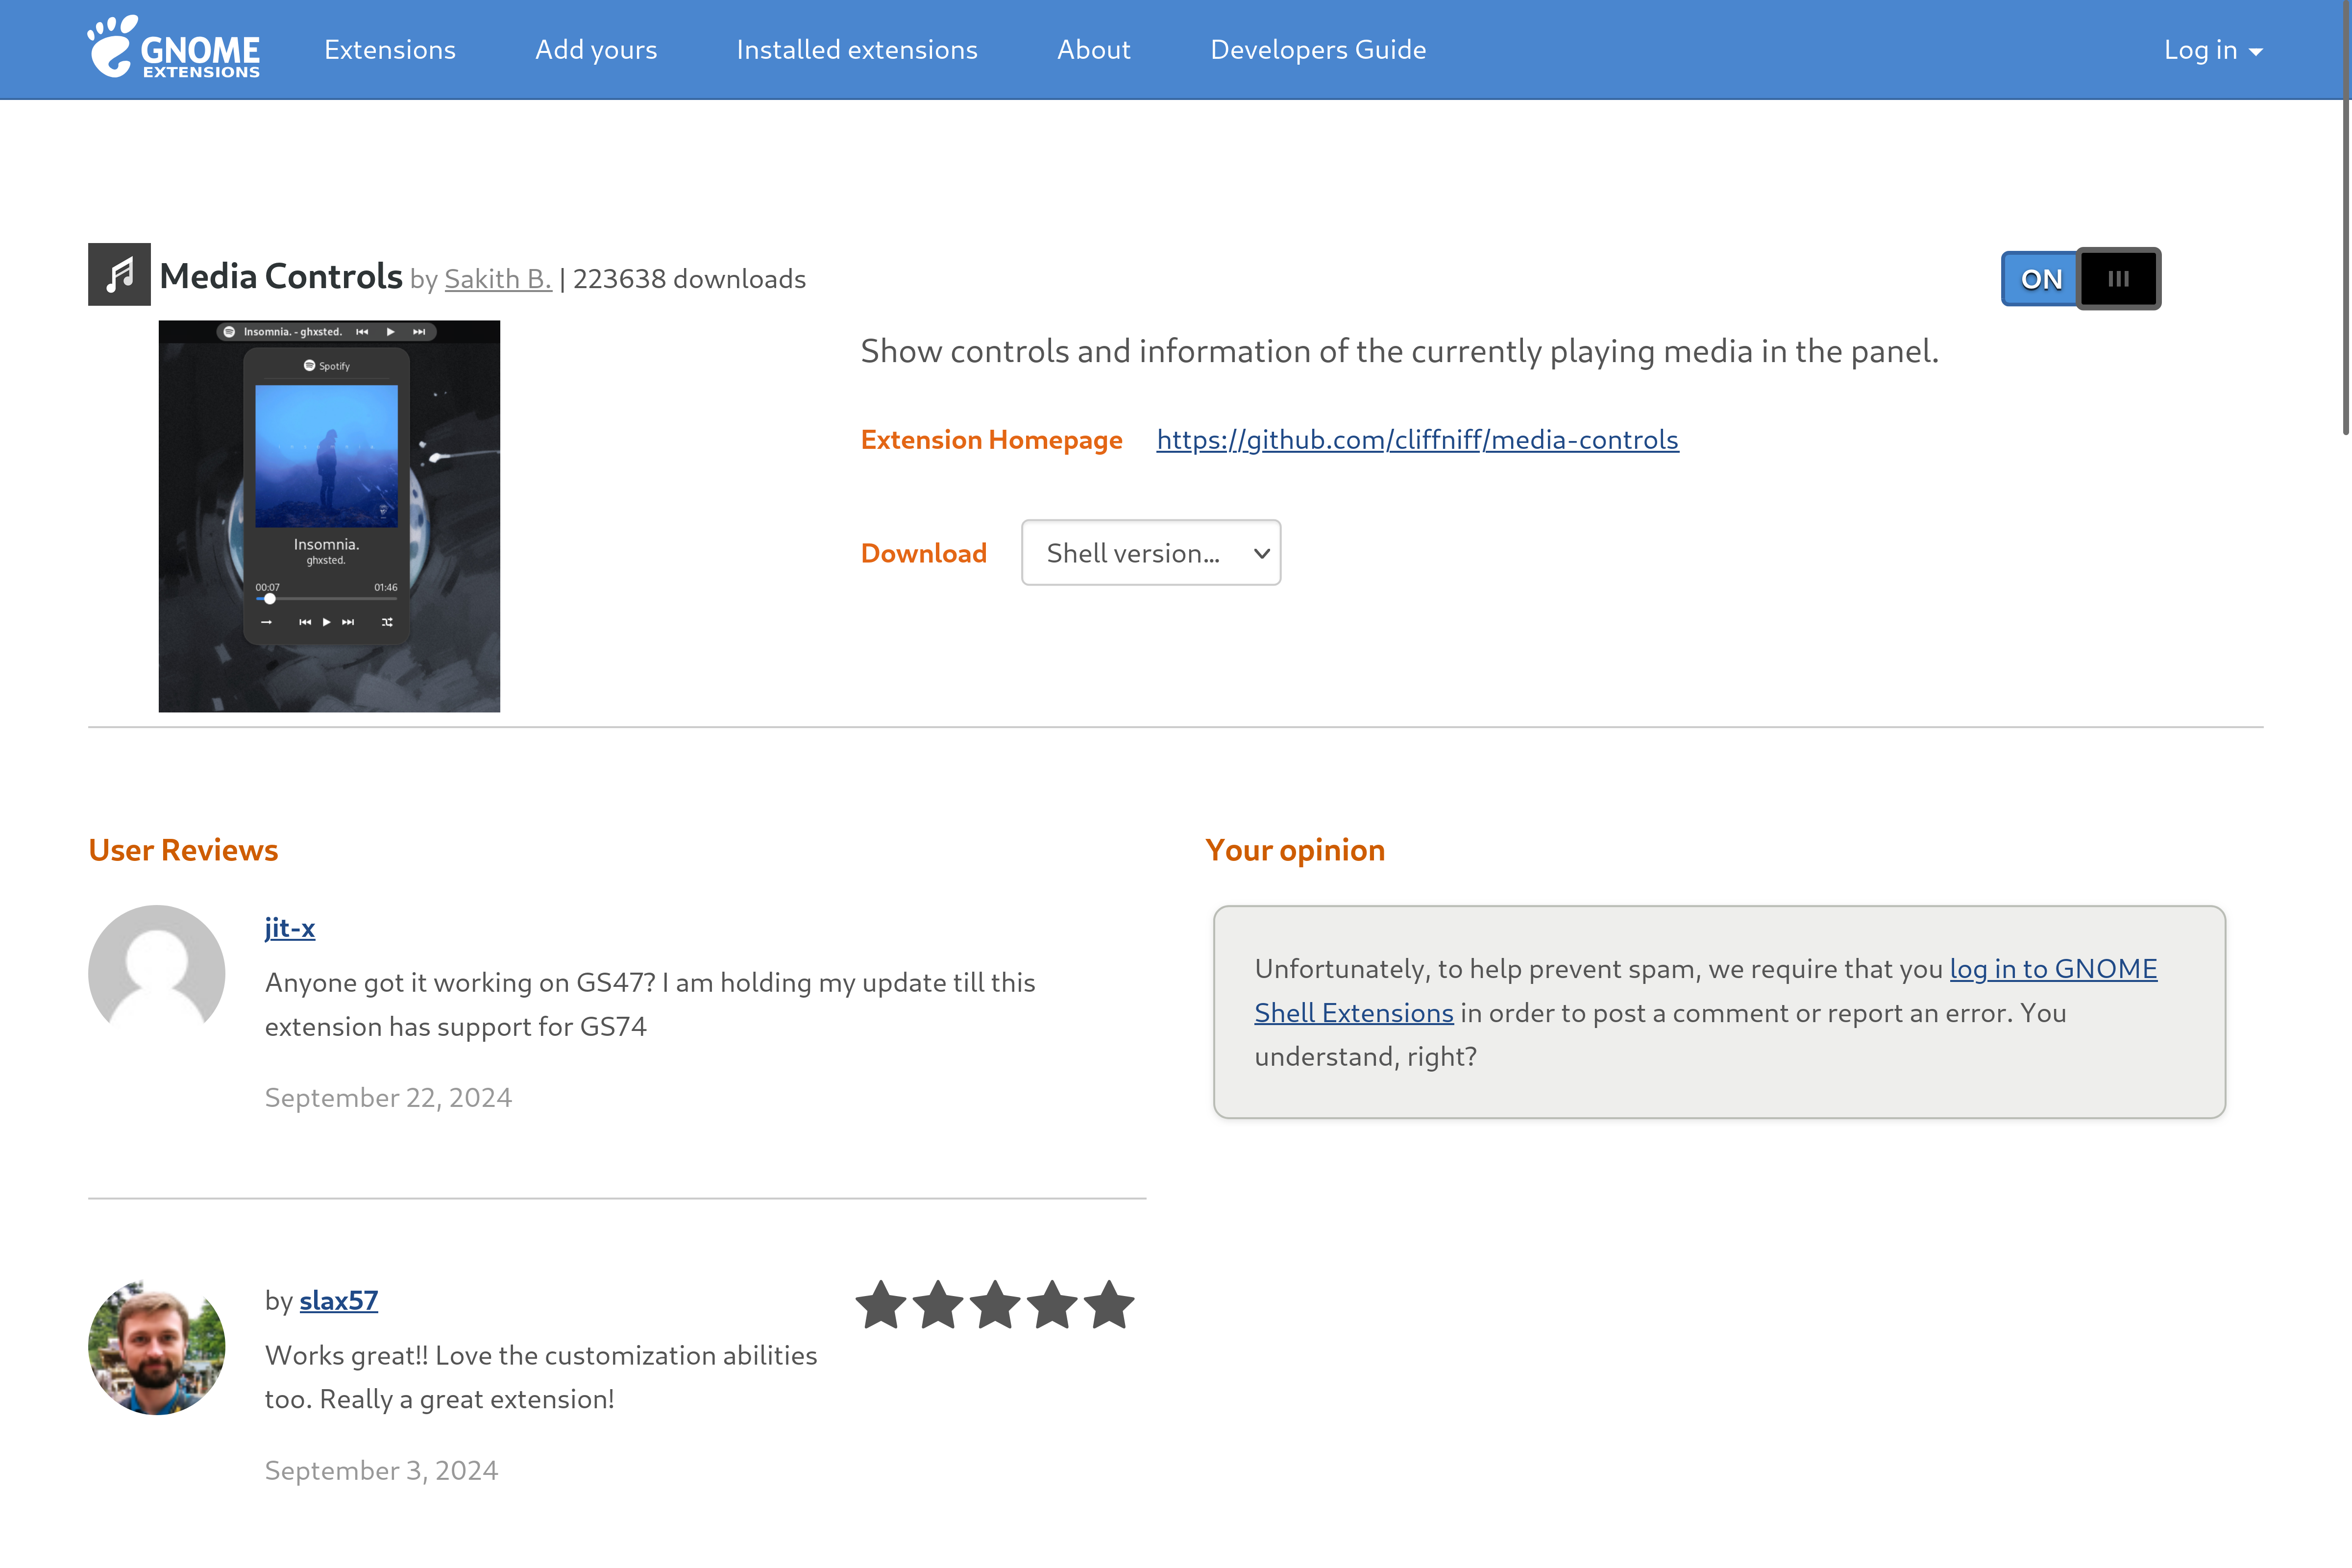
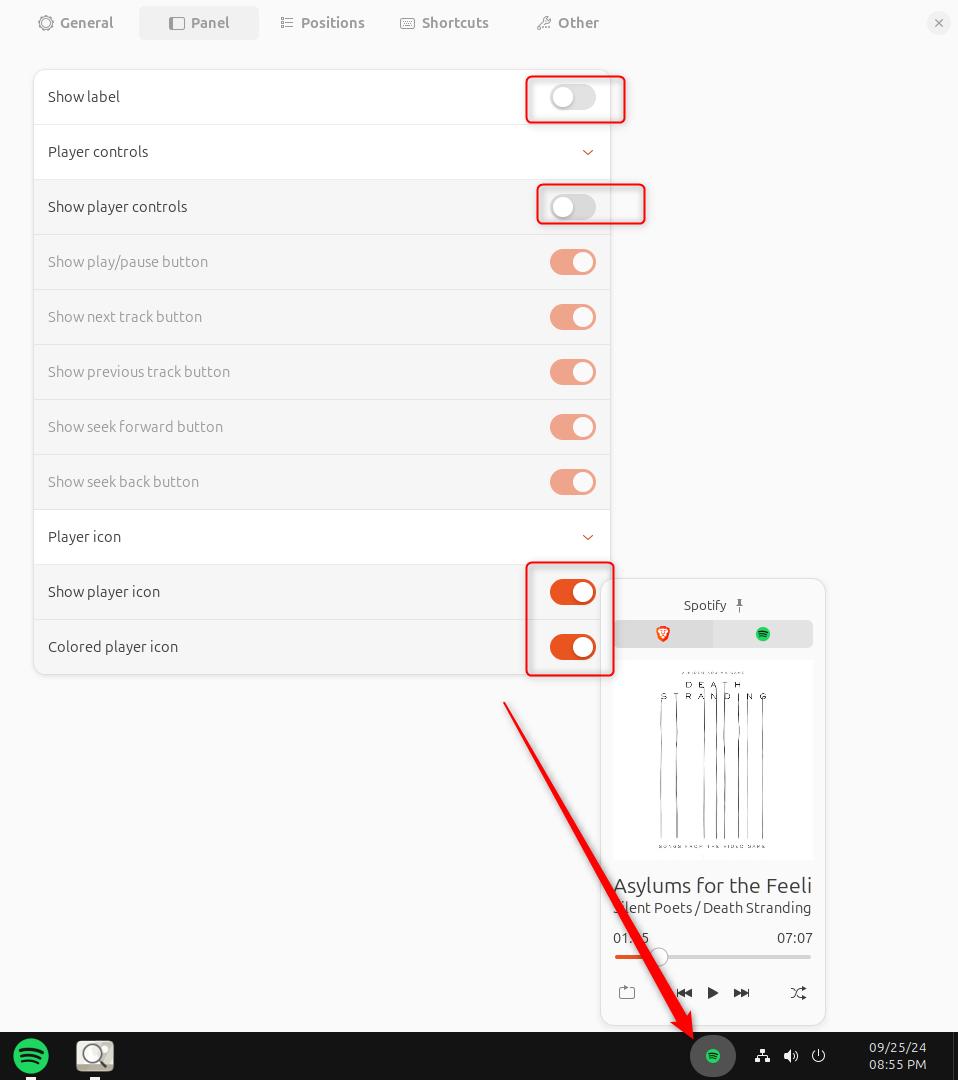
Now, Windows 11 does allow you to access media controls through the volume quick settings. Unfortunately, we can't get Ubuntu to work like that. However, the Media Controls extension will give us a dedicated icon in the quick settings area to manage all music or videos playing on our system easily.
And finally, you might have noticed that Ubuntu doesn't show the apps running in the background on its panel. To fix this, we'll install Tray Icons: Reloaded.
Installing a Windows Theme, Icon Pack, and Fonts
The extensions will help structurally change how the Ubuntu desktop looks. However, to make it more graphically in line with Windows, we need a few more assets. We'll first install the Windows 11 icon pack. I personally found this one on GitHub excellent!
You can install it by getting the remote repository URL and cloning it on your system using the following command:
git clone https://github.com/yeyushengfan258/Win11-icon-theme.gitNext, change the directory to the folder containing the icon pack.
cd Win11-icon-themeAnd finally, install the icon pack using this command:
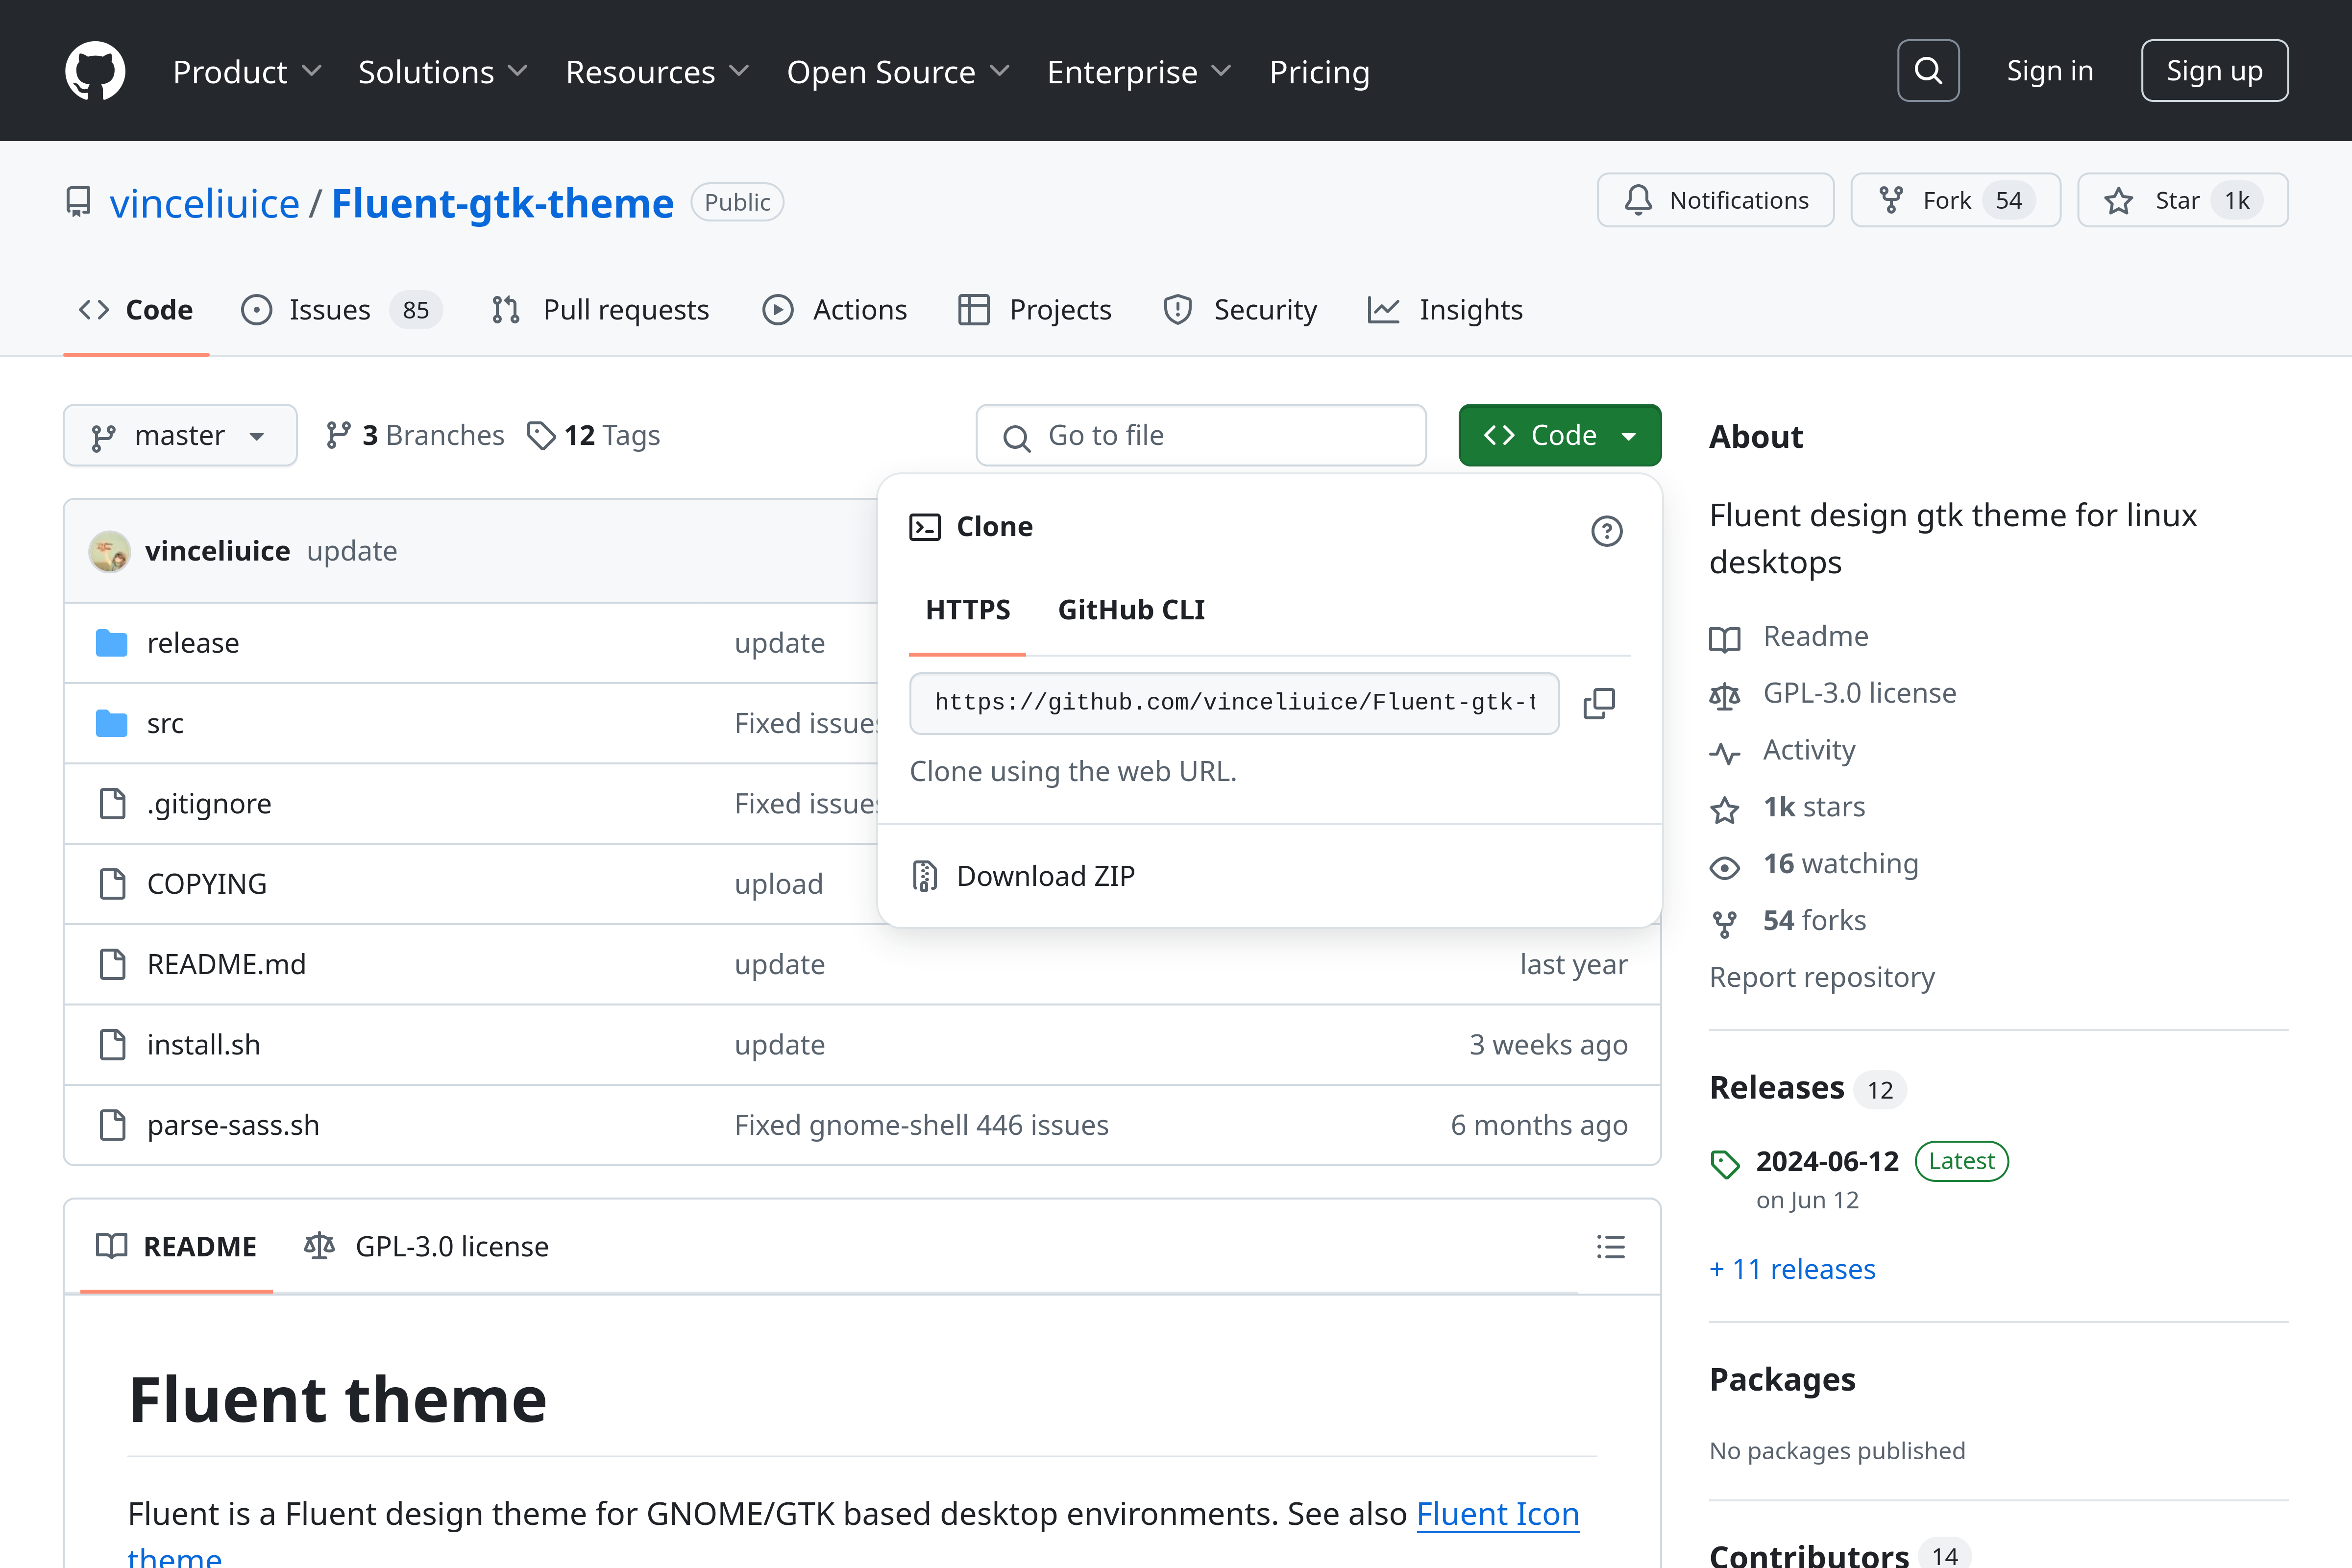
./install.shI also tested a lot of GNOME themes and found the Fluent GTK theme to be the most Windows-like. To install it, you can visit its GitHub page, copy its remote repository URL (found in the "Code" menu), and clone it on your system.
Similar to before, you'll enter the following commands one after the other:
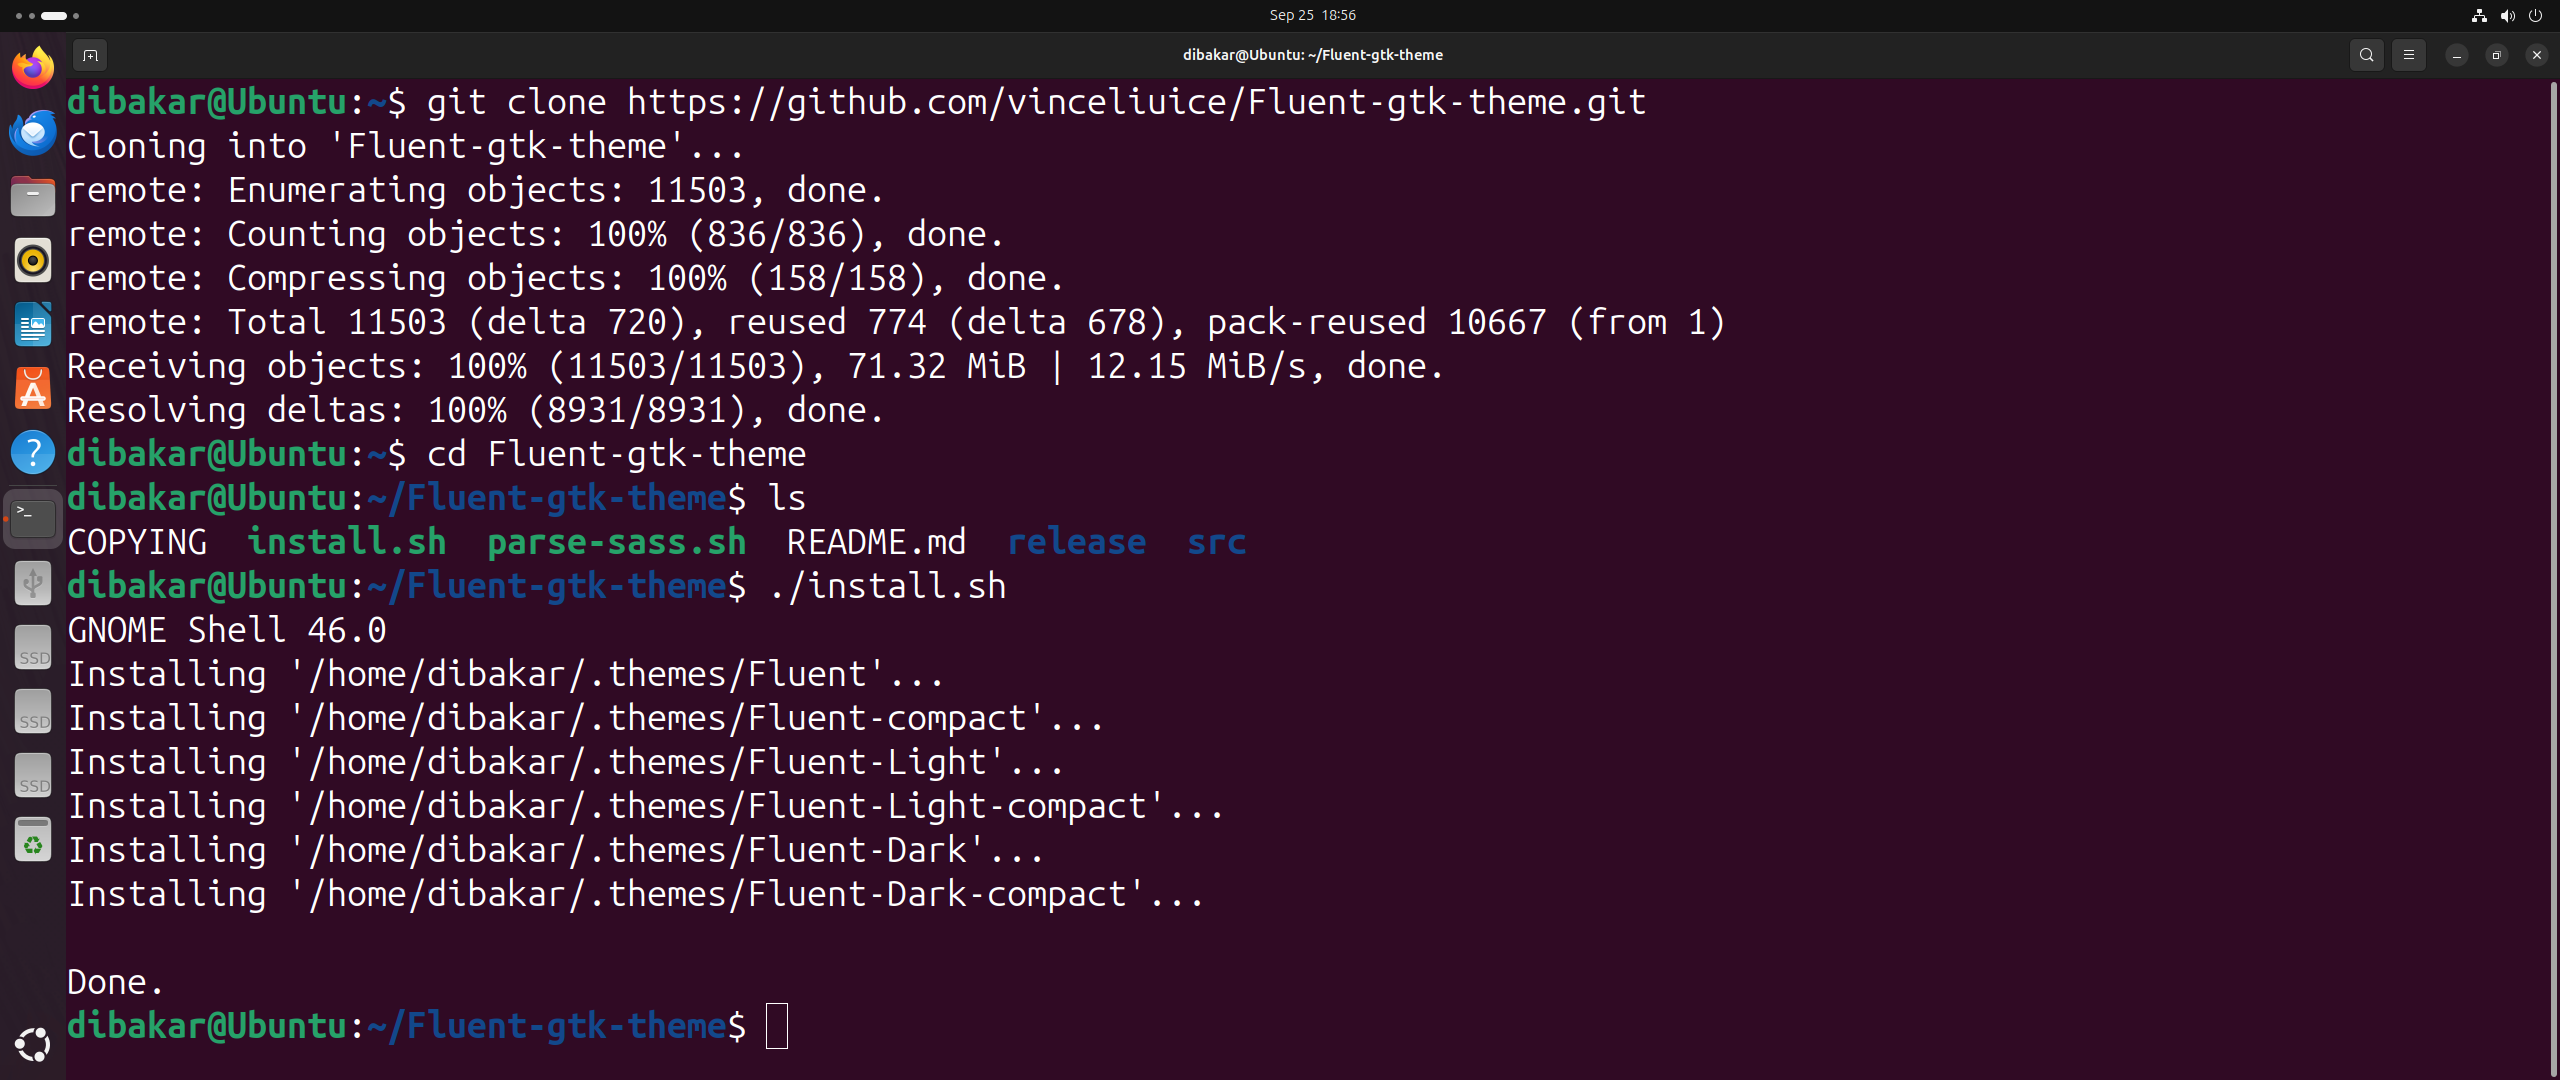
git clone https://github.com/vinceliuice/Fluent-gtk-theme.gitcd Fluent-gtk-theme
./install.sh
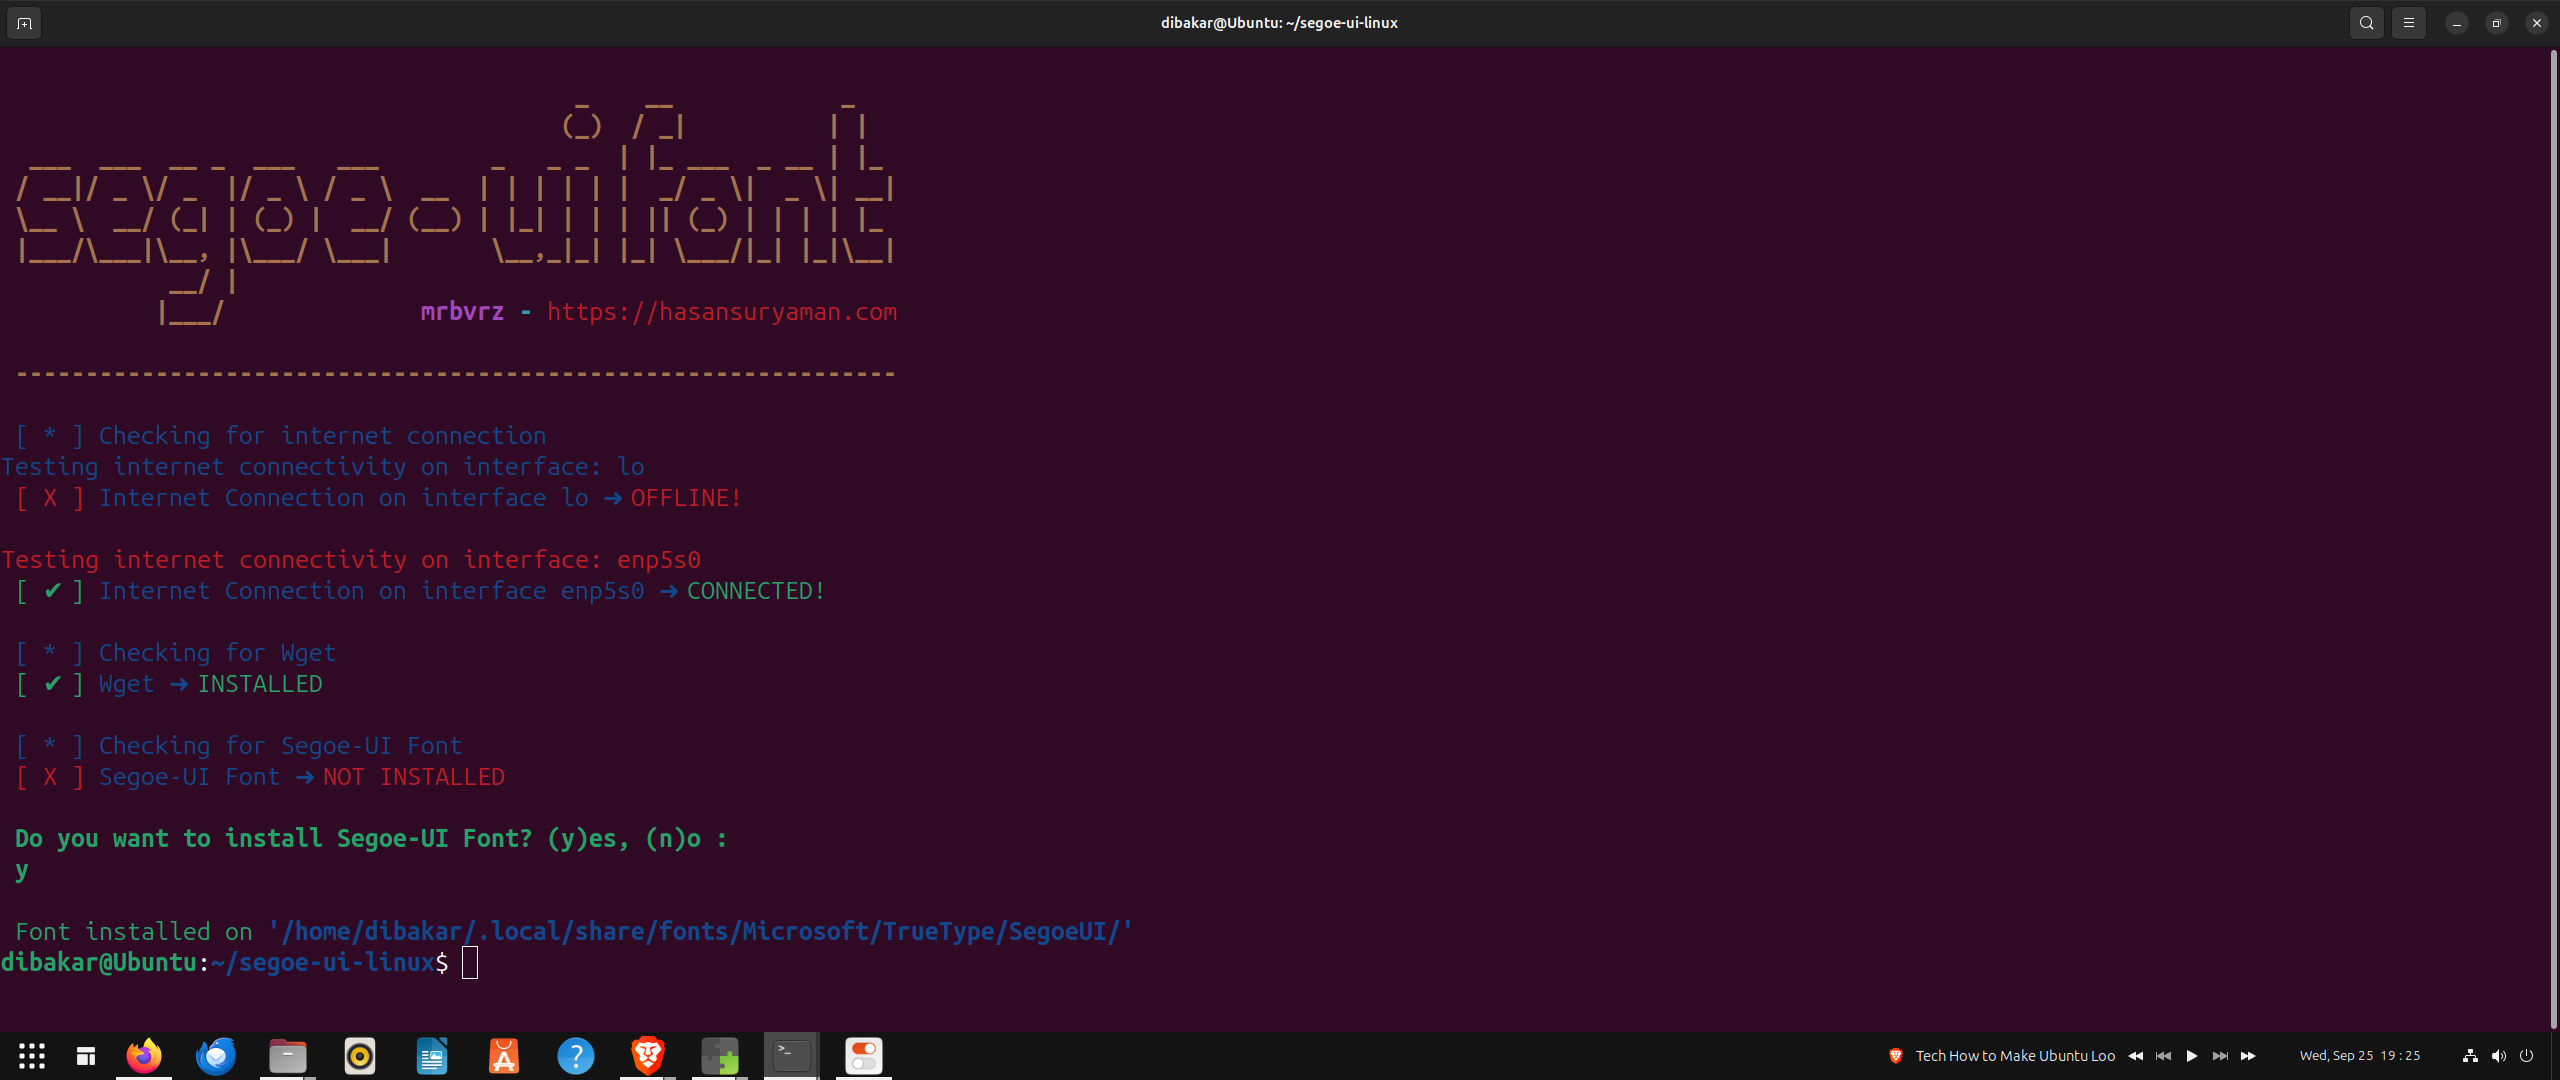
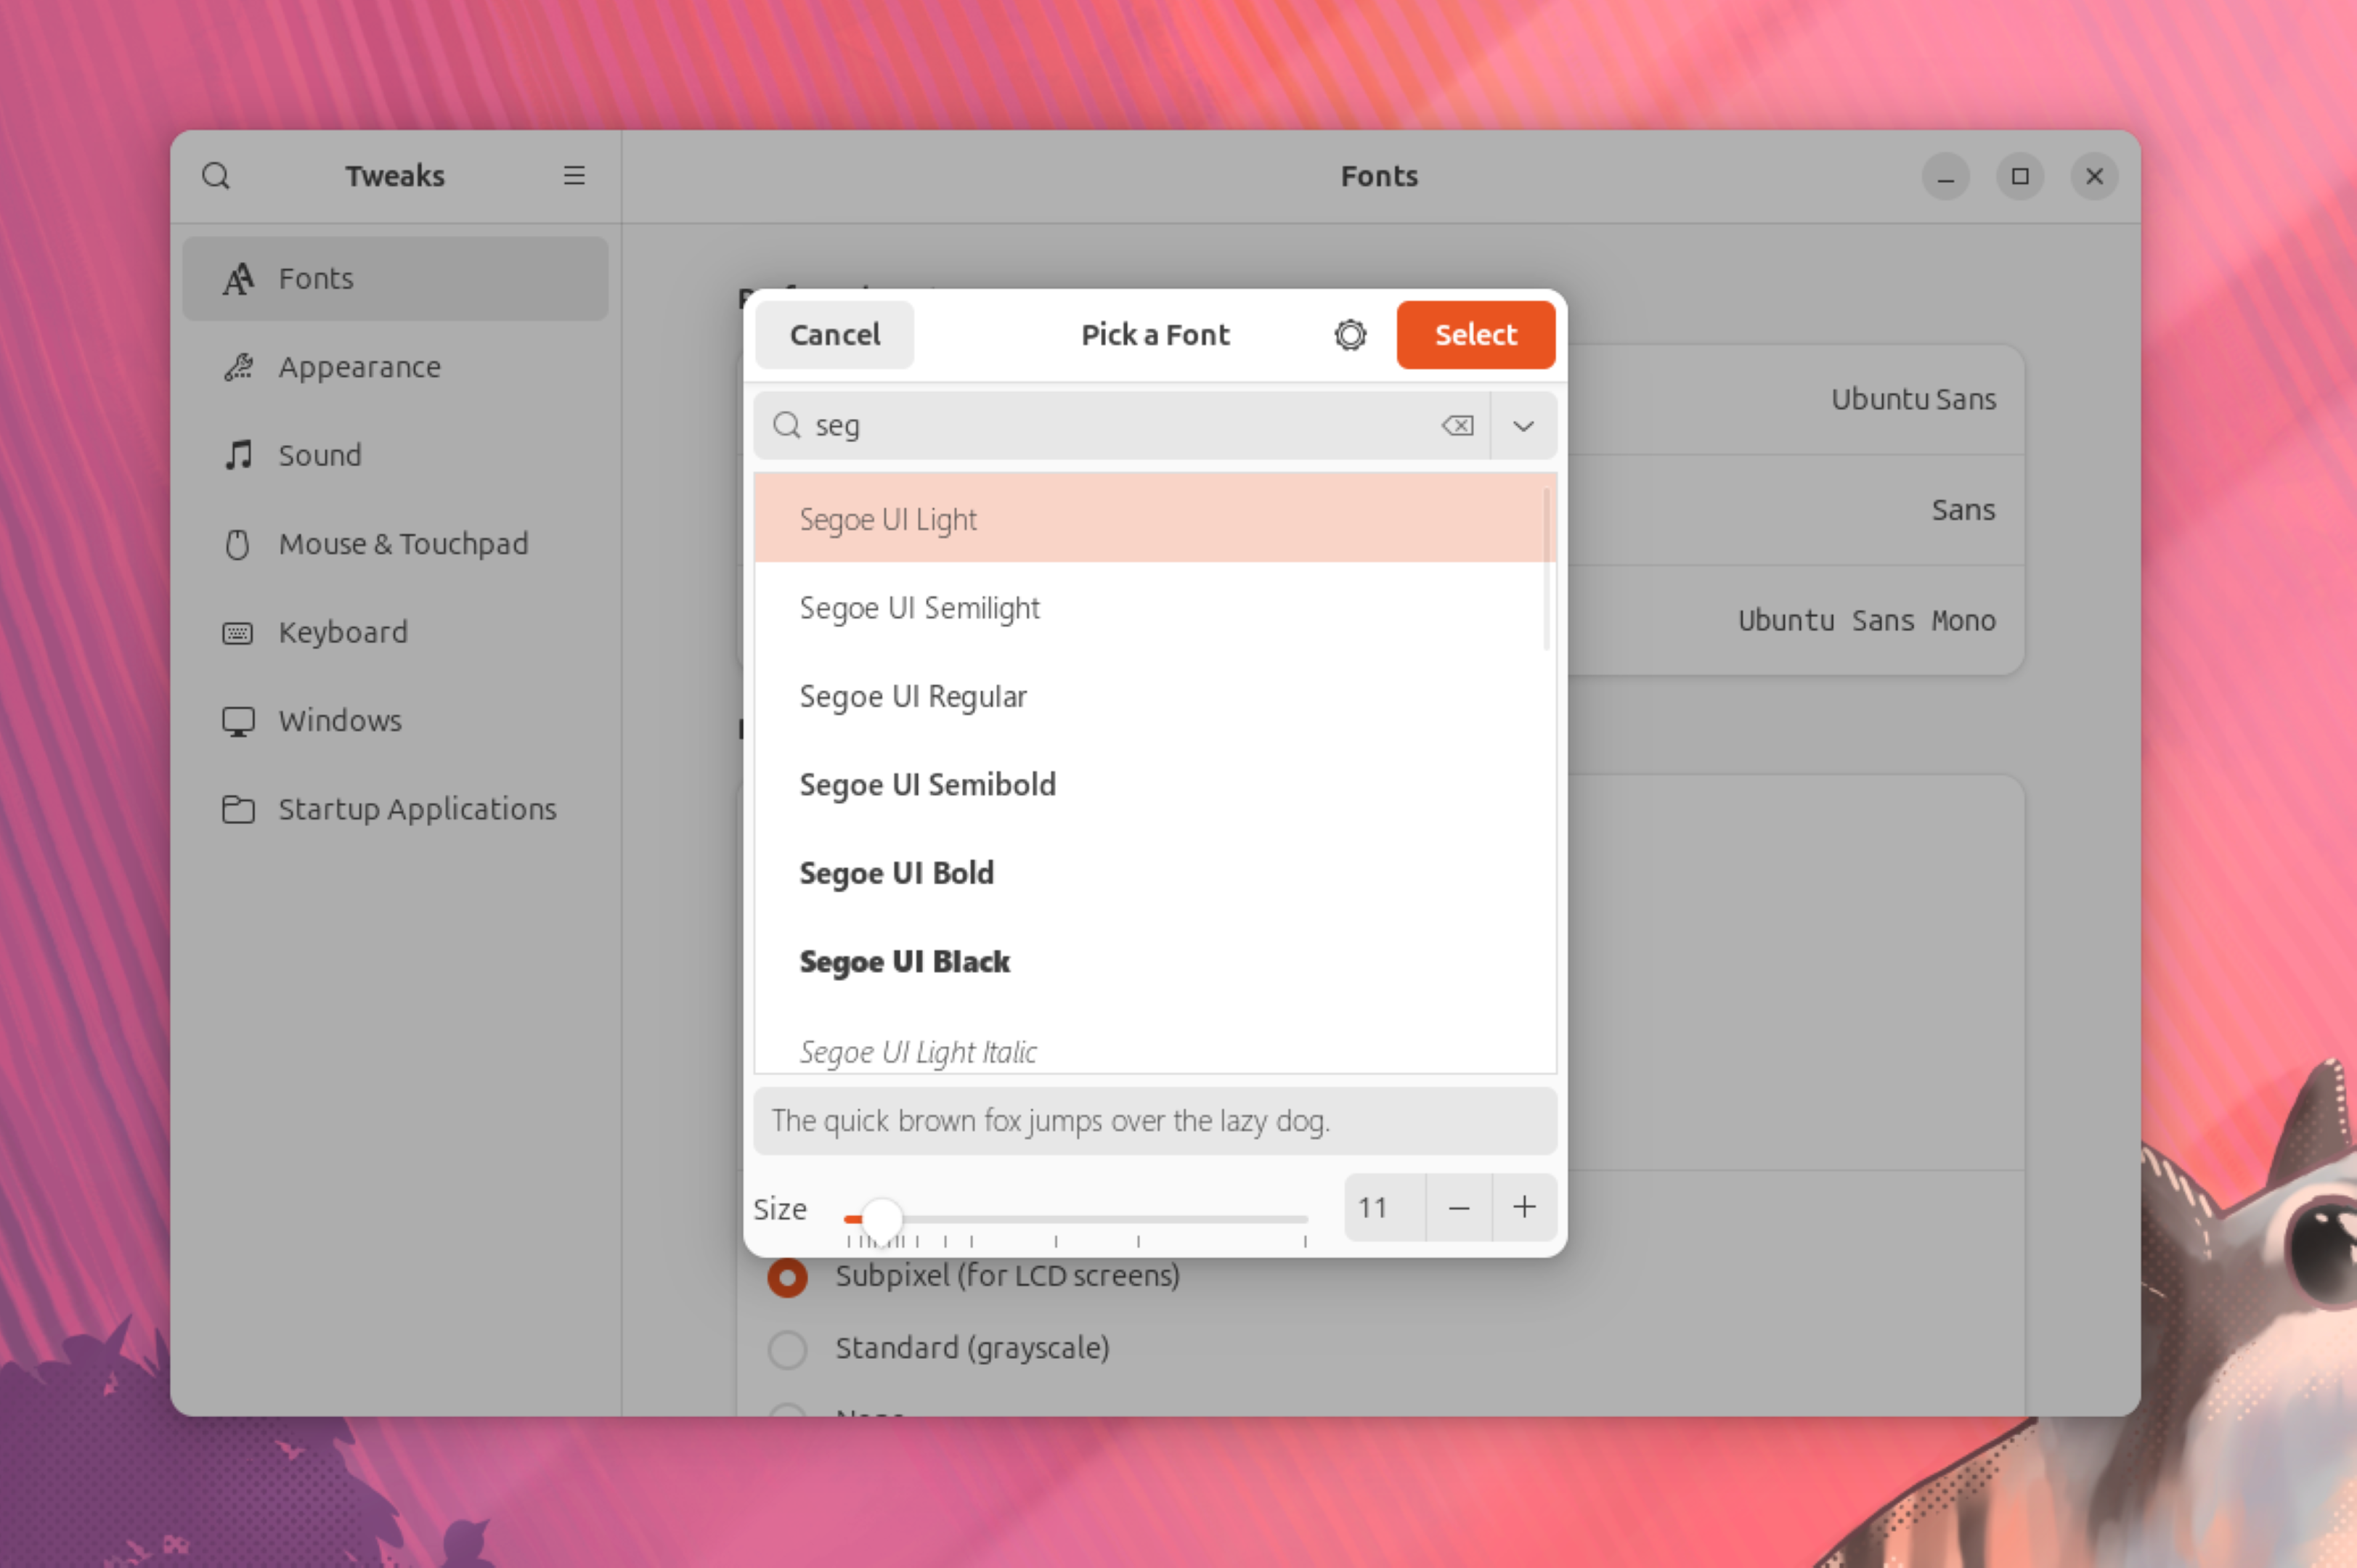
Last but not least, let's install a Windows-like font pack—Segoe-UI Font.
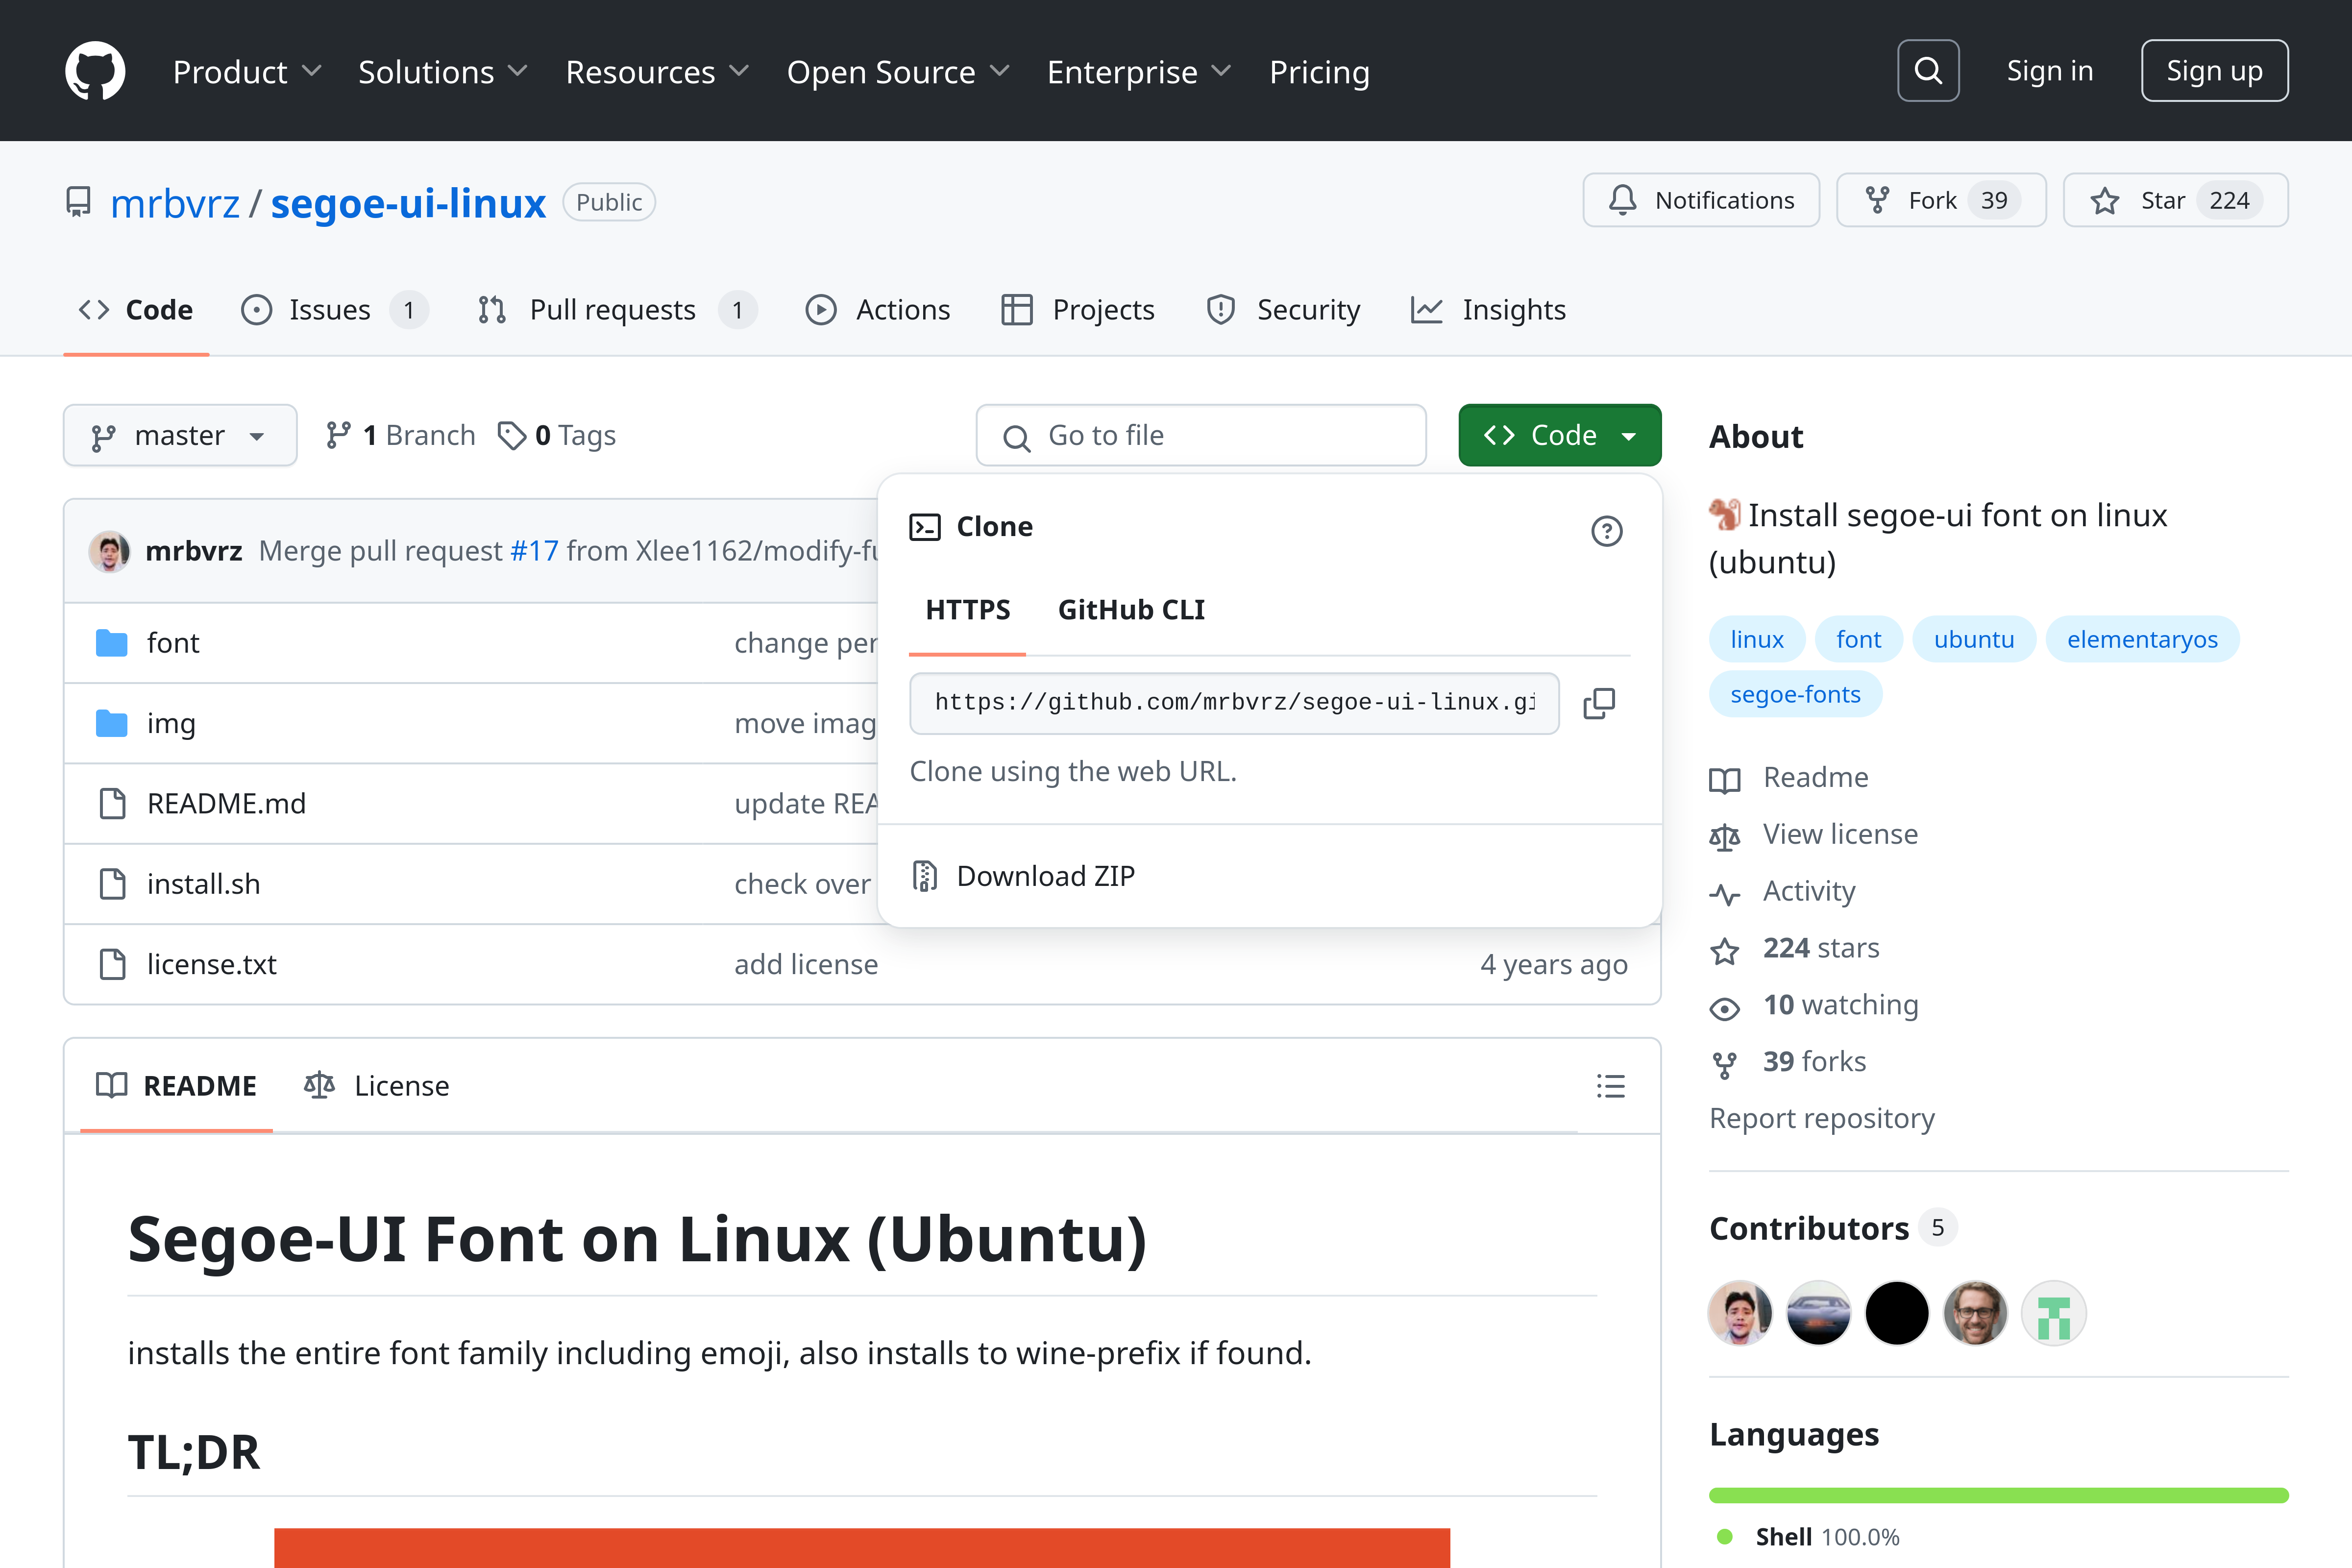
Again, it is hosted on GitHub, and we can install it following similar steps as before:
git clone https://github.com/mrbvrz/segoe-ui-linux.gitcd segoe-ui-linux
./install.sh
With everything installed, we can now start the fine-tuning process.
Optimizing Tools and Settings
Ubuntu is already starting to look more like Windows 11.
However, it's not 100% there yet. But we can easily solve that with some minor fine-tuning. To do this, we'll need to open the GNOME Extensions app and tweak each extension we installed.
Let's start with Dash to Panel. Head into its settings and make the following changes:
In the Position tab, hide the Show Applications Button and Activities Buttons. Click on the Visible button beside them, and they'll become white, meaning they are deactivated. Change the Left Box and Taskbar to Monitor Center. Use the arrow buttons to move the Date Menu to the second-last position right above the Desktop Button. In the Style tab, change the Running Indicator Style from Metro to Dashes for both Focused and Unfocused apps. In the Behavior tab, toggle on Disable Show Overview on Startup.Once done, move into the ArcMenu extension settings.
In the Menu tab, click on Menu Layout > Modern Menu Layout > 11. Go back to the Menu tab, click on Menu Visual Appearance, and change Height=800, Left-Panel Width=200, Right-Panel Width=200. While in Menu Visual Appearance, select Overview Menu Location to Bottom Centered. Again, go back and now head into the Menu Button tab. From here, you can "Choose A New Icon for the Start Button (ArcMenu)." If you have a Windows 11 icon, you can upload it here. I've picked the Ubuntu logo for this tutorial. Also, change the Icon Size to 33.Next, let's tweak Blur my Shell settings.
From the Panel tab, Disable "Overview Background" and enable "Blur Original Panel with Dash to Panel". In Other Settings, set Window List Extension blur Sigma to 0 and Brightness to 1.Moving on to the Date Menu Formatter, we just need to change the Pattern from the default to this value: MM/dd/yy\nhh:mm a
Finally, for Media Controls, head to the Panel tab and just disable Show Label and Show Player Controls. This will give you a dedicated Media Control button on the taskbar which you can click to control media playback.
Adding the Finishing Touches
It's finally time to apply the themes, icon packs, and fonts. To do this, open the GNOME Tweaks app. From the Font tab, select Change Interface Text to Segoe UI Light.
Next, head into the Appearance tab and make the following changes:
Cursor: DMZ-White Icons: Win11-dark Shell: Fluent-Light Legacy Applications: Fluent-Light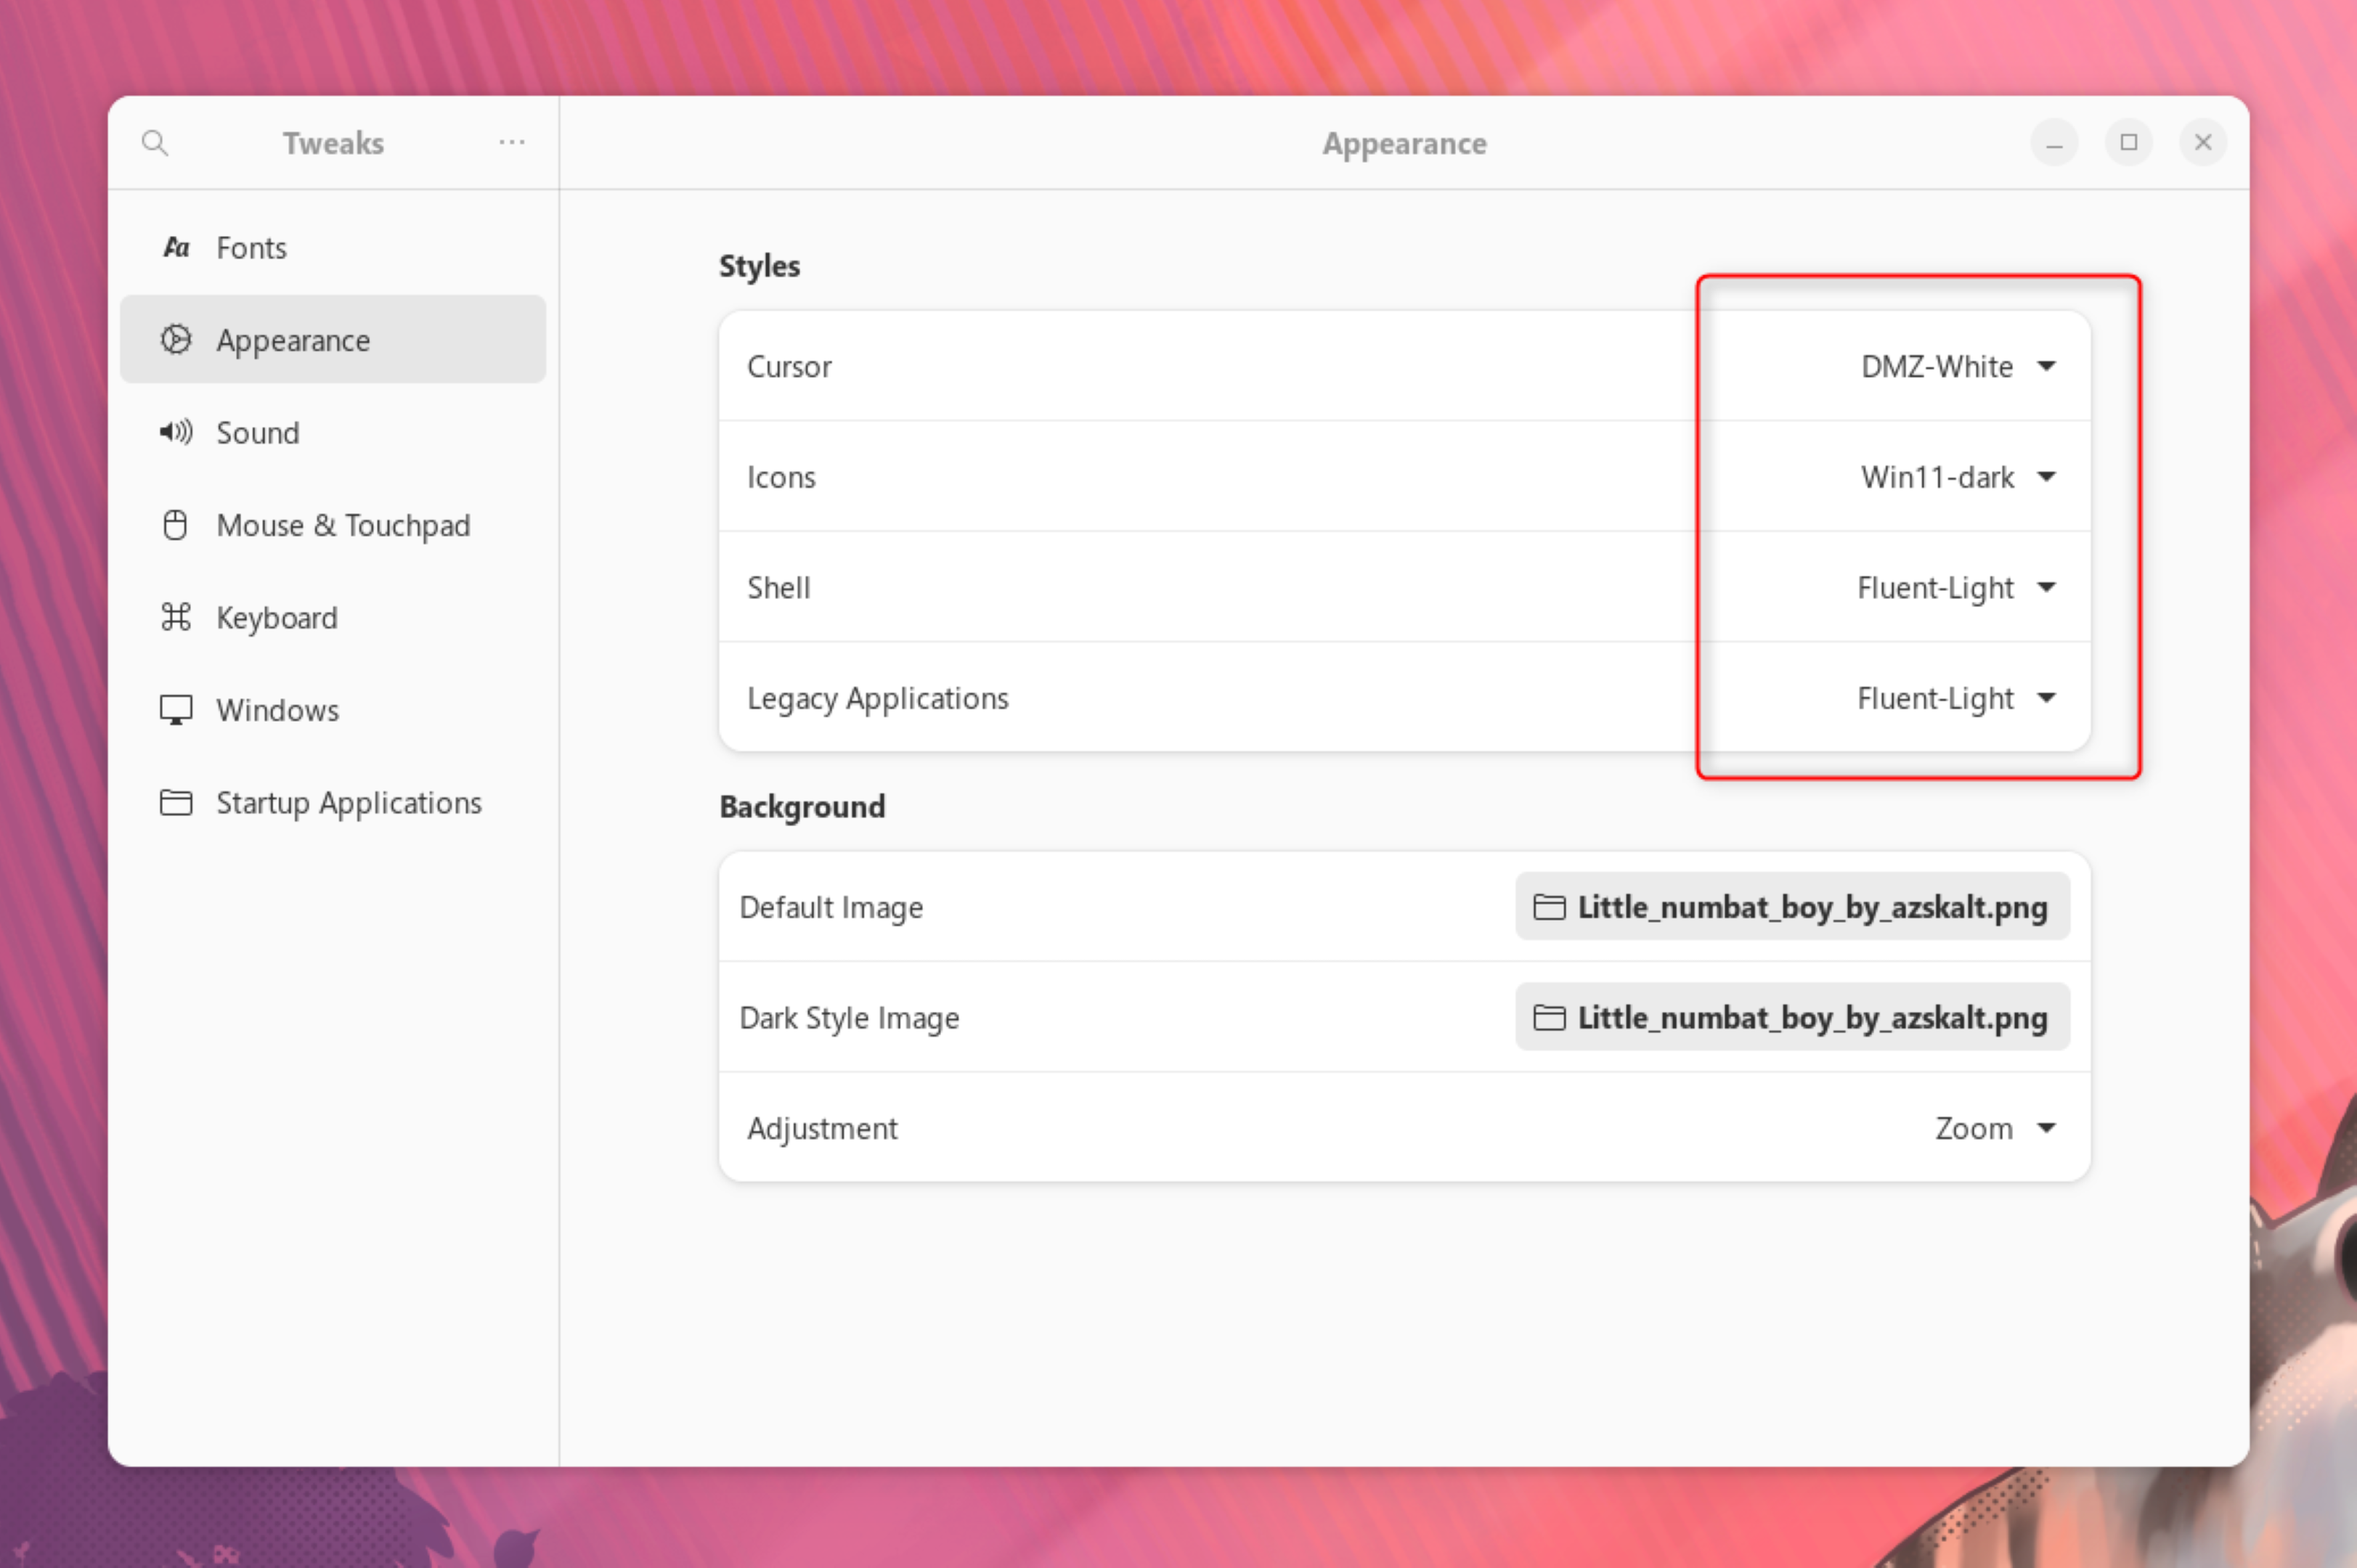
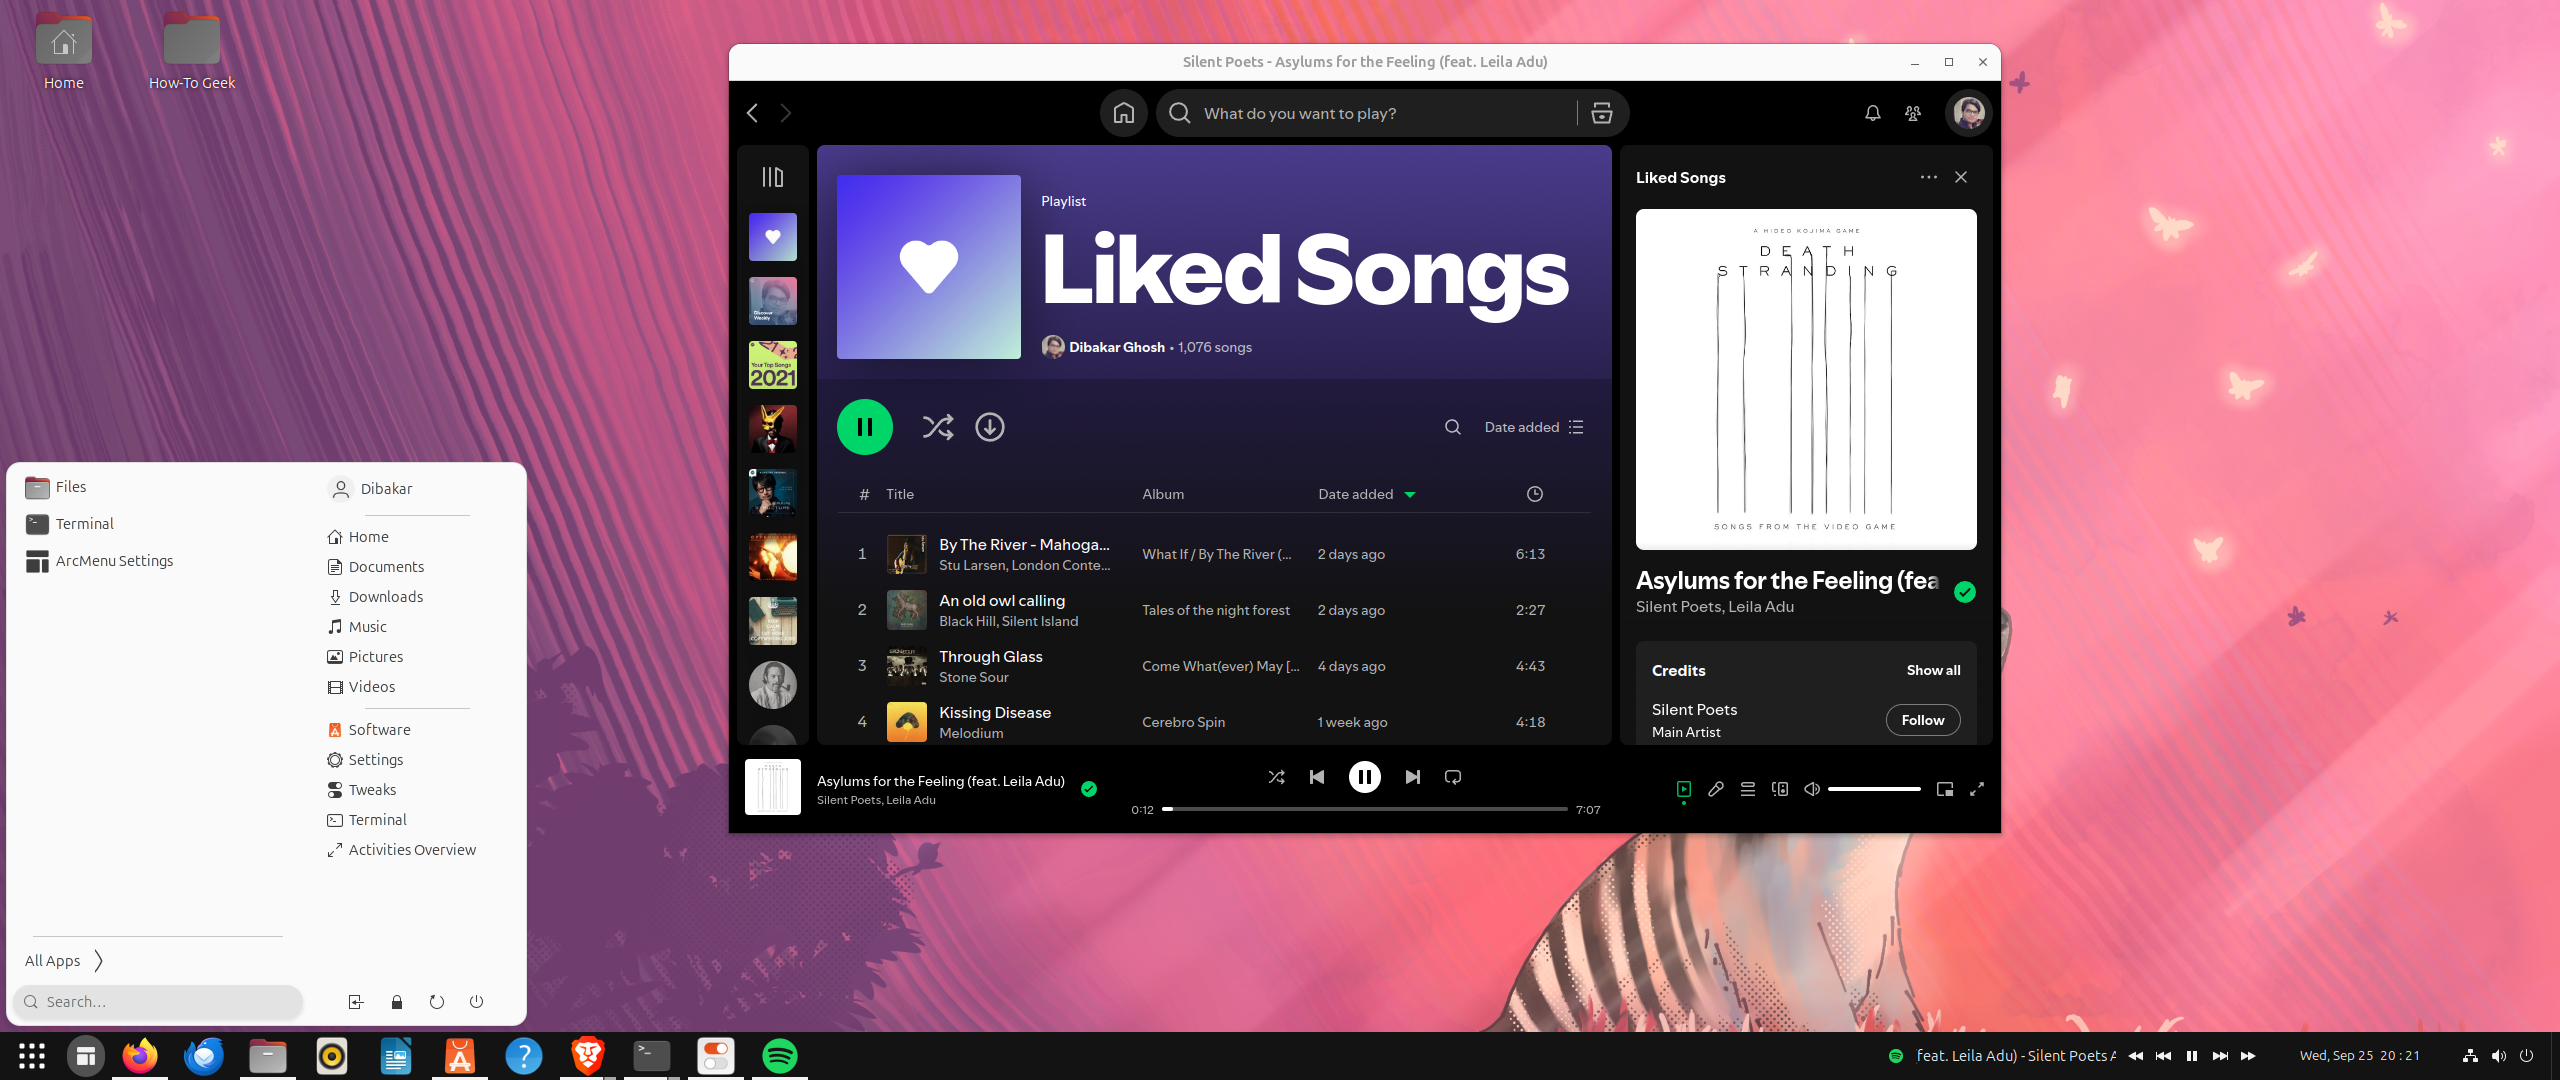
And as you can see, Ubuntu now looks more like Windows 11.
If you still can't see, here's another look at it with a Windows 11-like wallpaper.
While we have managed to make the desktop look more like Windows 11, it's important to remember that the system apps will not look like or have a layout similar to Windows 11 apps.
And there you have it, folks! Your Ubuntu PC is now rocking a convincing Windows 11 costume. Other than making your Ubuntu look more like Windows, I hope this also showcases the customization potential of Ubuntu and, in turn, the GNOME desktop environment.
When you subscribe to the blog, we will send you an e-mail when there are new updates on the site so you wouldn't miss them.
About the author
I Got A Virus and I Don't Know What To Do!
I Need Help!

Comments