Tech News
Get Rid of These 6 Annoyances From Windows 11

Quick Links
Key Takeaways
Windows 11 is an excellent operating system, but it comes with its own set of annoyances. Whether you’re frustrated by the prompts asking you to finish setting up your PC, or you don’t like the widgets popping up when you accidentally click an icon, here's how you can disable those things.
Disable "Let's Finish Setting Up Your PC" Prompt
Arguably the most annoying thing on Windows 11 is the “Let's Finish Setting Up Your PC” wizard that pops up every now and then. There’s no button to disable this prompt on the prompt itself; you can only click Remind Me Later and it does exactly that—remind you to set up your PC after a while.
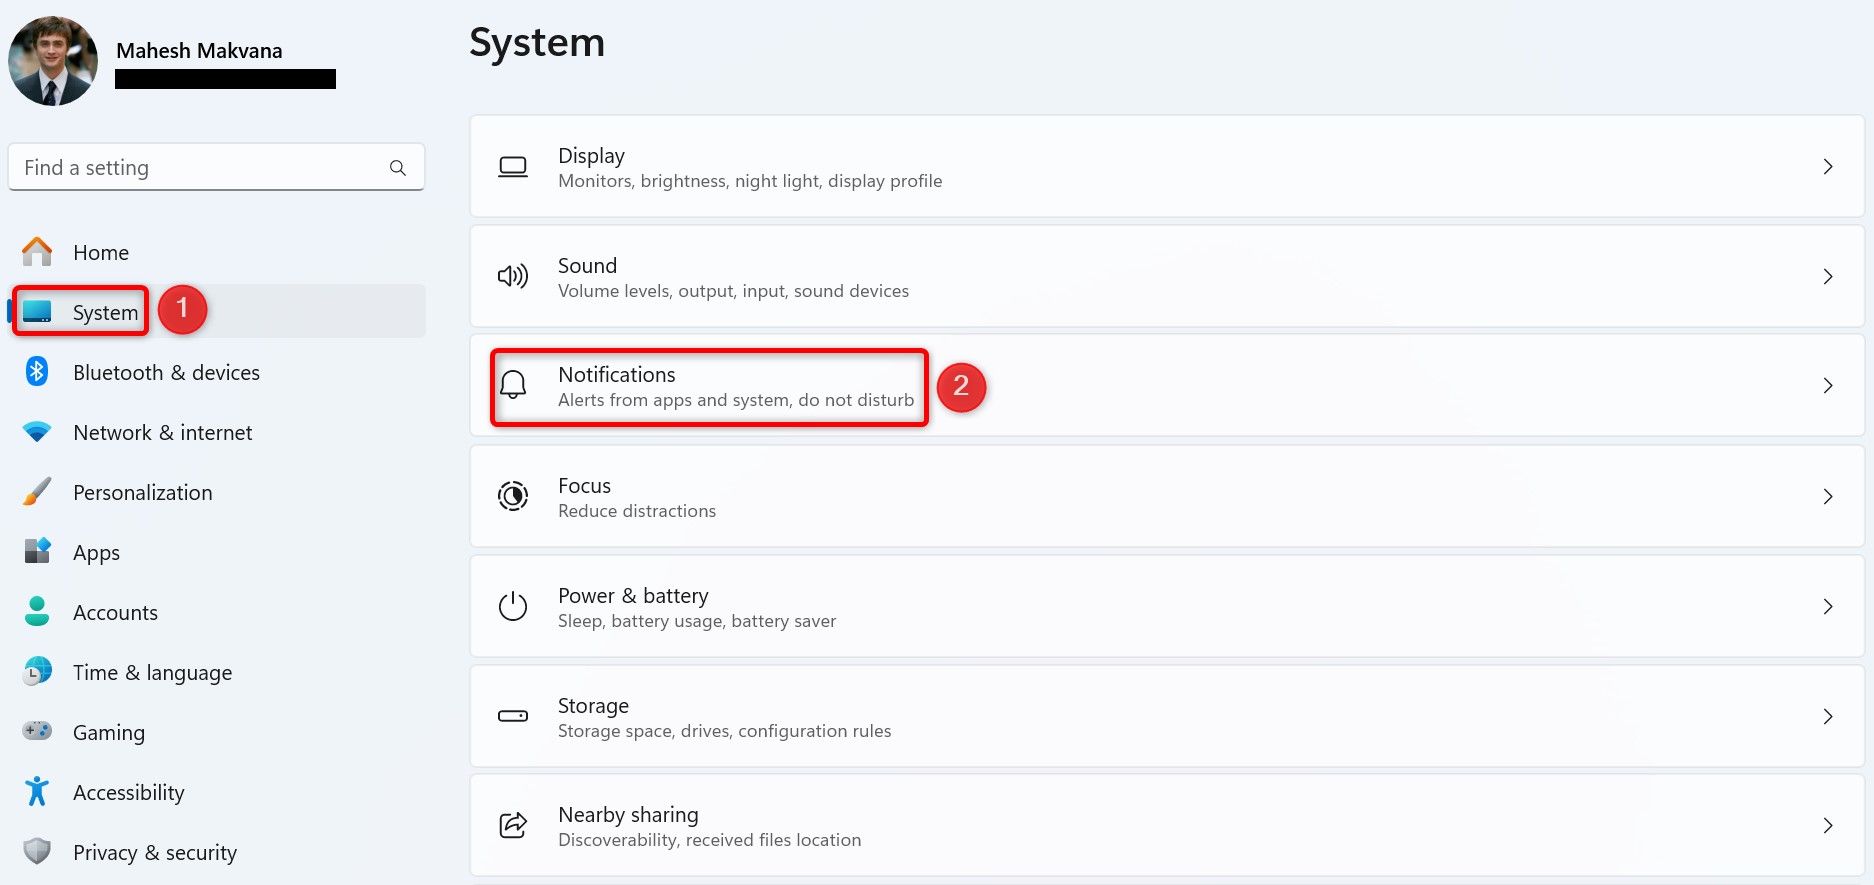
Luckily, there’s an option in Settings to get rid of this wizard. To access it, press Windows+i to launch Settings. From the left sidebar, select "System." On the right pane, choose "Notifications."
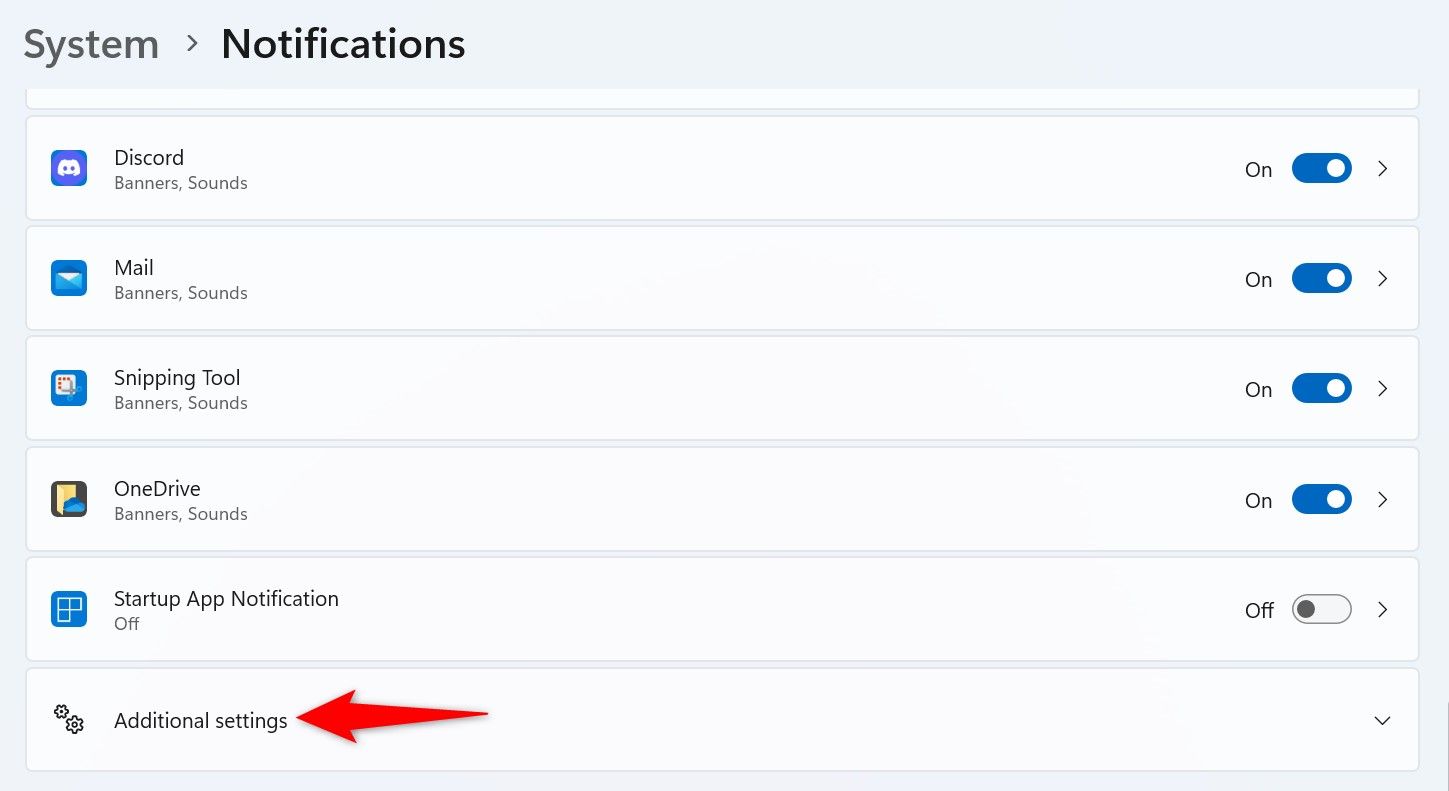
Scroll the Notifications page all the way down and choose "Additional Settings."
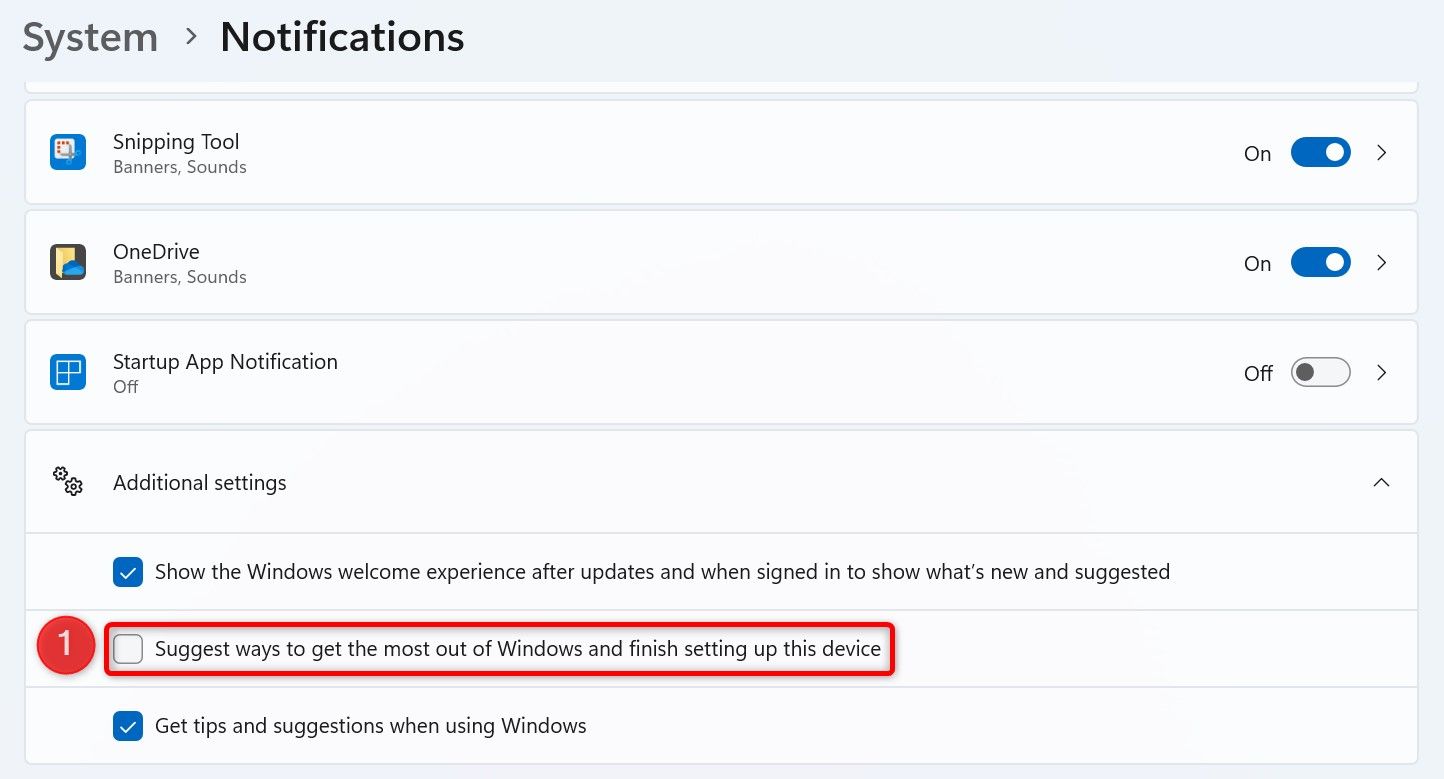
In the expanded menu, turn off "Suggest Ways to Get the Most Out of Windows and Finish Setting Up This Device."
Windows 11 will stop showing you the wizard. To re-enable it, turn on the option you just deactivated.
Windows 11’s lock screen displays ads. If you get distracted by these ads and would prefer a cleaner lock screen, follow these steps.
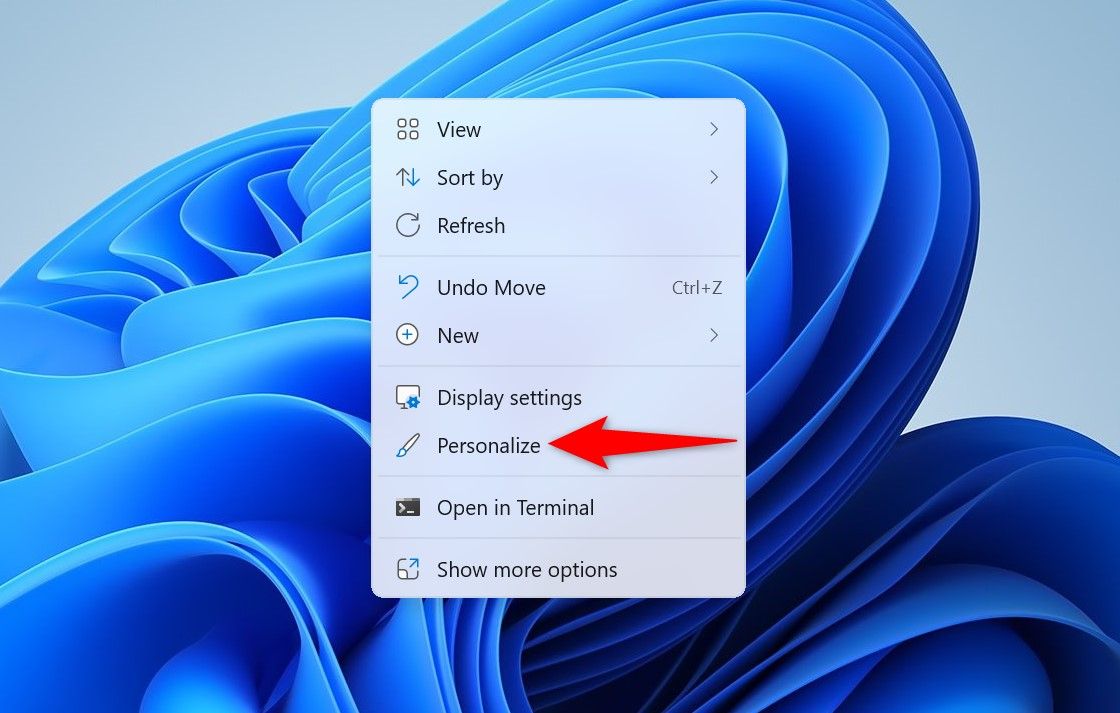
Access your Windows desktop (by pressing Windows+D). Right-click anywhere blank and choose "Personalize."
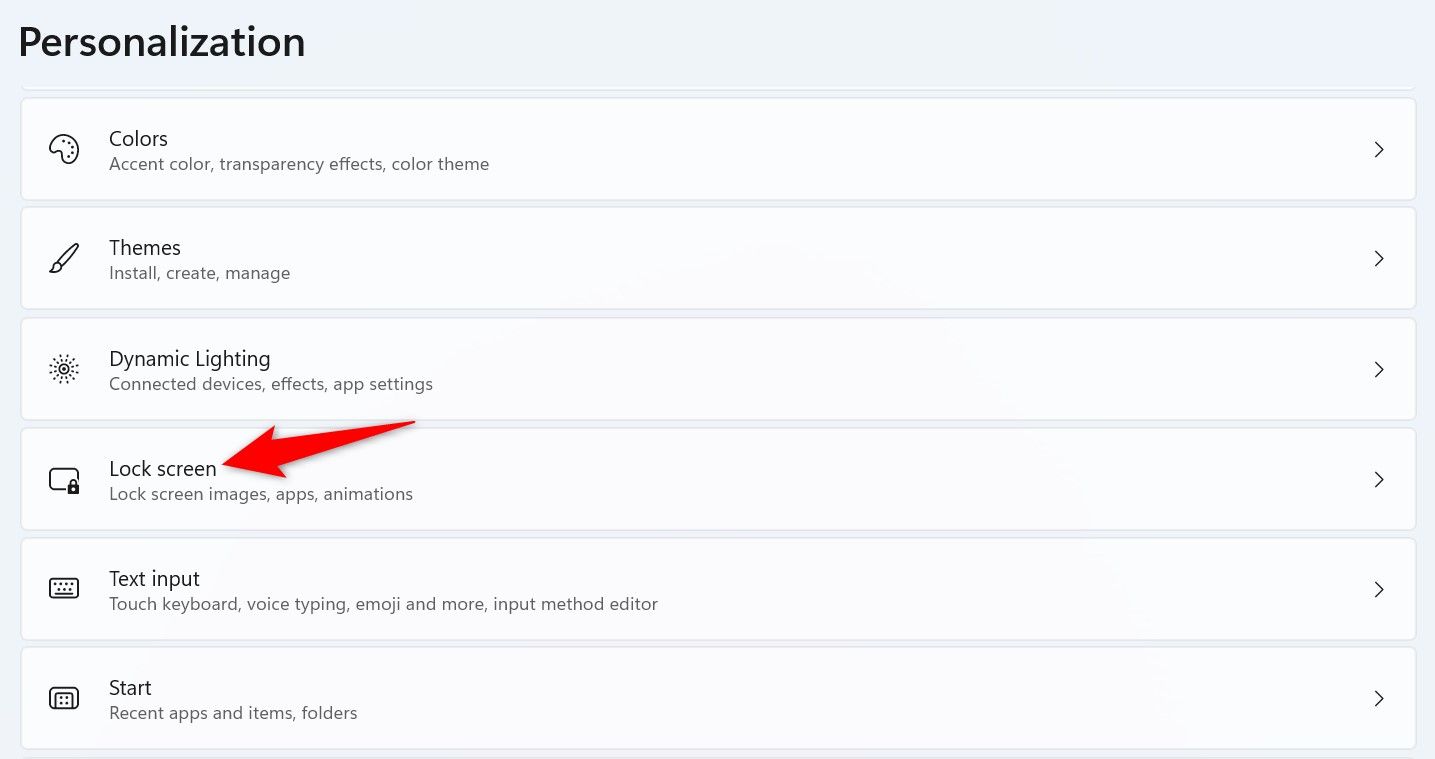
Scroll down the Personalization screen and choose "Lock Screen."
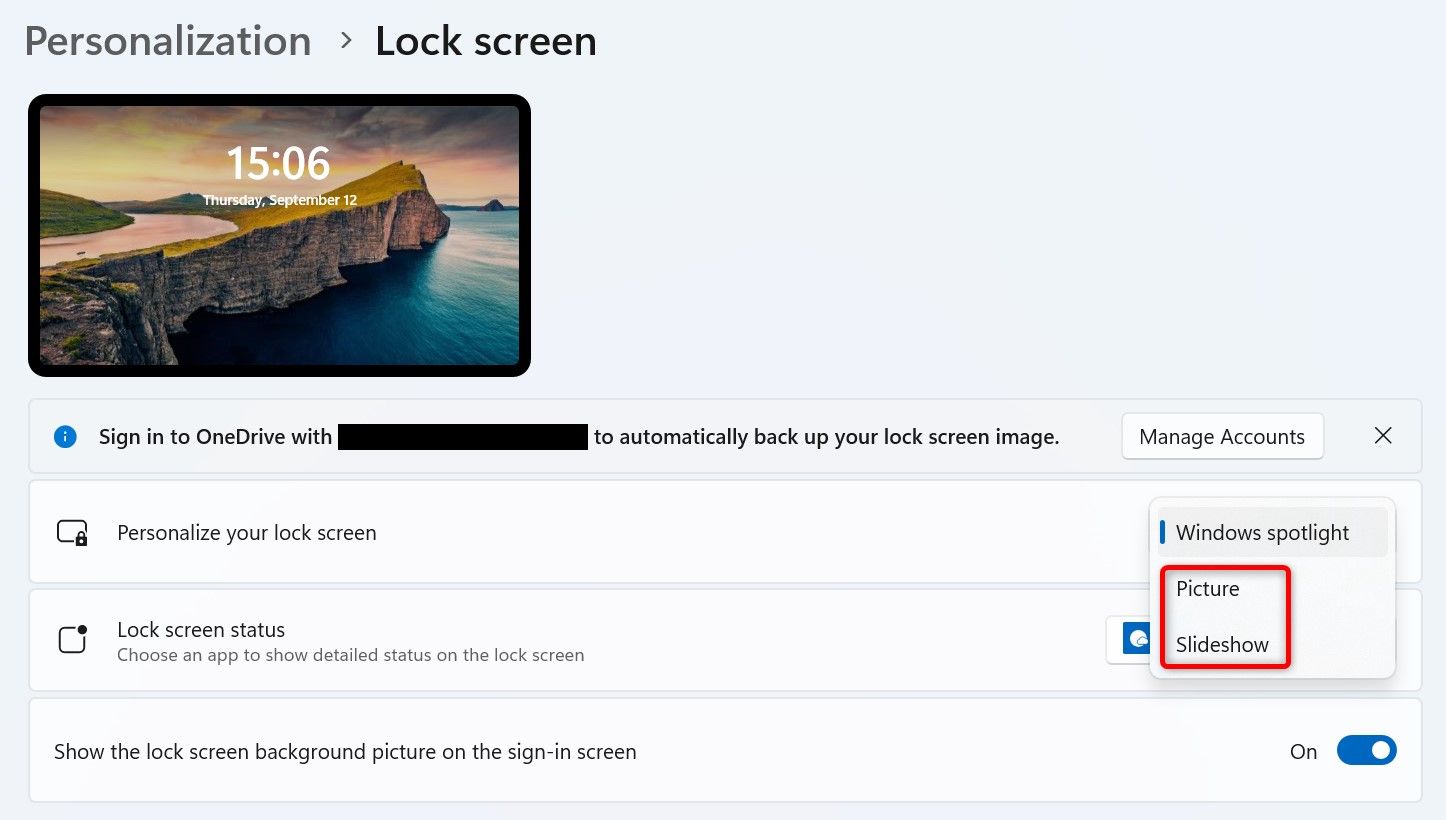
Click the "Personalize Your Lock Screen" drop-down menu and choose "Picture" or "Slideshow." Selecting "Windows Spotlight" will always display ads.
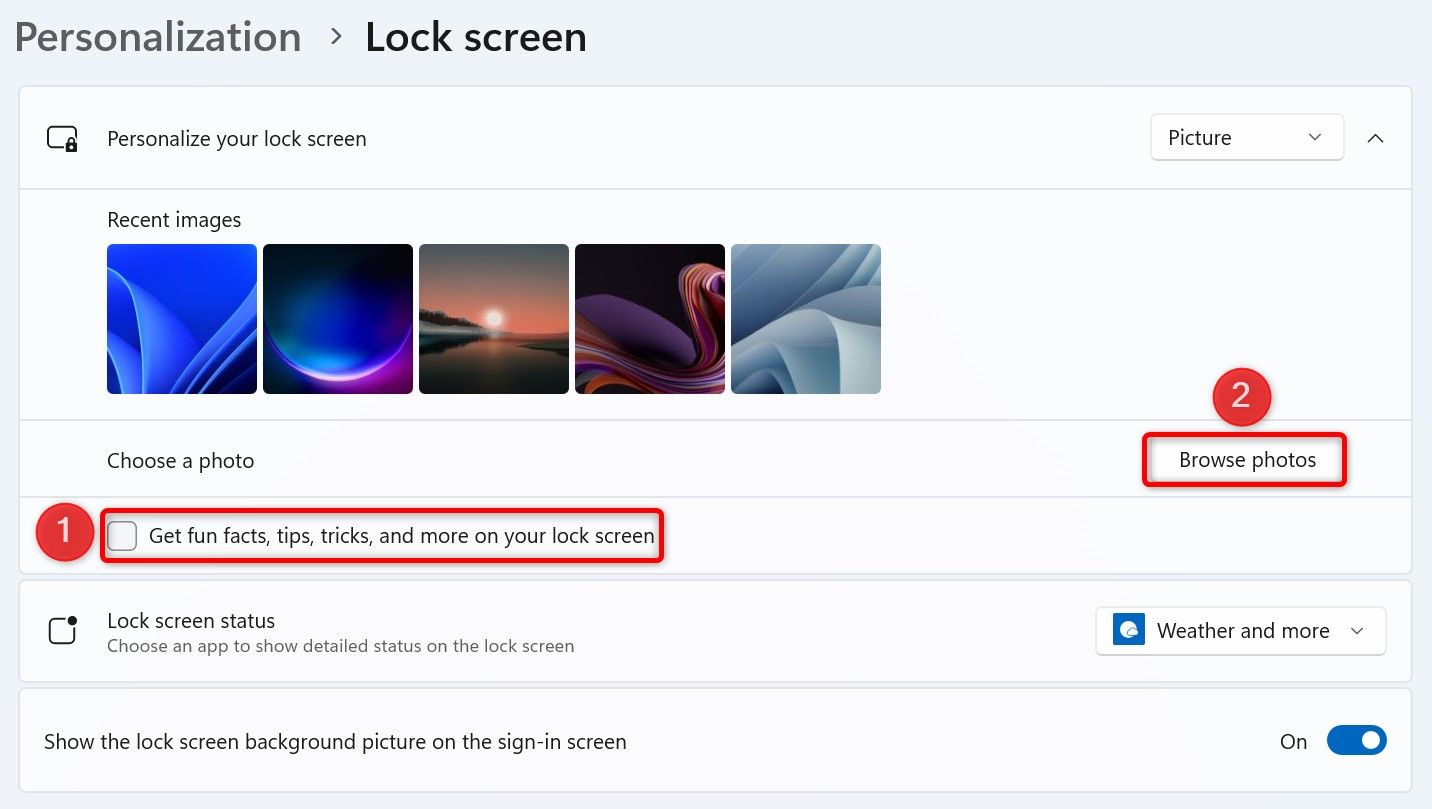
After choosing Picture or Slideshow, in the expanded menu, turn off "Get Fun Facts, Tips, Tricks, and More on Your Lock Screen." At this stage, choose the photo or the photo folder to be used in the lock screen slideshow.
You’ve successfully disabled ads on the lock screen.
Windows 11 displays scrolling widget icons in the bottom-left corner of the screen. These widgets include weather information, world news, currency exchange rates, and more. Even if you accidentally hover your cursor over this icon, the system expands the widget and shows you more information. This is annoying a lot of times.
Luckily, you can turn off all the widgets or the select ones. Here’s how.
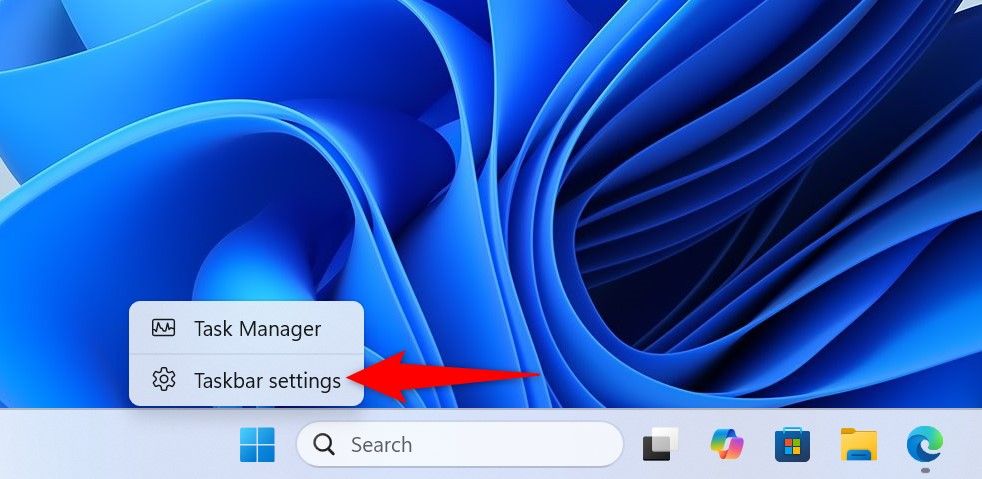
To disable all widgets (you can re-enable them later), right-click the Windows taskbar and choose "Taskbar Settings." Alternatively, go to Settings > Personalization > Taskbar.
In the Taskbar Items section, turn off the "Widgets" toggle.
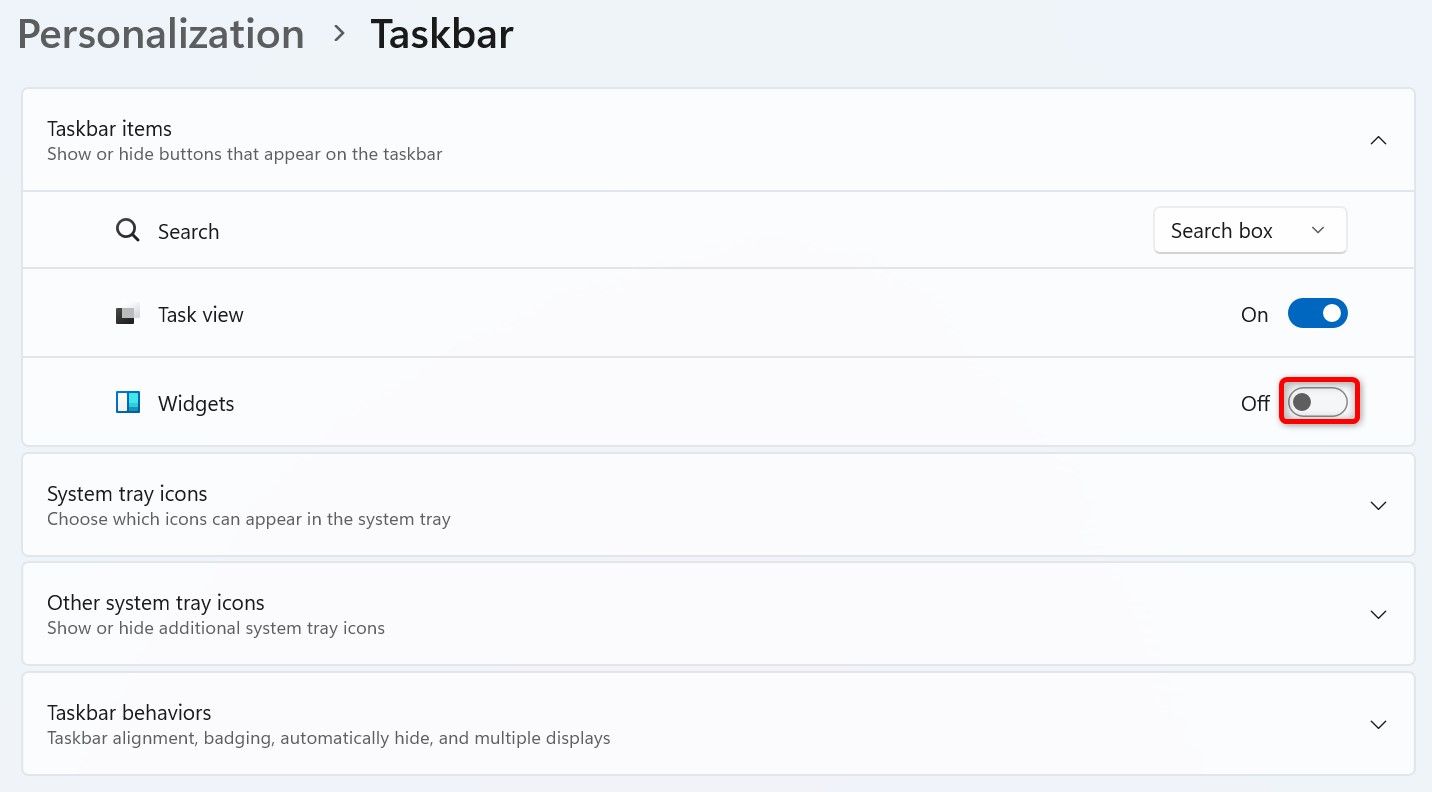
All the widgets are now disabled. To re-enable them, turn on the "Widgets" toggle.
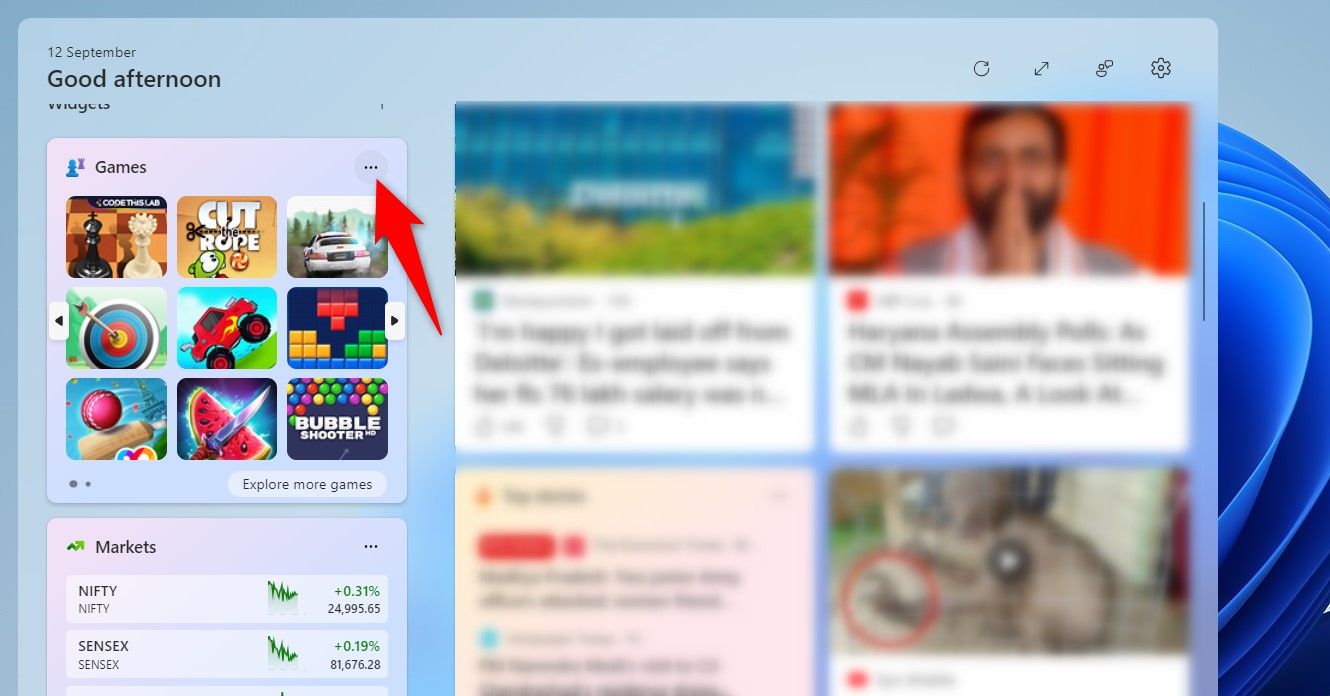
To remove select widgets, click the widgets icon to access the available widgets. In the top-right corner of the widget you want to disable, click the three dots.
From the open menu, choose "Hide This Widget."
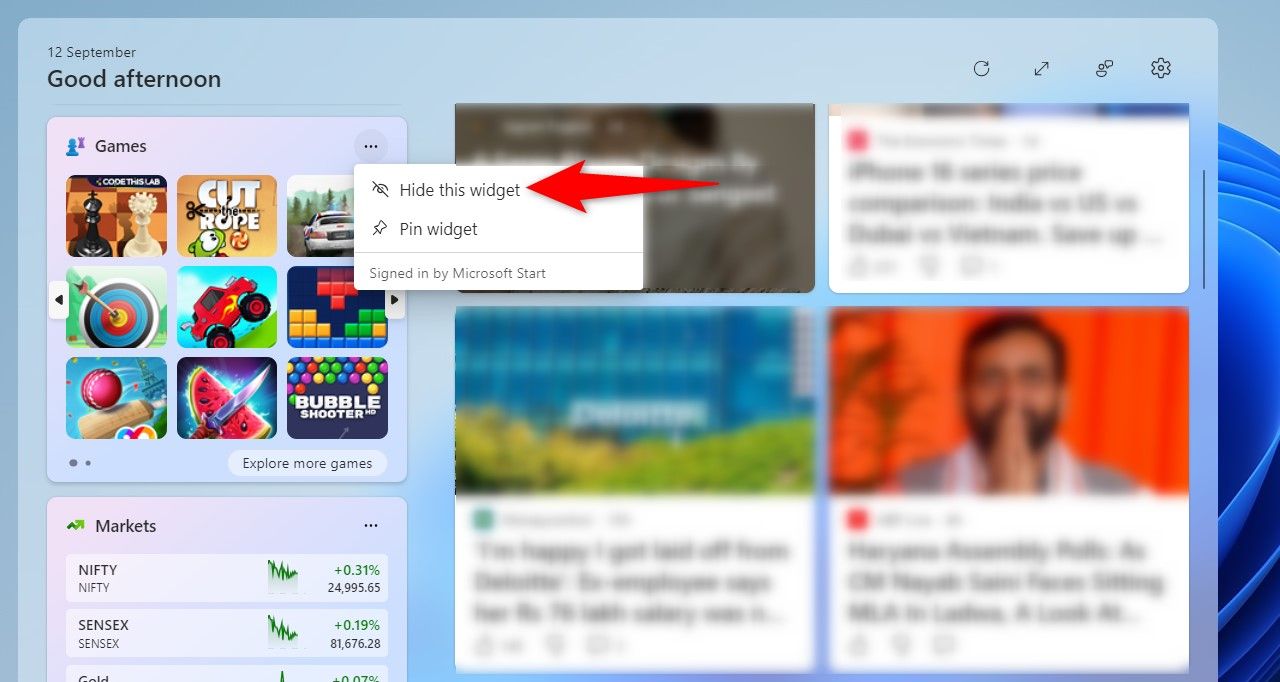
Windows 11 has hidden the select widget. You can repeat these steps to hide all the unwanted widgets.
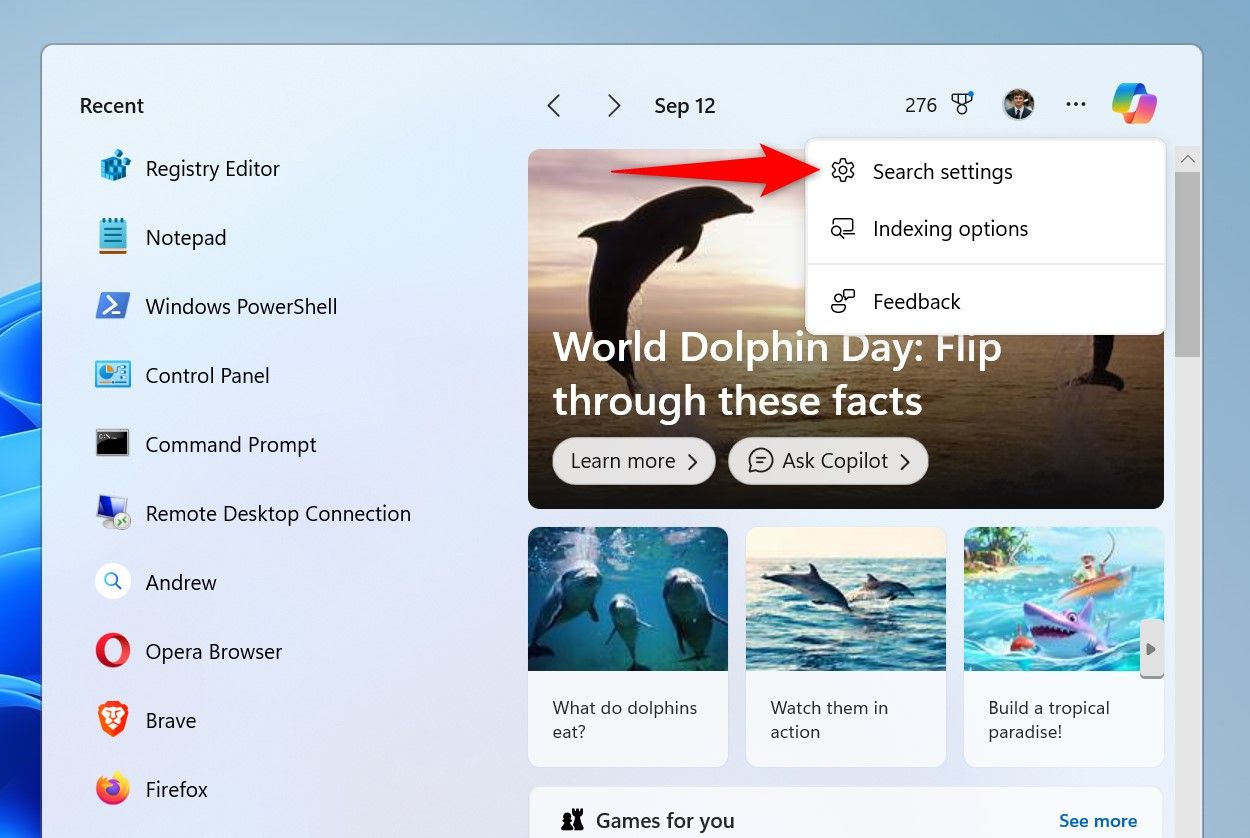
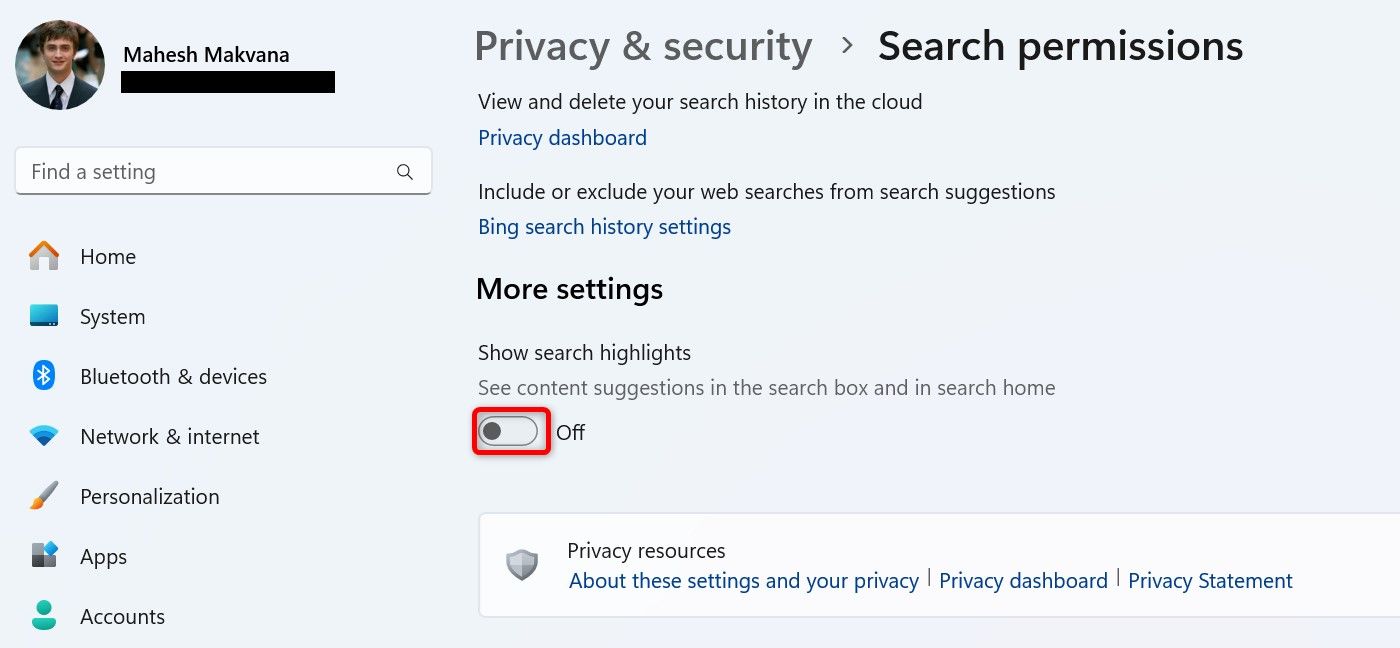
When you open Windows Search, the system displays various search highlights on the right pane. These highlights include tips and tricks (for things like cooking and recipes), game suggestions, trending searches, and more.
If you don’t want that clutter and would prefer Windows Search to only display search contents, turn off the search highlights feature. Do that by accessing Windows Search, clicking the three dots at the top, and choosing "Search Settings."
Scroll the open page all the way down and turn off the "Show Search Highlights" option.
From now on, Windows 11 will display shortcuts to quickly get to some common setting options and top applications list in the search highlights area.
When you search for something using Windows Search, the system displays search results from the internet as well. If you use the feature to only look for local files, folders, and apps, it’s best to turn off the web search feature in Windows Search.
To do that, use Local Group Policy Editor on Windows 11’s Pro edition and Registry Editor on Windows 11’s Home edition. Check out our guide on how to find your Windows 11 edition if you’re unsure.
Using Local Group Policy Editor (Only Works on the Pro Edition)
Open the Run dialog box by pressing Windows+R. Type the following in the box and select "OK" or press Enter.
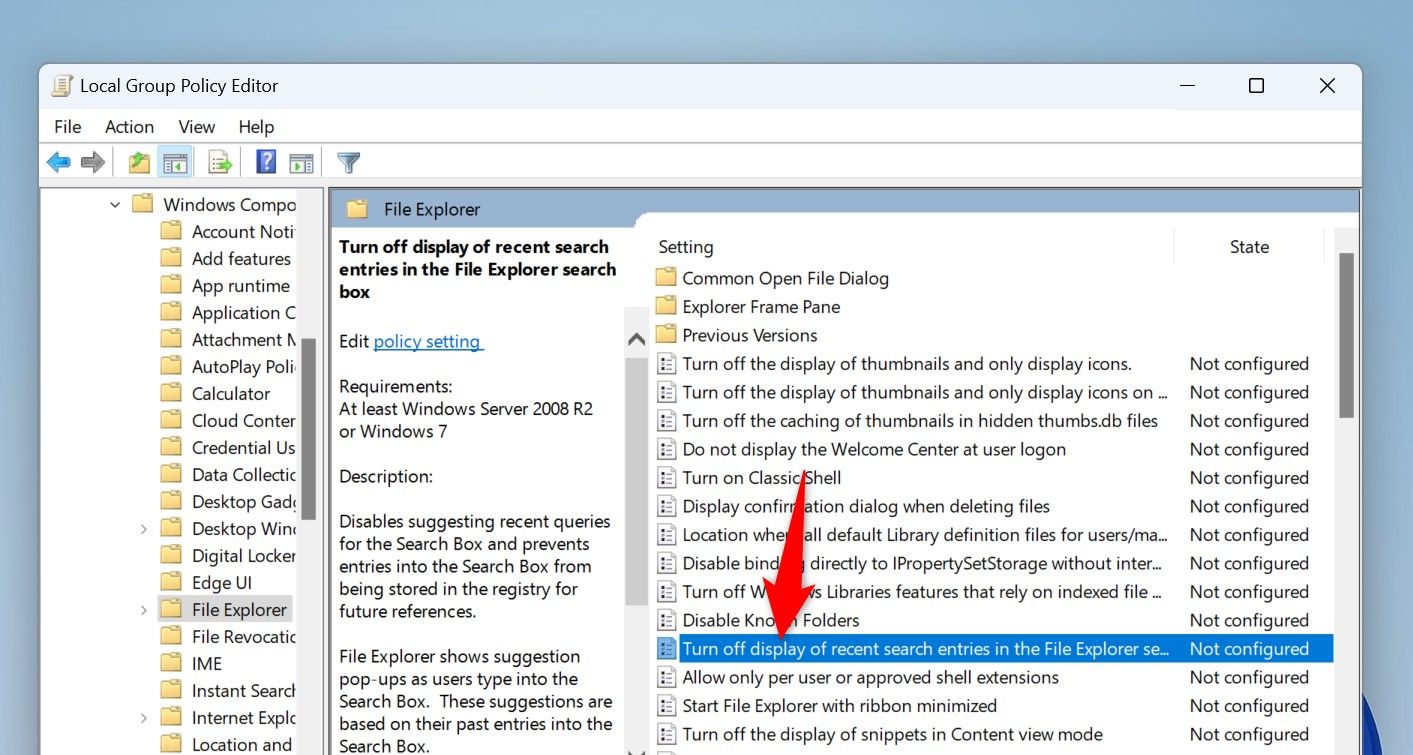
gpedit.mscIn Local Group Policy Editor, using the options on the left, navigate to the following path:
User Configuration > Administrative Templates > Windows Components > File ExplorerOn the right pane, double-click the option that says "Turn Off Display of Recent Search Entries in the File Explorer Search Box."
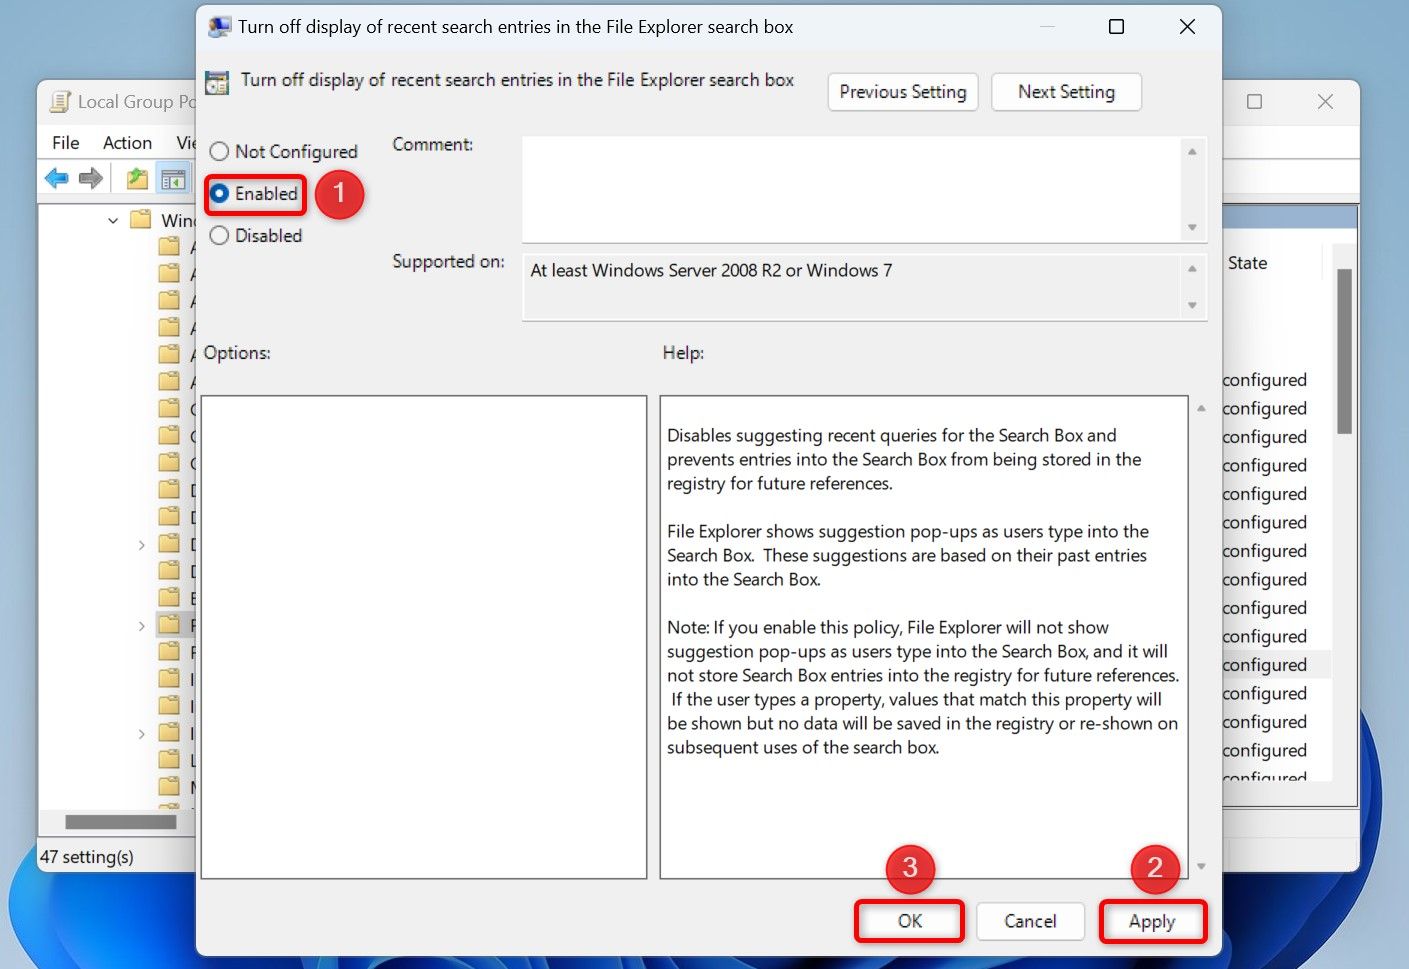
On the open window, choose "Enabled" and select "Apply" followed by "OK."
In the future, you can re-enable web searches in Windows Search by choosing the "Not Configured" option.
Close Local Group Policy Editor and restart your Windows 11 PC.
Using Registry Editor (Works on Both Home and Pro Editions)
Open Registry Editor by launching Run using Windows+R, typing the following in the box, and pressing Enter:
regeditIn the User Account Control prompt, select "Yes."
In Registry Editor, navigate to the following path. To get there quickly, copy the following path, paste it in the editor’s path box, and press Enter.
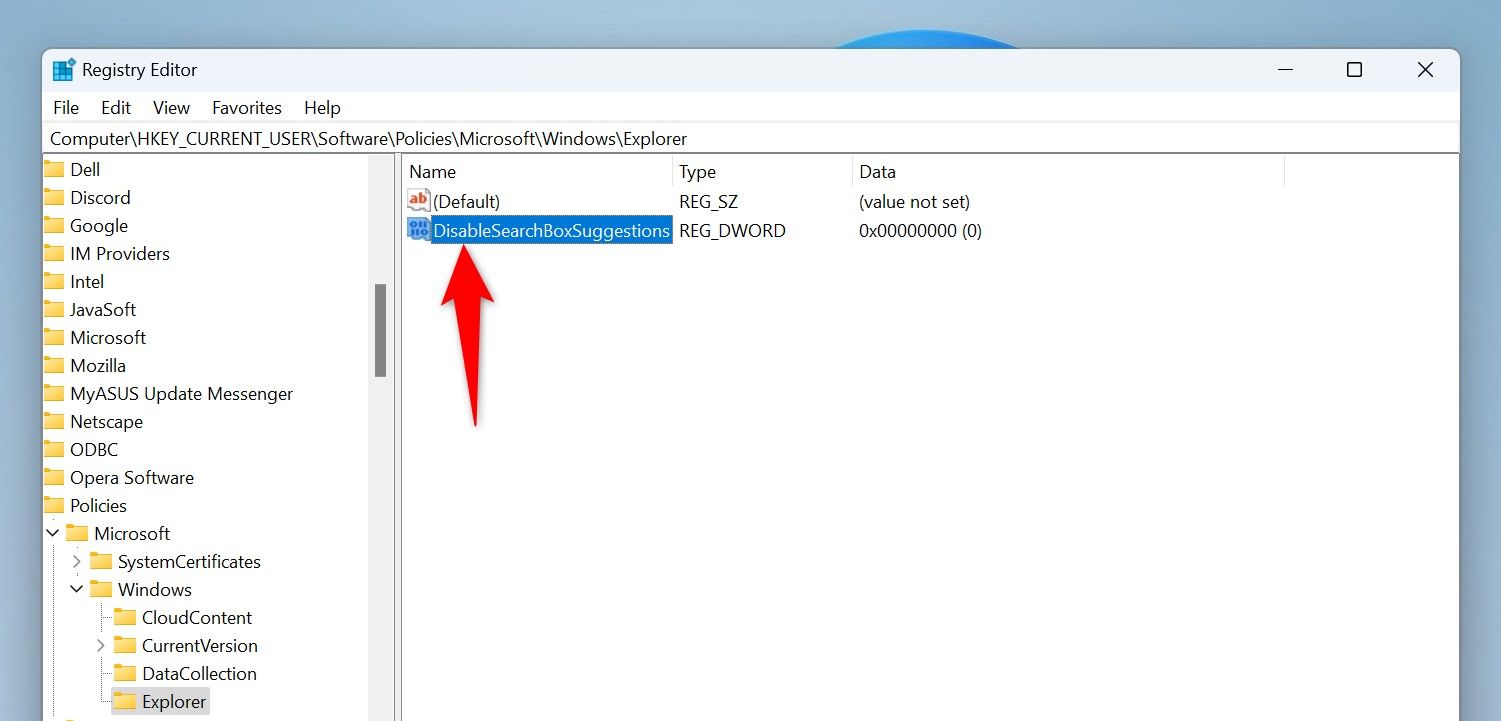
Computer\HKEY_CURRENT_USER\SOFTWARE\Policies\Microsoft\WindowsIn the left sidebar, right-click "Windows" and select New > Key.
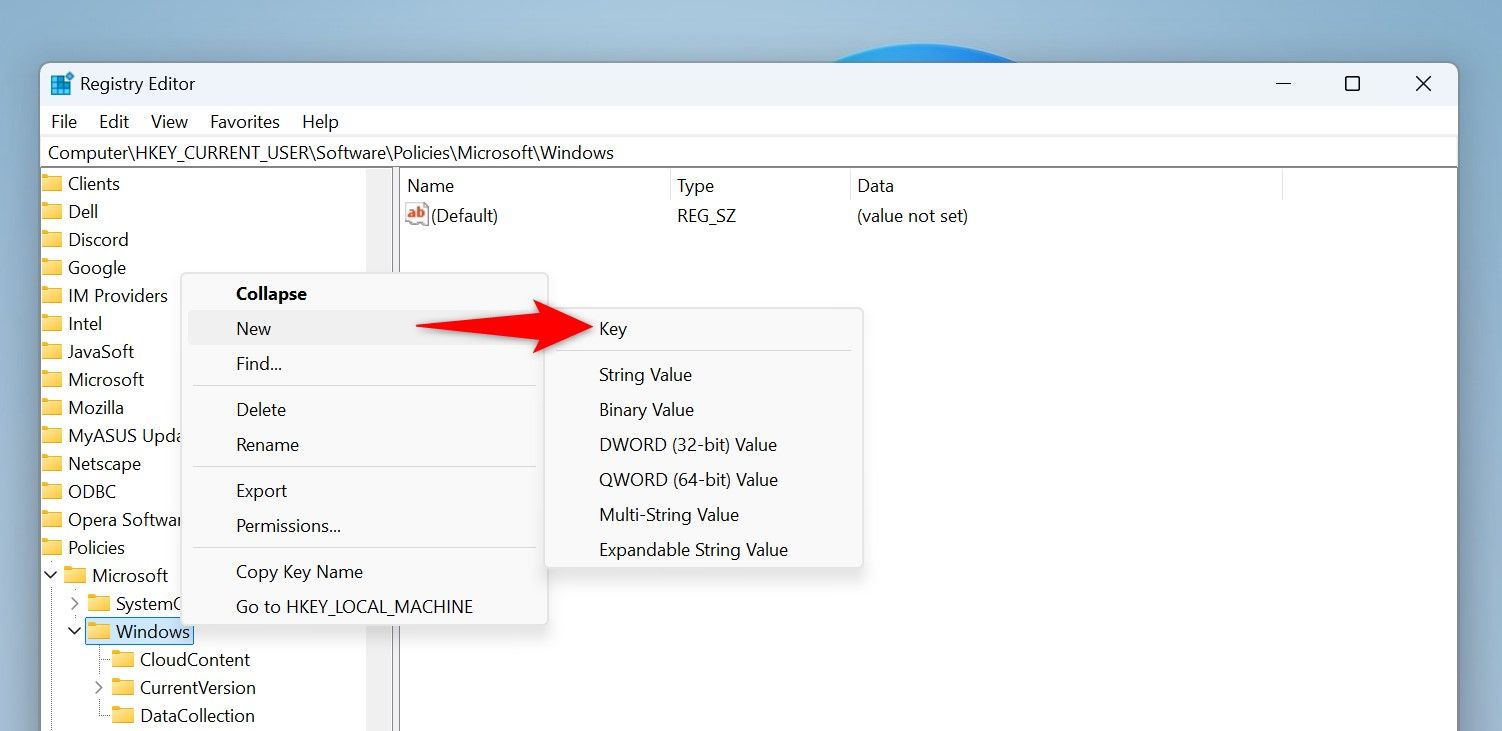
Type Explorer as the key name and press Enter. On the right pane, right-click anywhere blank and choose New > DWORD (32-bit) Value. Type DisableSearchBoxSuggestions as the item name and press Enter.
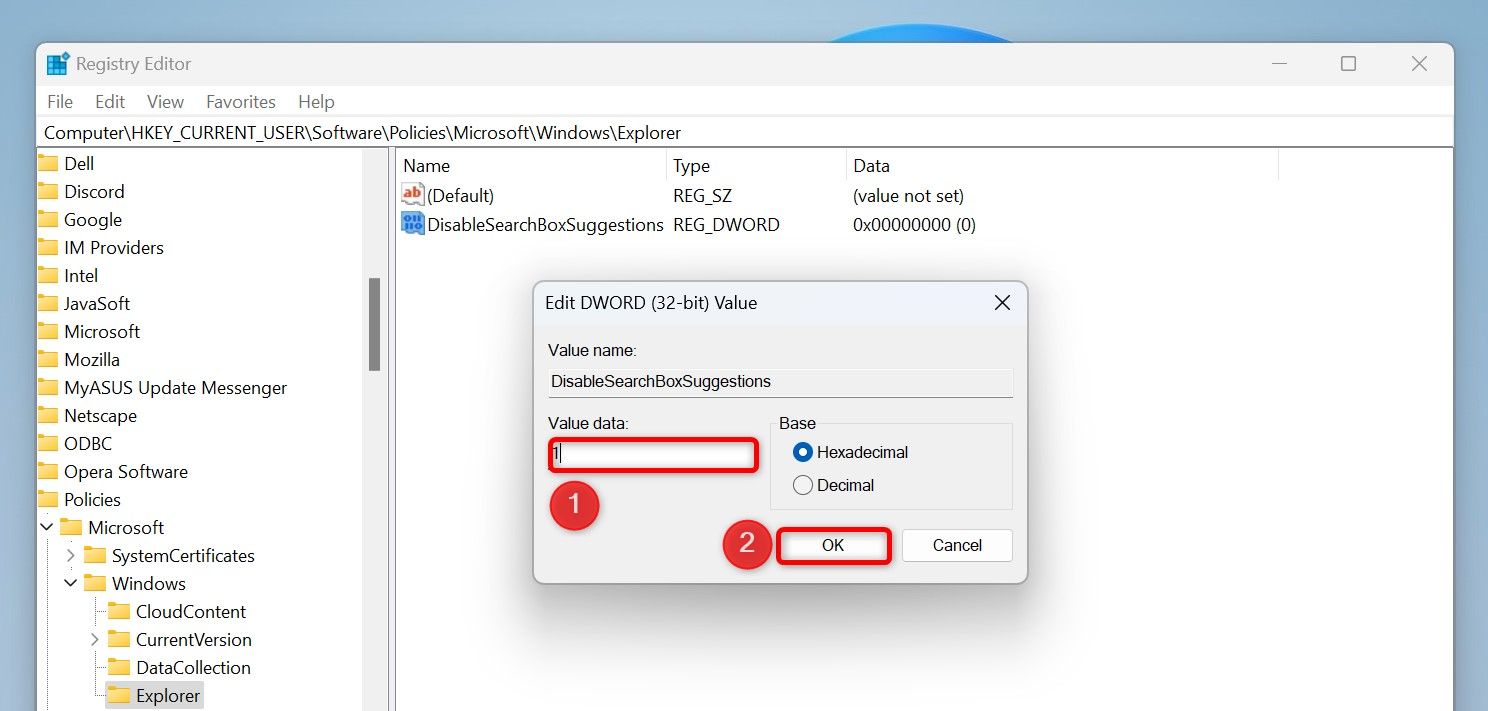
Double-click the newly created item, type 1 in the "Value Data" field, and select "OK."
Close Registry Editor and restart your computer.
Disable Startup Apps
Startup apps are the apps that automatically launch when you turn on your computer. If you find these apps to be annoying, you can turn off all or select apps in the startup apps list.
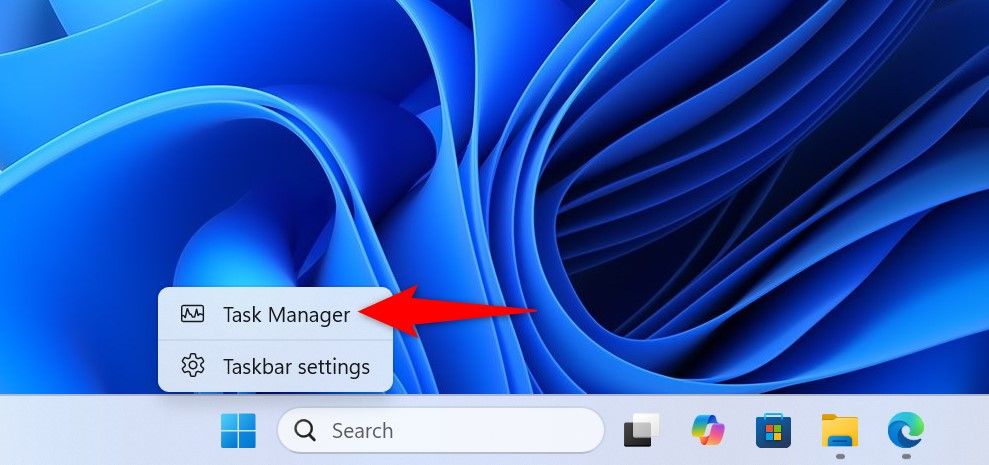
To do that, right-click the Windows taskbar and choose "Task Manager."
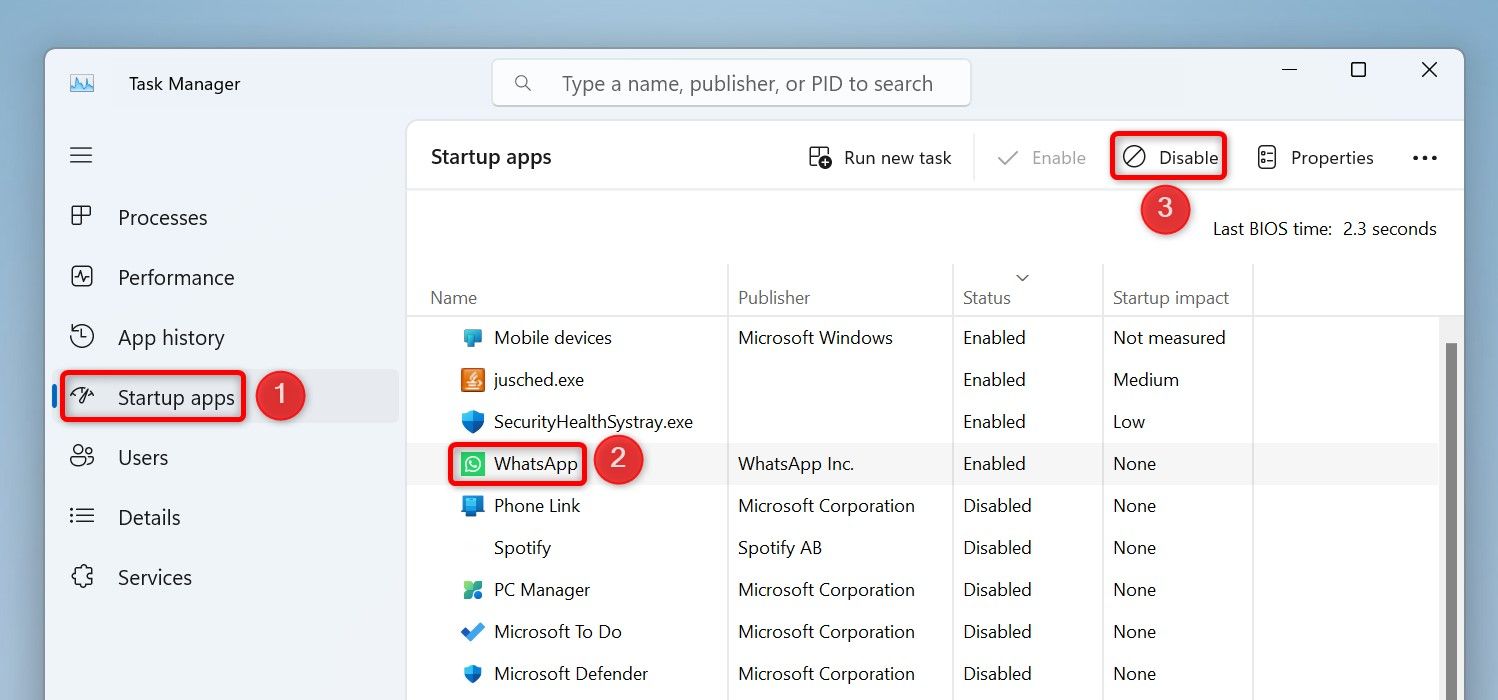
In Task Manager’s left sidebar, click "Startup Apps." On the right pane, select the app you want to prevent from automatically launching and click "Disable" at the top. Repeat this step for each startup app you want to disable.
You’re done. And that’s how you make your Windows 11 PC a bit less annoying and more fun to work with.
When you subscribe to the blog, we will send you an e-mail when there are new updates on the site so you wouldn't miss them.
About the author
I Got A Virus and I Don't Know What To Do!
I Need Help!

Comments